Best Settings for Bird Photography: A Guide for Beginners and Experts
Best Settings for Bird Photography: A Guide for Beginners and Experts
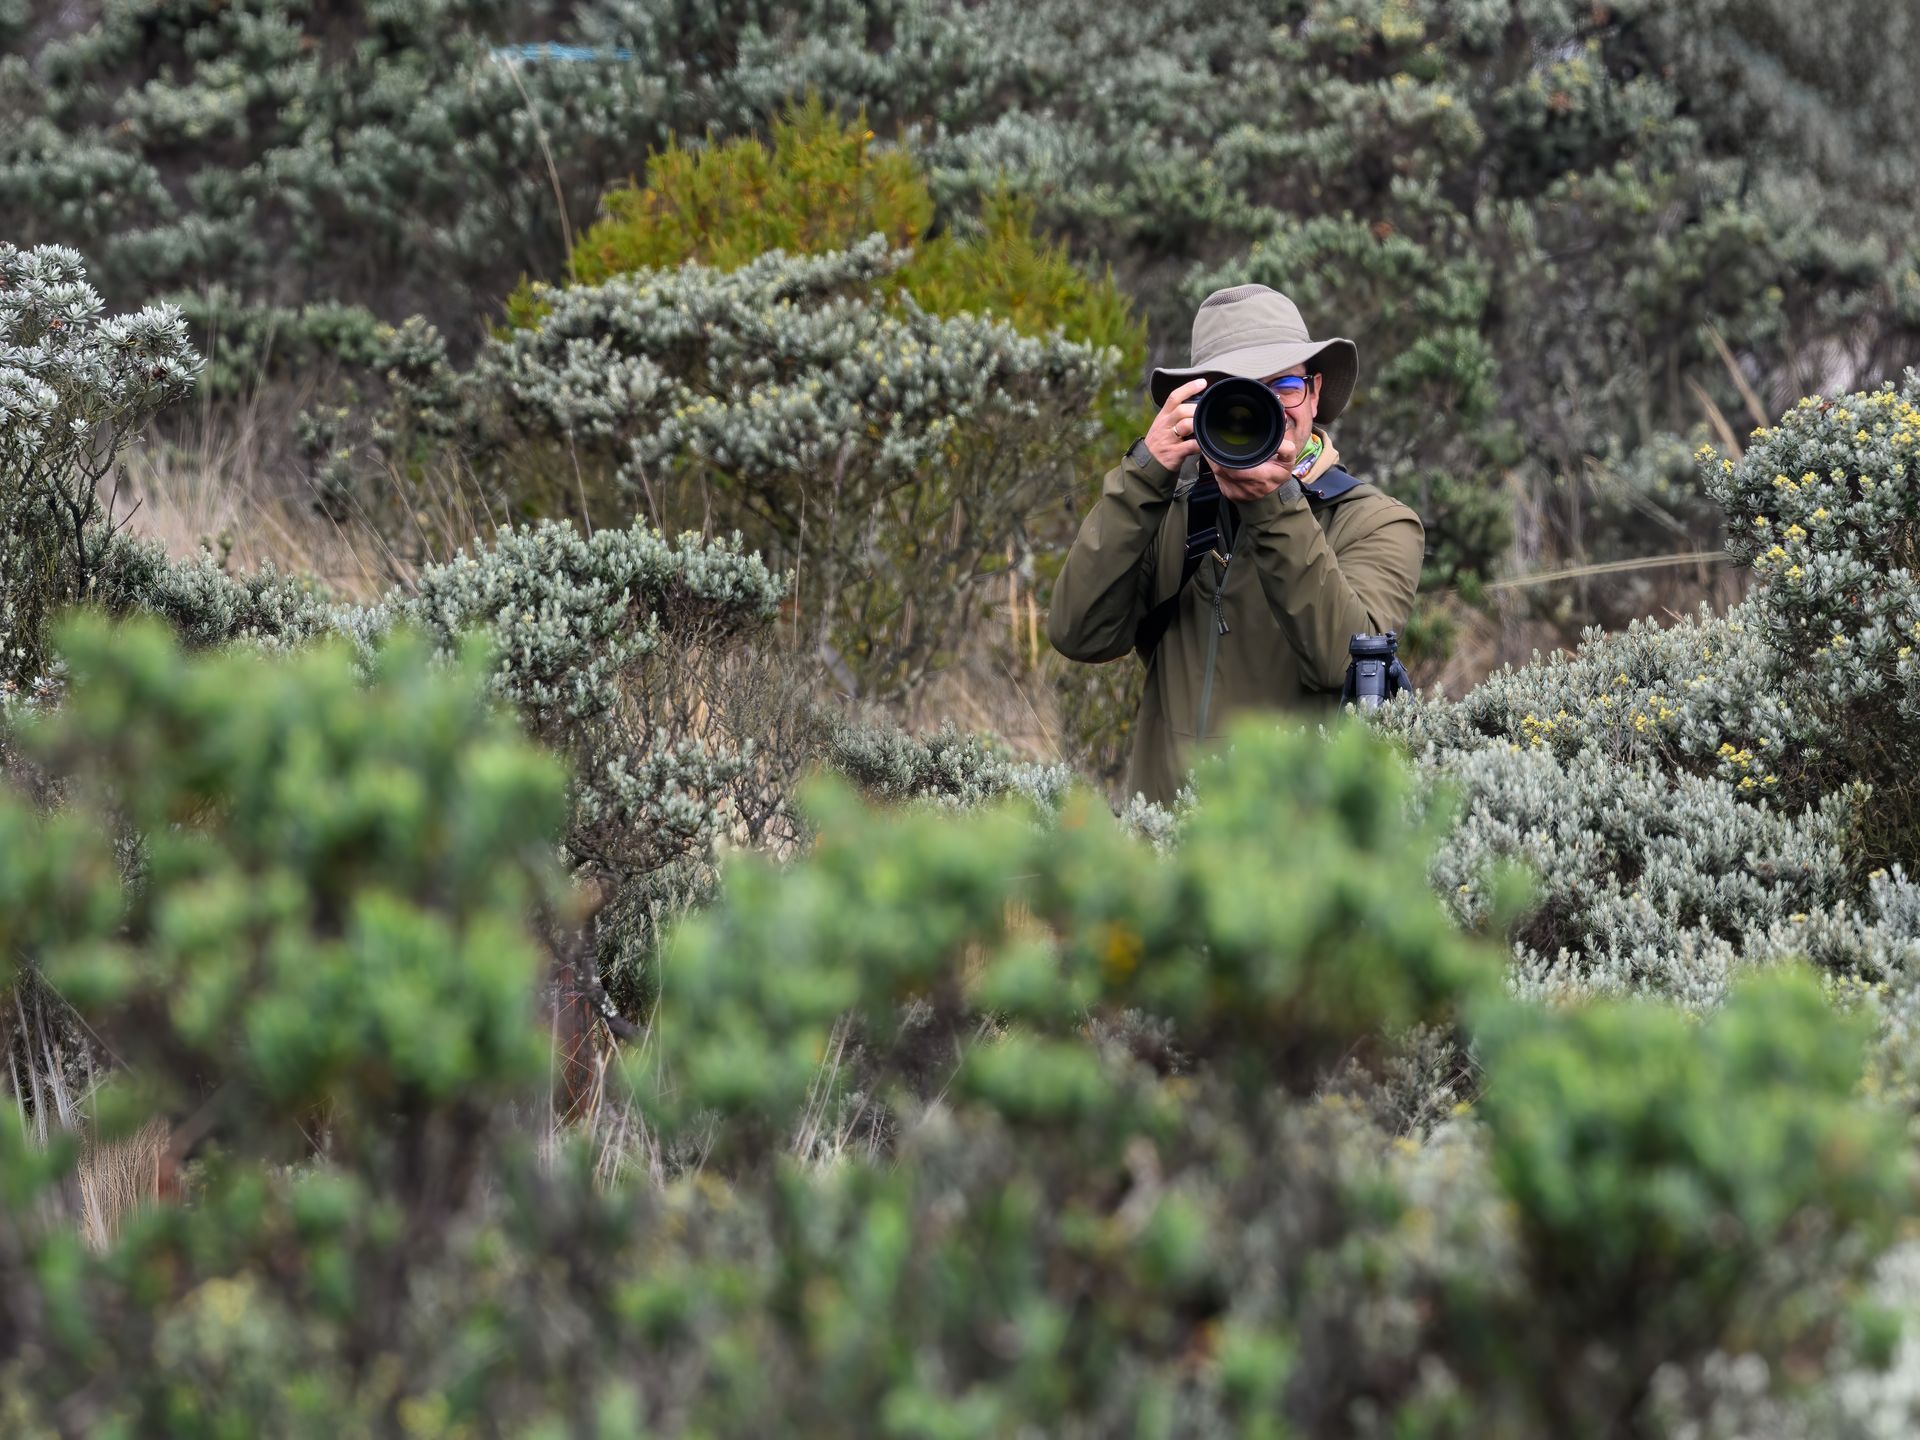
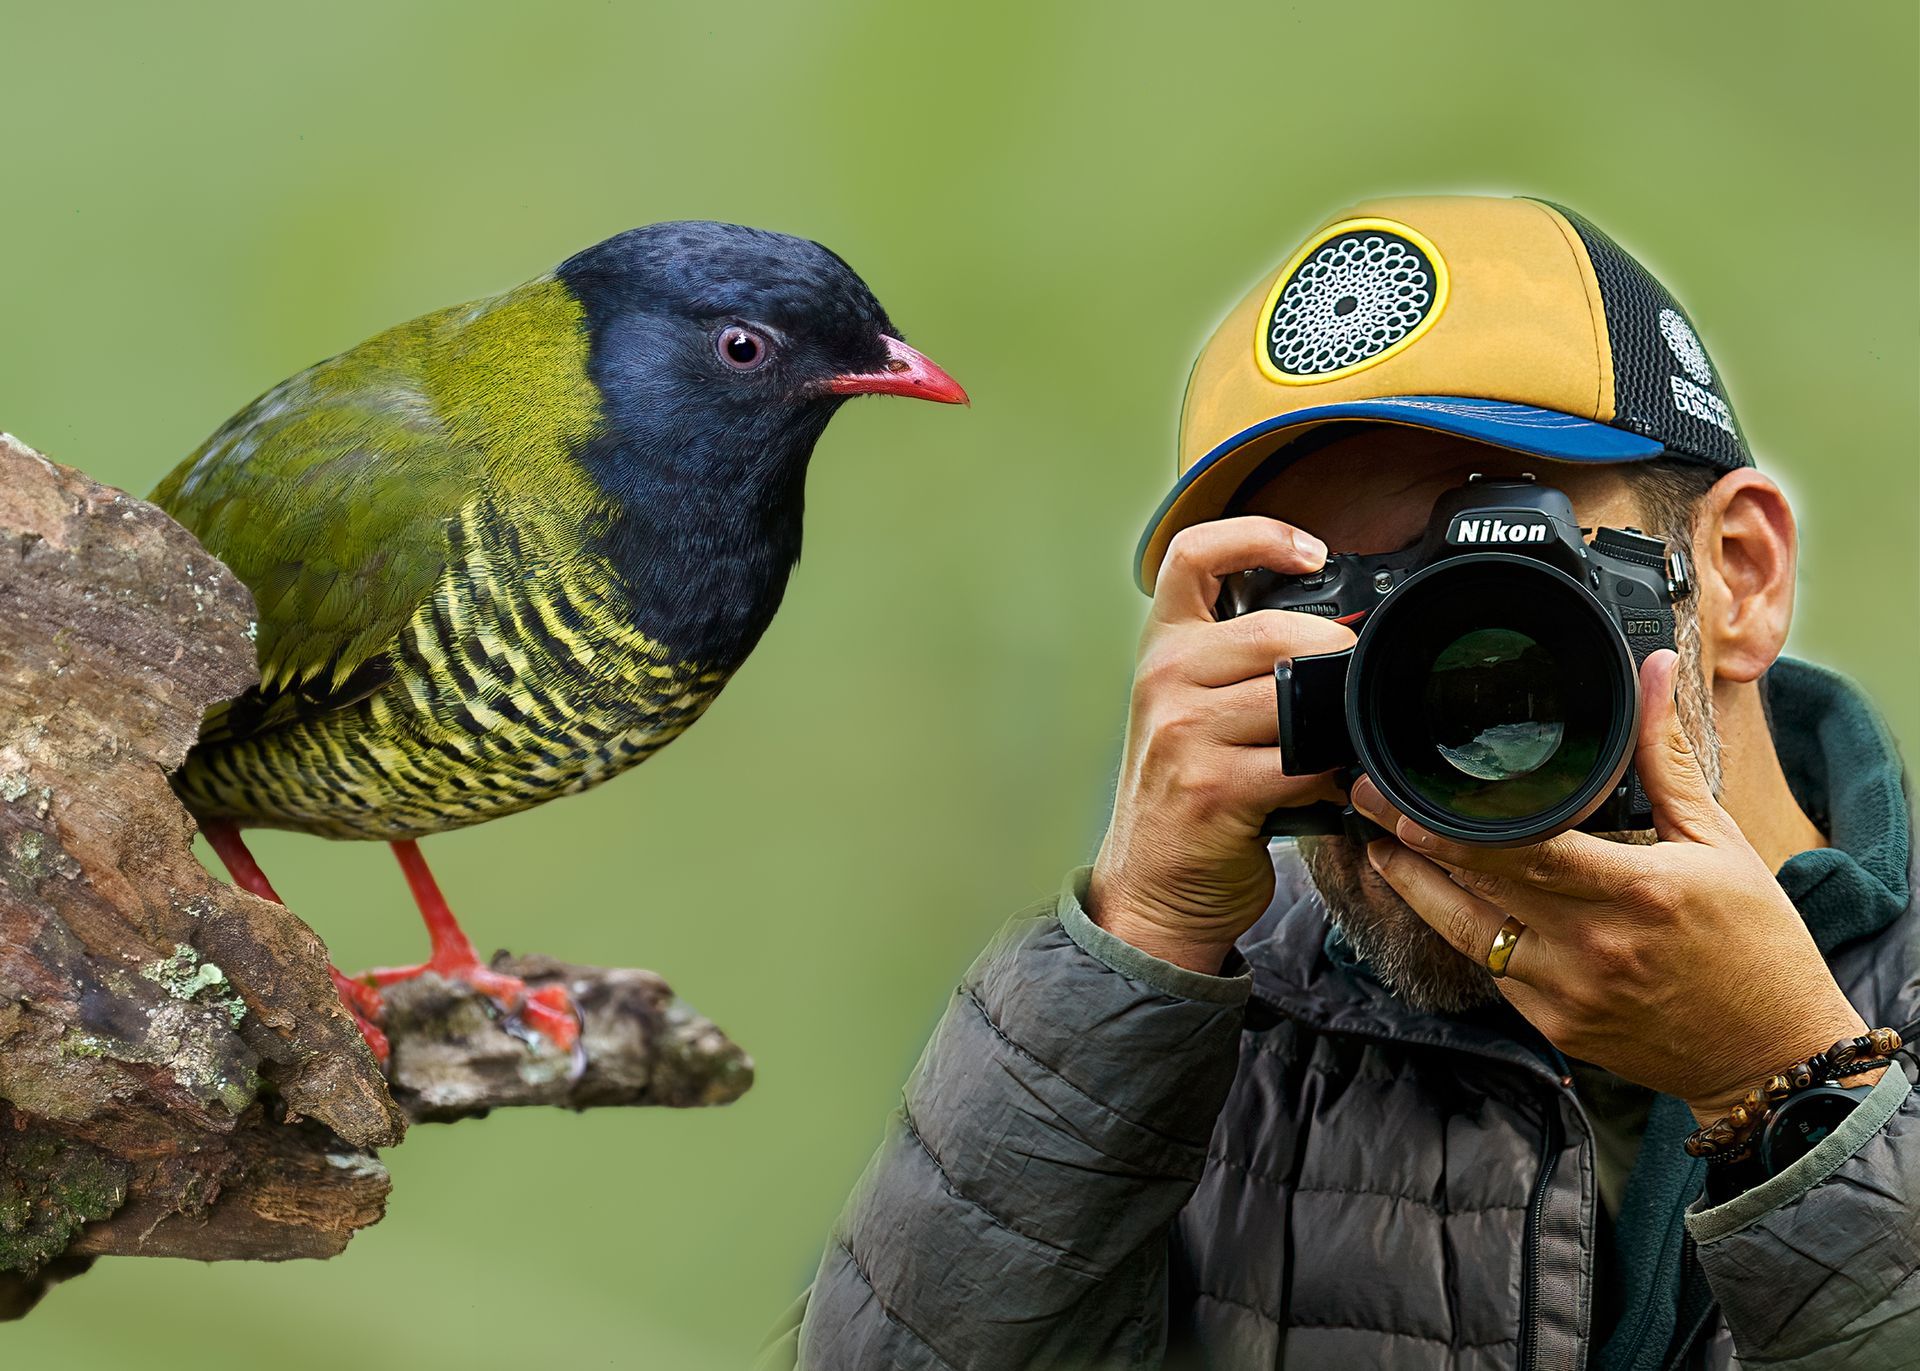
Bird photography is one of the most exciting and rewarding forms of wildlife photography. It challenges both beginners and professionals to combine patience, technical skill, and creativity. Unlike static subjects, birds rarely sit still—they perch, flutter, dive, and soar, demanding photographers to adapt quickly with the right camera settings.
Whether you’re just starting out with your first DSLR or mirrorless camera, or you’re a seasoned expert fine-tuning techniques in the field, mastering the best settings for bird photography is essential for consistently sharp, well-exposed, and captivating images.
This guide explores the recommended camera modes, exposure settings, focus strategies, and special techniques for bird photography. We’ll cover beginner-friendly setups as well as advanced configurations, giving you the tools to capture everything from a perched sparrow to a hummingbird in mid-flight.
Why Settings Matter in Bird Photography
When photographing birds, the wrong settings mean missed shots. Too slow a shutter speed, and wings blur unintentionally. Too wide an aperture, and the head may be sharp while the body fades into blur. Too low an ISO, and you risk underexposure in shaded forests.
Bird photography is about balancing speed, clarity, and light:
- Shutter speed freezes fast movement.
- Aperture controls depth of field and subject isolation.
- ISO adjusts light sensitivity while introducing noise.
- Autofocus modes ensure the bird’s eye (the most critical element) stays sharp.
By learning how to combine these, you can create professional-level results even as a beginner.
Camera Modes: Choosing the Right Approach
Most modern cameras offer several modes for adjusting settings. The best modes for bird photography are:
1. Manual Mode with Auto ISO
- Ideal for experts who want full control.
- Lets you lock shutter speed and aperture, while ISO adjusts automatically to changing light.
- Perfect for fast-moving birds in variable conditions (e.g., forests, wetlands).
2. Shutter Priority (Tv or S Mode)
- Best for beginners practicing flight shots.
- You set the shutter speed, and the camera selects aperture automatically.
- Ensures sharp wings and bodies.
3. Aperture Priority (Av or A Mode)
- Best for perched birds or portraits.
- You set aperture (f/5.6–f/8), and the camera adjusts shutter speed.
- Good for isolating the bird against blurred backgrounds.
4. Manual Exposure (M) with Full Control
- Used by professionals when lighting is consistent.
- Perfect for staged hummingbird shots or bright daylight photography.
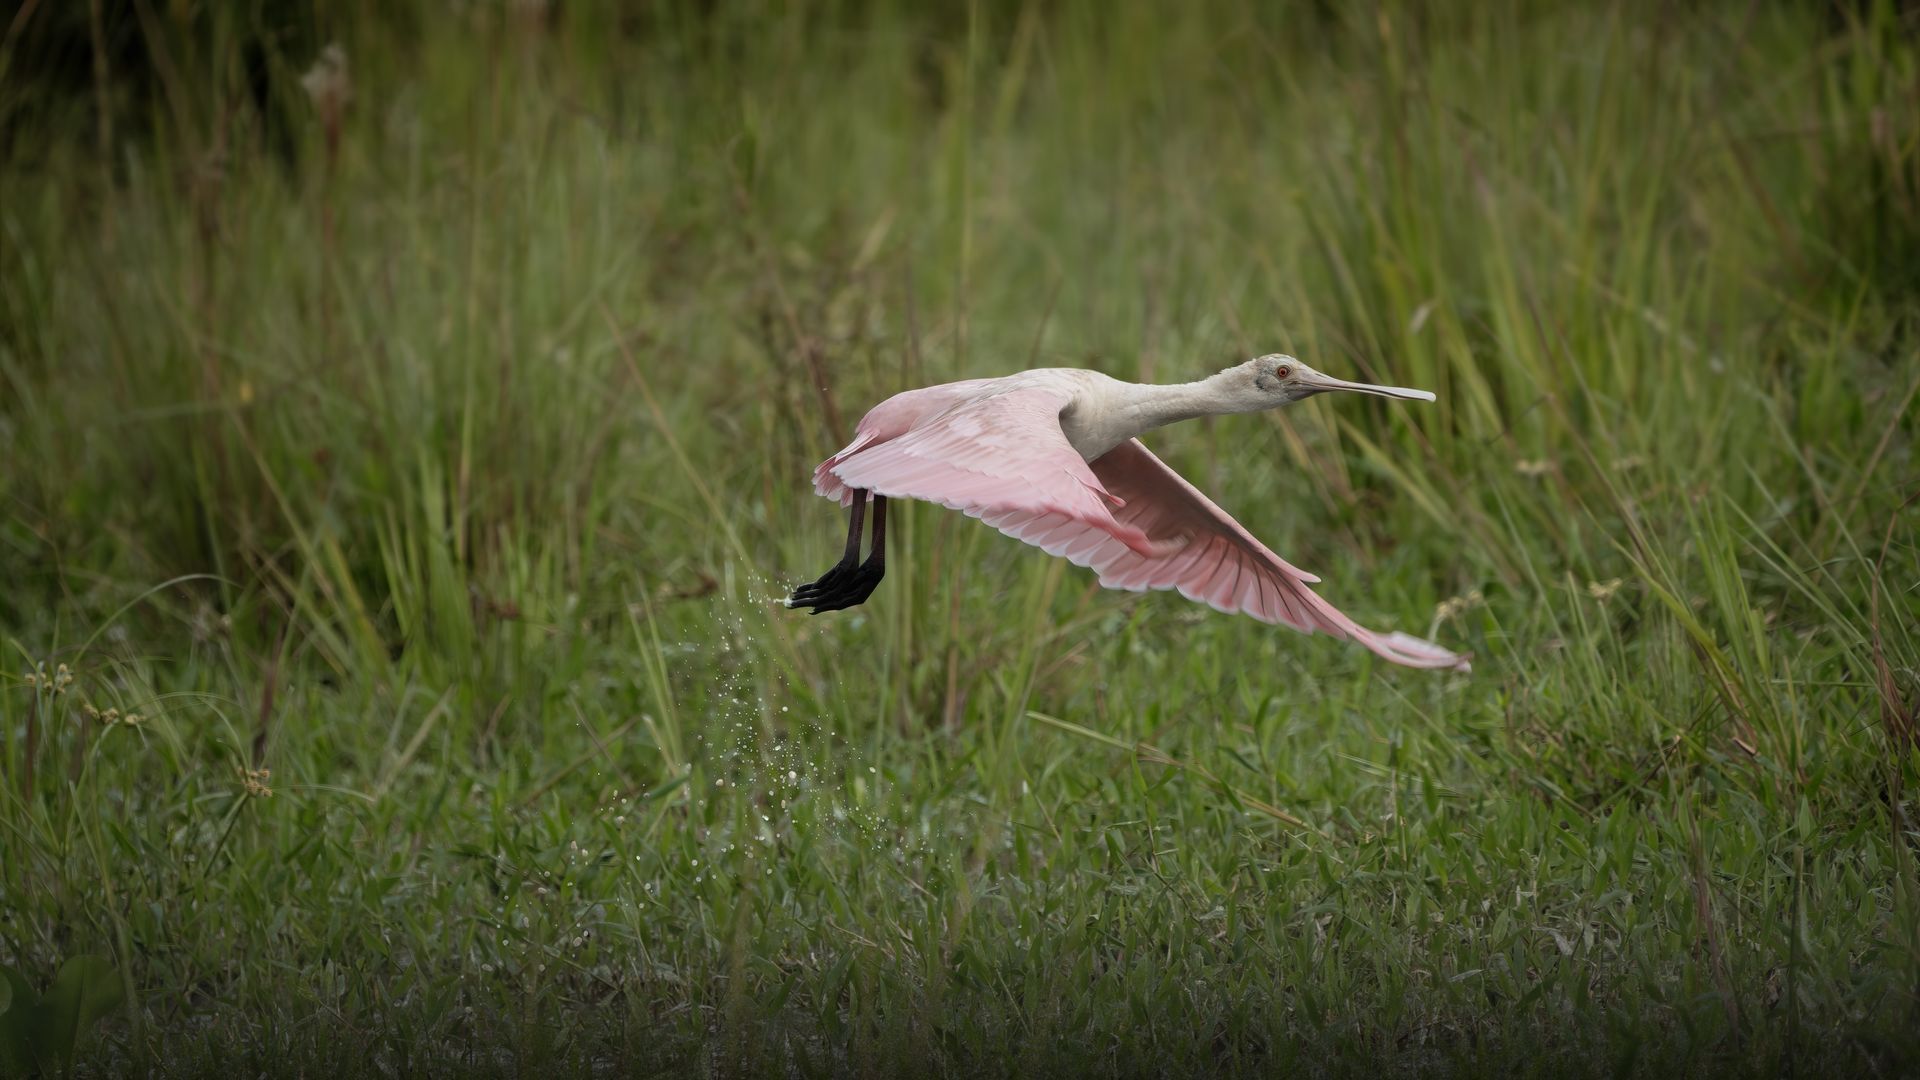
Shutter Speed: Freezing the Action
Shutter speed is the most important setting in bird photography.
- Perched Birds: 1/500 sec is often enough.
- Small Birds in Flight (swifts, hummingbirds): 1/2000–1/4000 sec.
- Medium Birds (kingfishers, parrots): 1/1600–1/2500 sec.
- Large Birds (herons, eagles, condors): 1/1000–1/1600 sec.
- Creative Wing Blur: 1/250–1/500 sec for artistic motion.
💡 Tip: Always err on the faster side—motion blur is harder to fix than high ISO noise.
Aperture: Balancing Depth and Light
Aperture determines how much of your subject is in focus and how blurred the background appears.
- f/4 – f/5.6: Shallow depth of field, beautifully blurred backgrounds, but focus must be precise.
- f/8: Safe choice—sharp details with enough depth for entire bird in focus.
- f/11: Useful when photographing groups of birds or in bright conditions.
Beginners often prefer f/7.1–f/8 to increase sharpness margin, while experts may use f/4–f/5.6 for dramatic bokeh.
ISO: Managing Light and Noise
Bird photography often takes place in low light—dense forests, dawn, or cloudy days. ISO compensates for dim conditions.
- Daylight: ISO 100–400.
- Cloudy Forests: ISO 800–1600.
- Low Light Flight Shots: ISO 3200–6400.
Modern cameras handle high ISO better, but beginners should test their camera’s noise tolerance. Always balance ISO with shutter speed—a sharp noisy photo is better than a blurry clean one.
Autofocus Settings: Locking on to Fast Subjects
Birds move quickly and unpredictably, so autofocus (AF) settings are critical.
Continuous Autofocus (AI Servo / AF-C)
- Always use continuous AF for moving birds.
- Tracks subjects while you pan.
Focus Area Modes
- Wide/Tracking AF: For erratic flight.
- Zone AF: For medium-sized birds in flight.
- Single Point AF: For perched or predictable movement.
Eye Tracking AF
Many modern mirrorless cameras have eye-detection AF for animals—a game changer for sharp bird shots.
Metering and Exposure Compensation
Lighting can change rapidly in the field. Use these settings wisely:
- Evaluative/Matrix Metering: Best for balanced exposures.
- Spot Metering: Useful for high-contrast scenes (bird against sky).
- Exposure Compensation: +1/3 to +2/3 stops often helps when birds appear dark against bright skies.
Drive Mode: Burst Shooting
Set your camera to high-speed continuous shooting.
- Beginners: 6–8 fps is fine.
- Experts: 20+ fps ensures you catch the perfect wing position.
- Remember: bursts fill memory cards quickly—use fast cards and carry spares.
White Balance and Color
- Daylight Setting works well in most conditions.
- Cloudy Setting warms tones in overcast forests.
- Auto WB is reliable, especially for beginners.
- Experts may shoot RAW and adjust later for maximum flexibility.
Image Stabilization
- Lens IS / IBIS (In-Body Image Stabilization) helps when handholding long lenses.
- Turn it off when panning with fast birds—it can interfere with smooth motion.
Beginner-Friendly Settings Cheat Sheet
If you’re starting out, here’s a universal starting point for perched and flight shots:
- Mode: Shutter Priority (S/Tv)
- Shutter Speed: 1/2000 sec
- Aperture: Auto (usually f/5.6–f/8)
- ISO: Auto, max ISO 3200
- AF Mode: Continuous AF (AI Servo/AF-C)
- Drive: High-speed continuous
- Metering: Evaluative/Matrix
Advanced Settings for Experts
For professionals fine-tuning in the field:
- Mode: Manual with Auto ISO
- Shutter Speed: 1/2500 sec for small birds, 1/1600 for large raptors
- Aperture: f/5.6 for bokeh, f/8 for depth
- ISO: Float between 400–6400 depending on light
- AF: Wide Tracking + Eye Detection
- Burst: 20 fps
Experts may also customize buttons—back-button focus, focus area switching, or burst speed toggles—for instant adaptability.
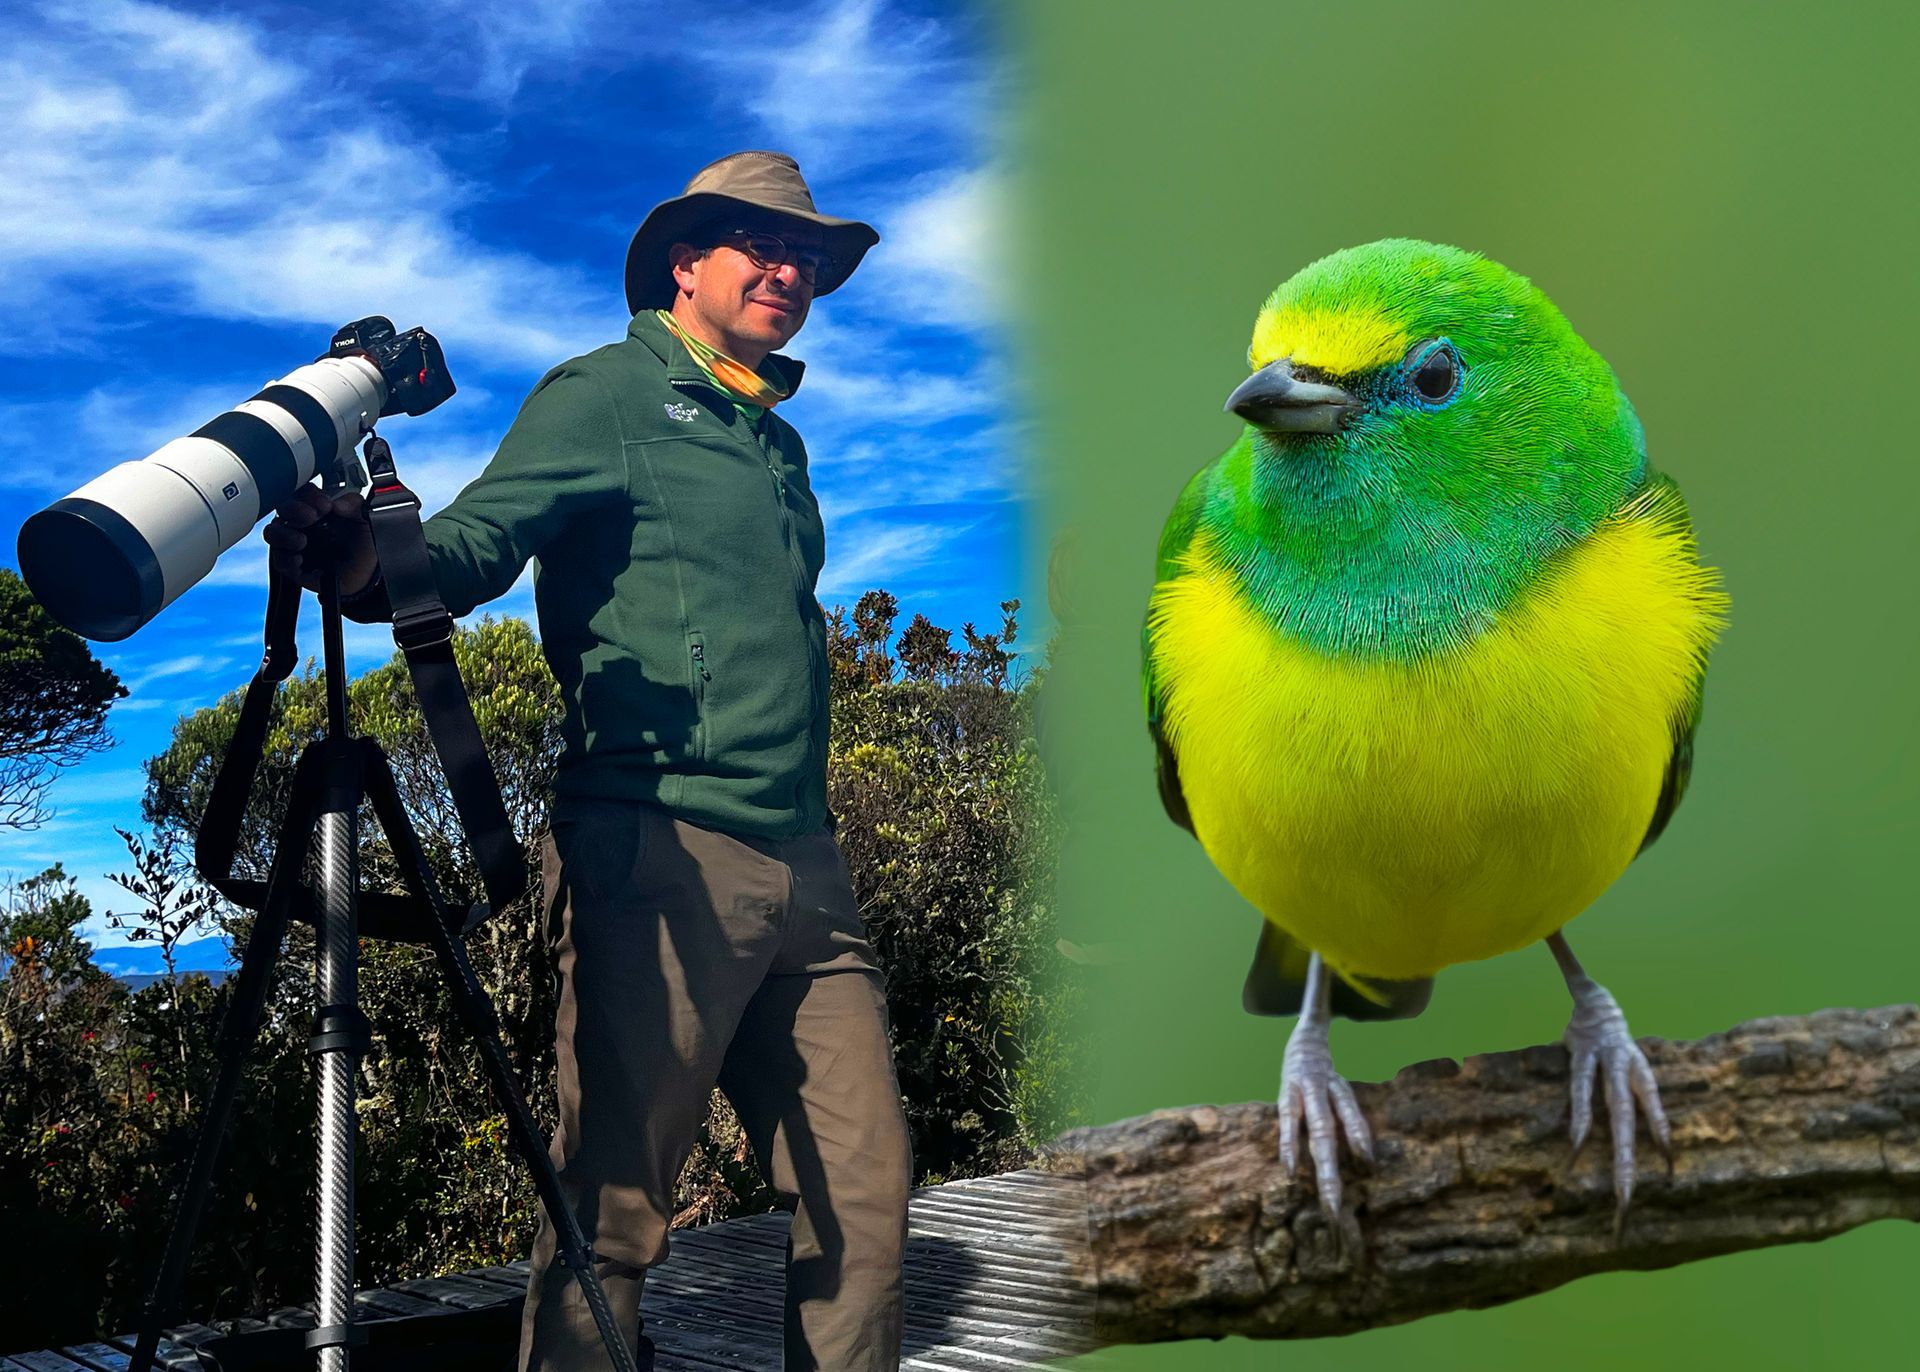
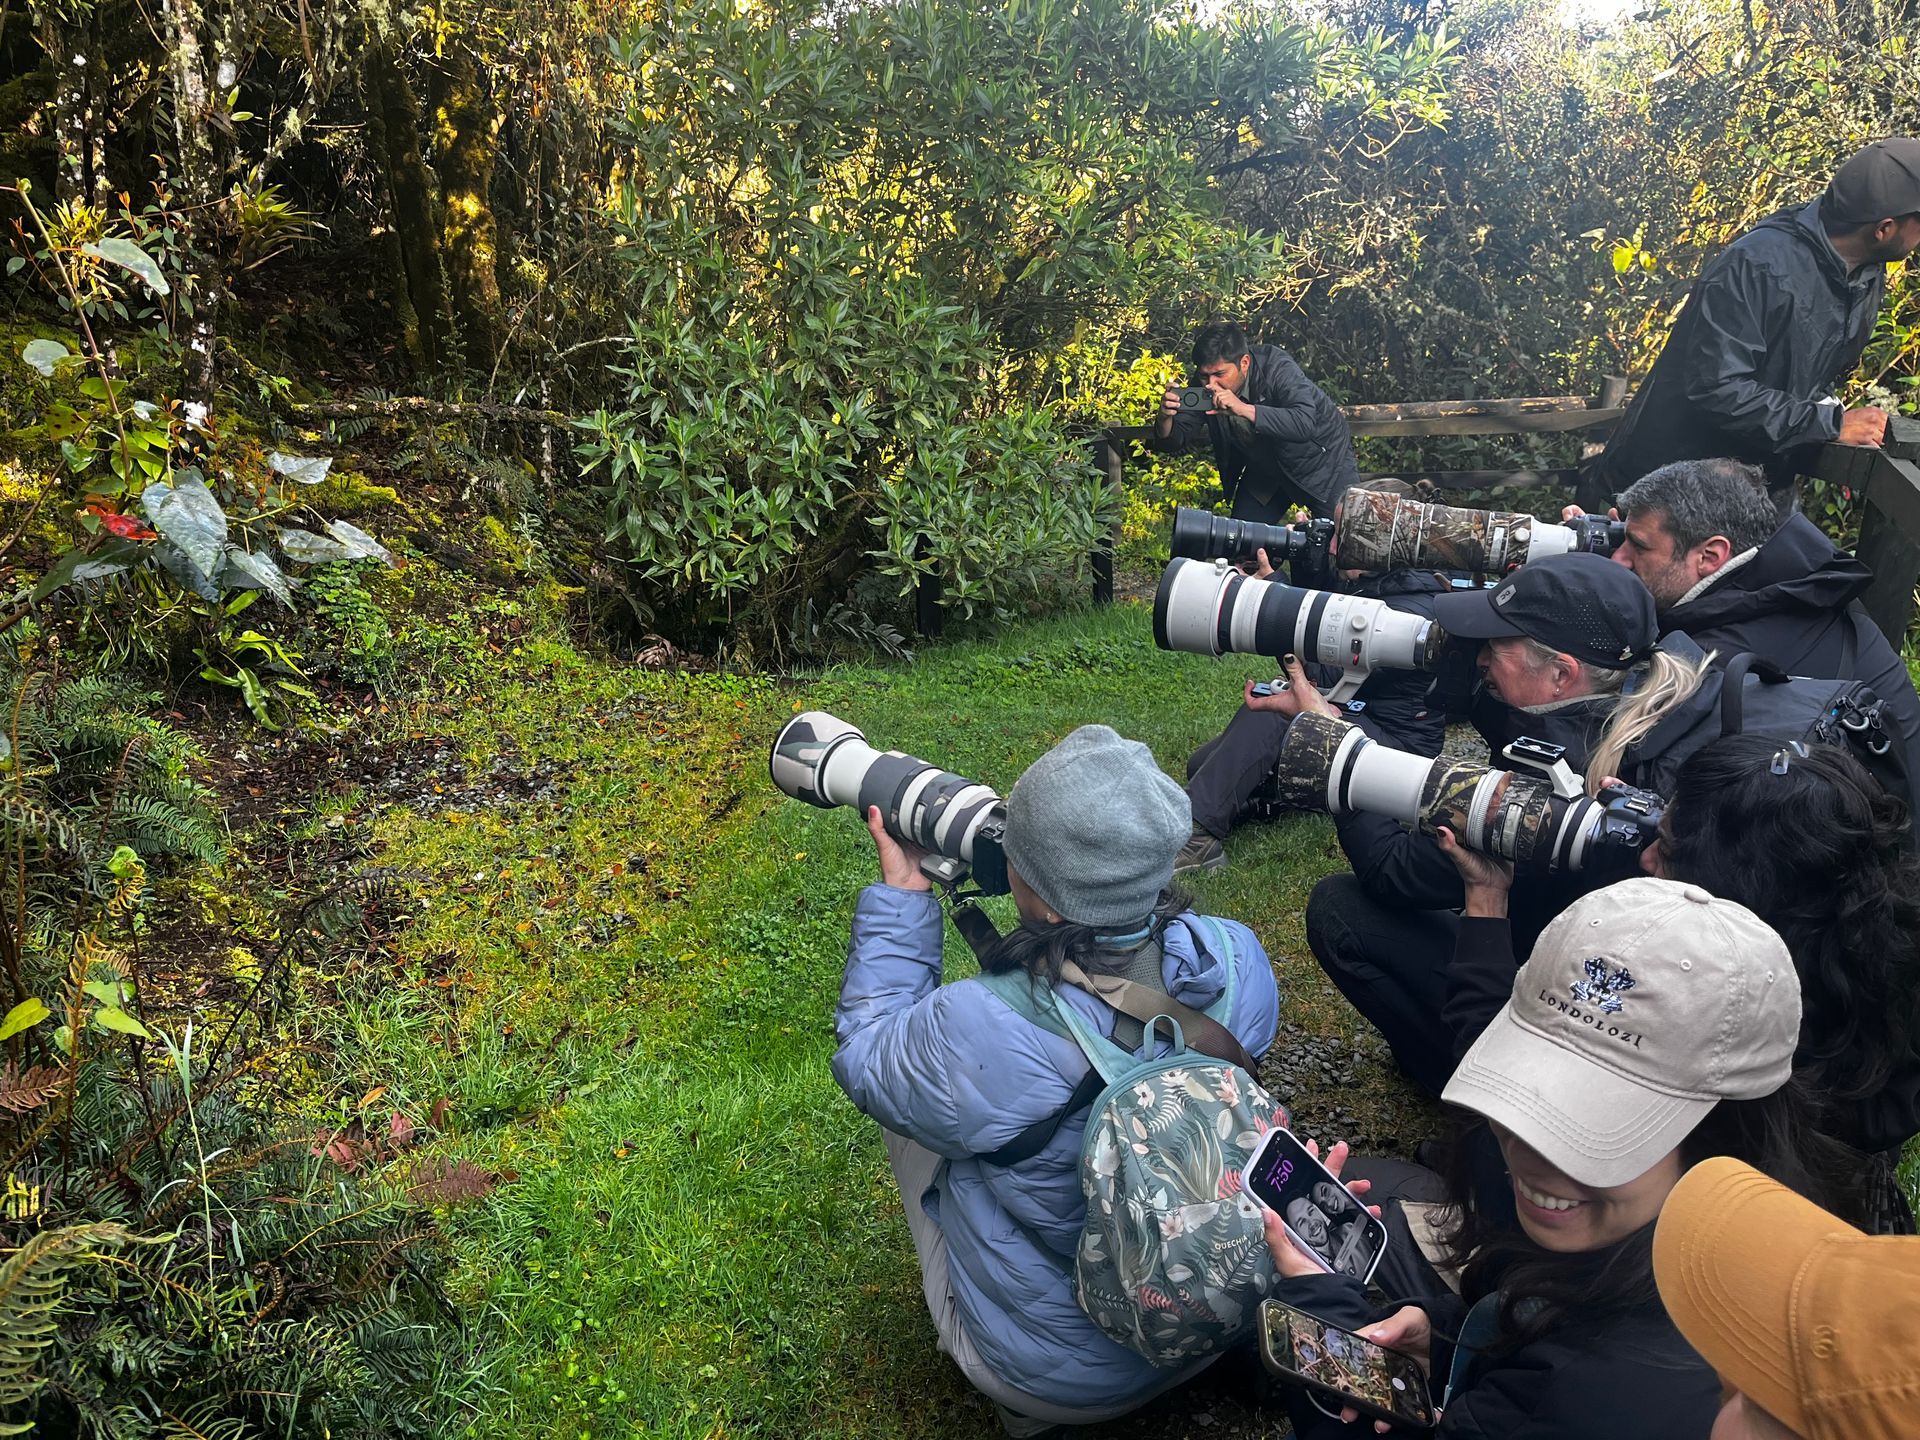
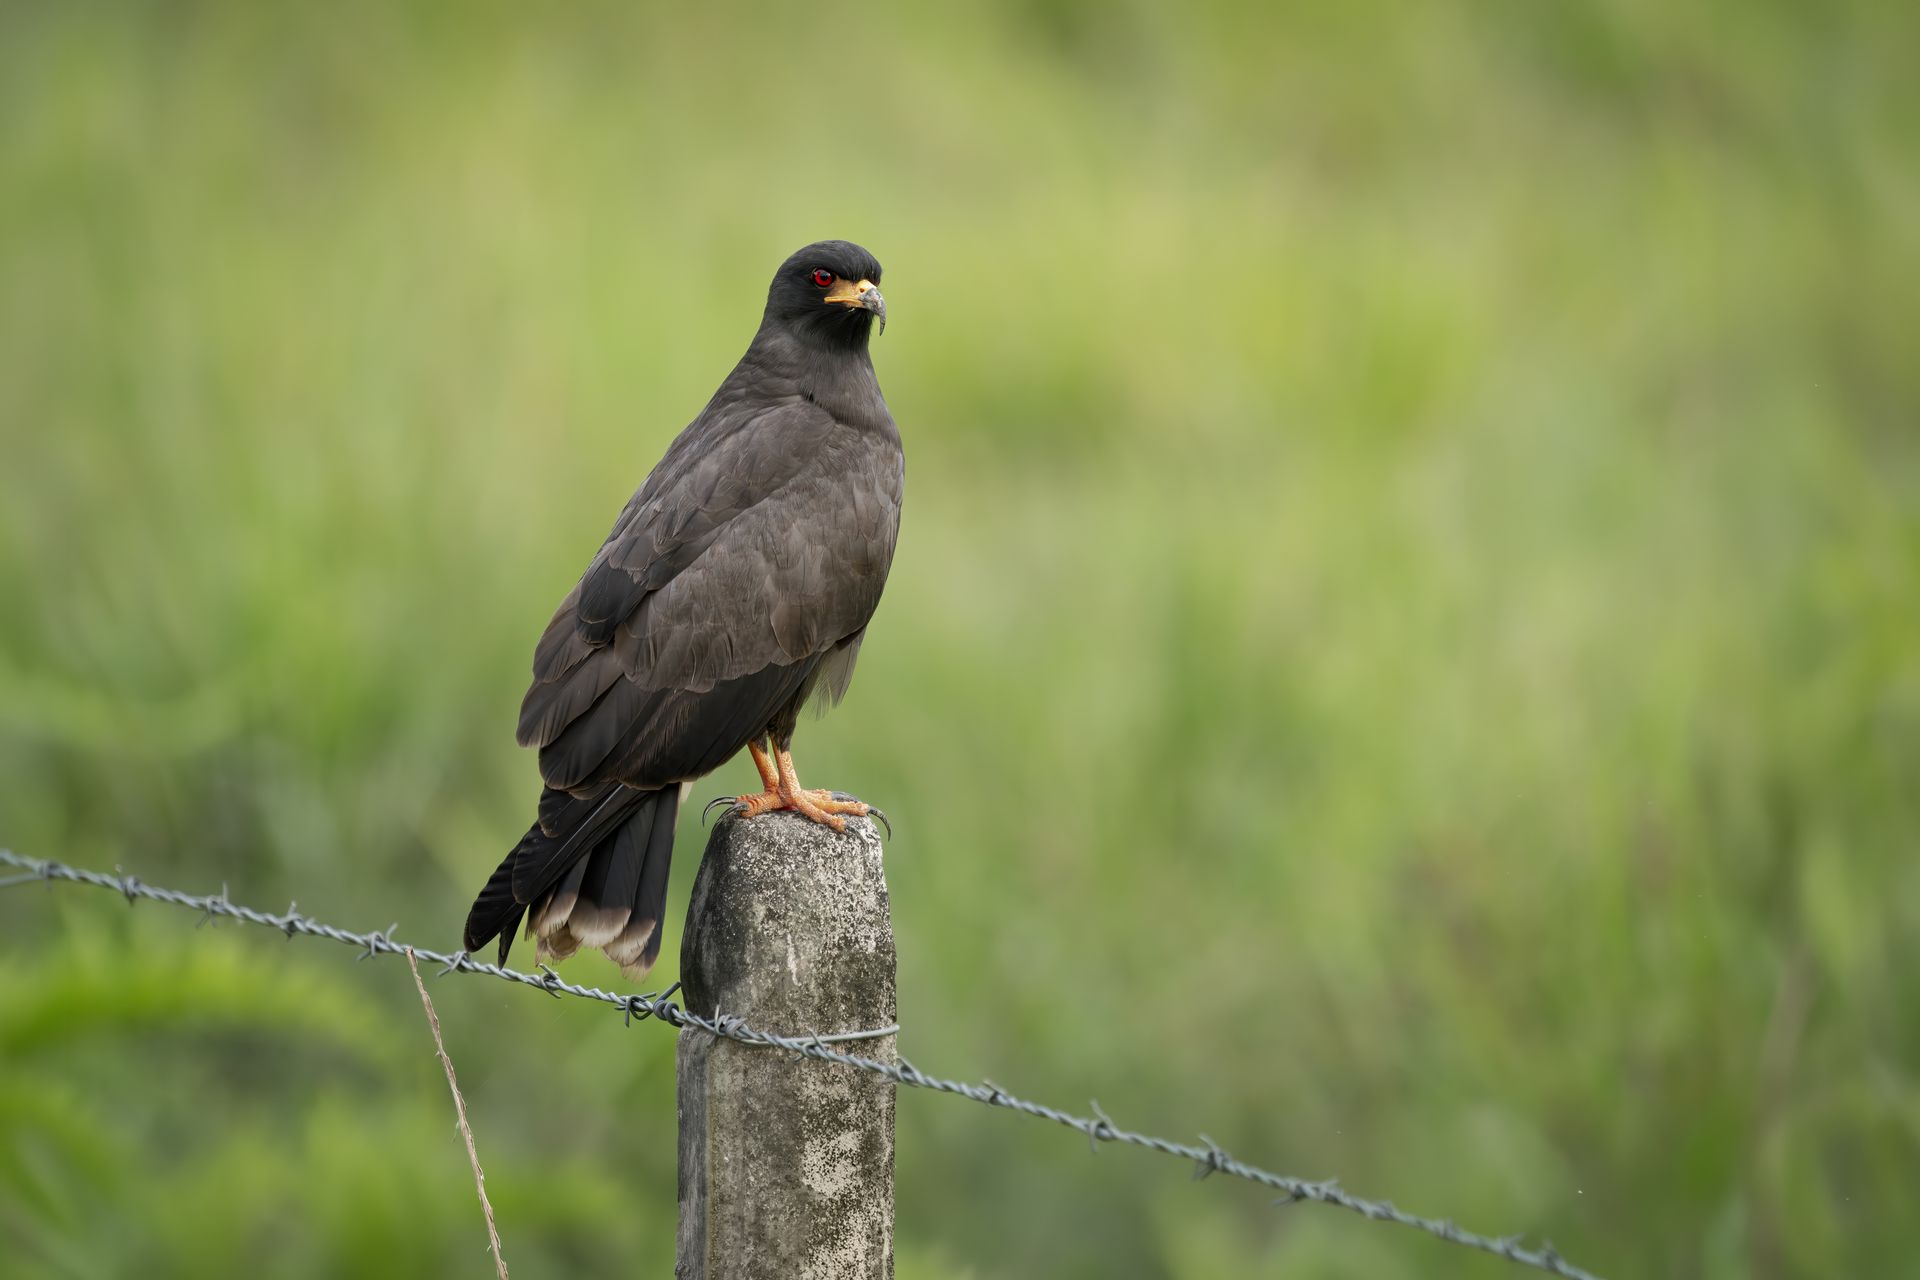
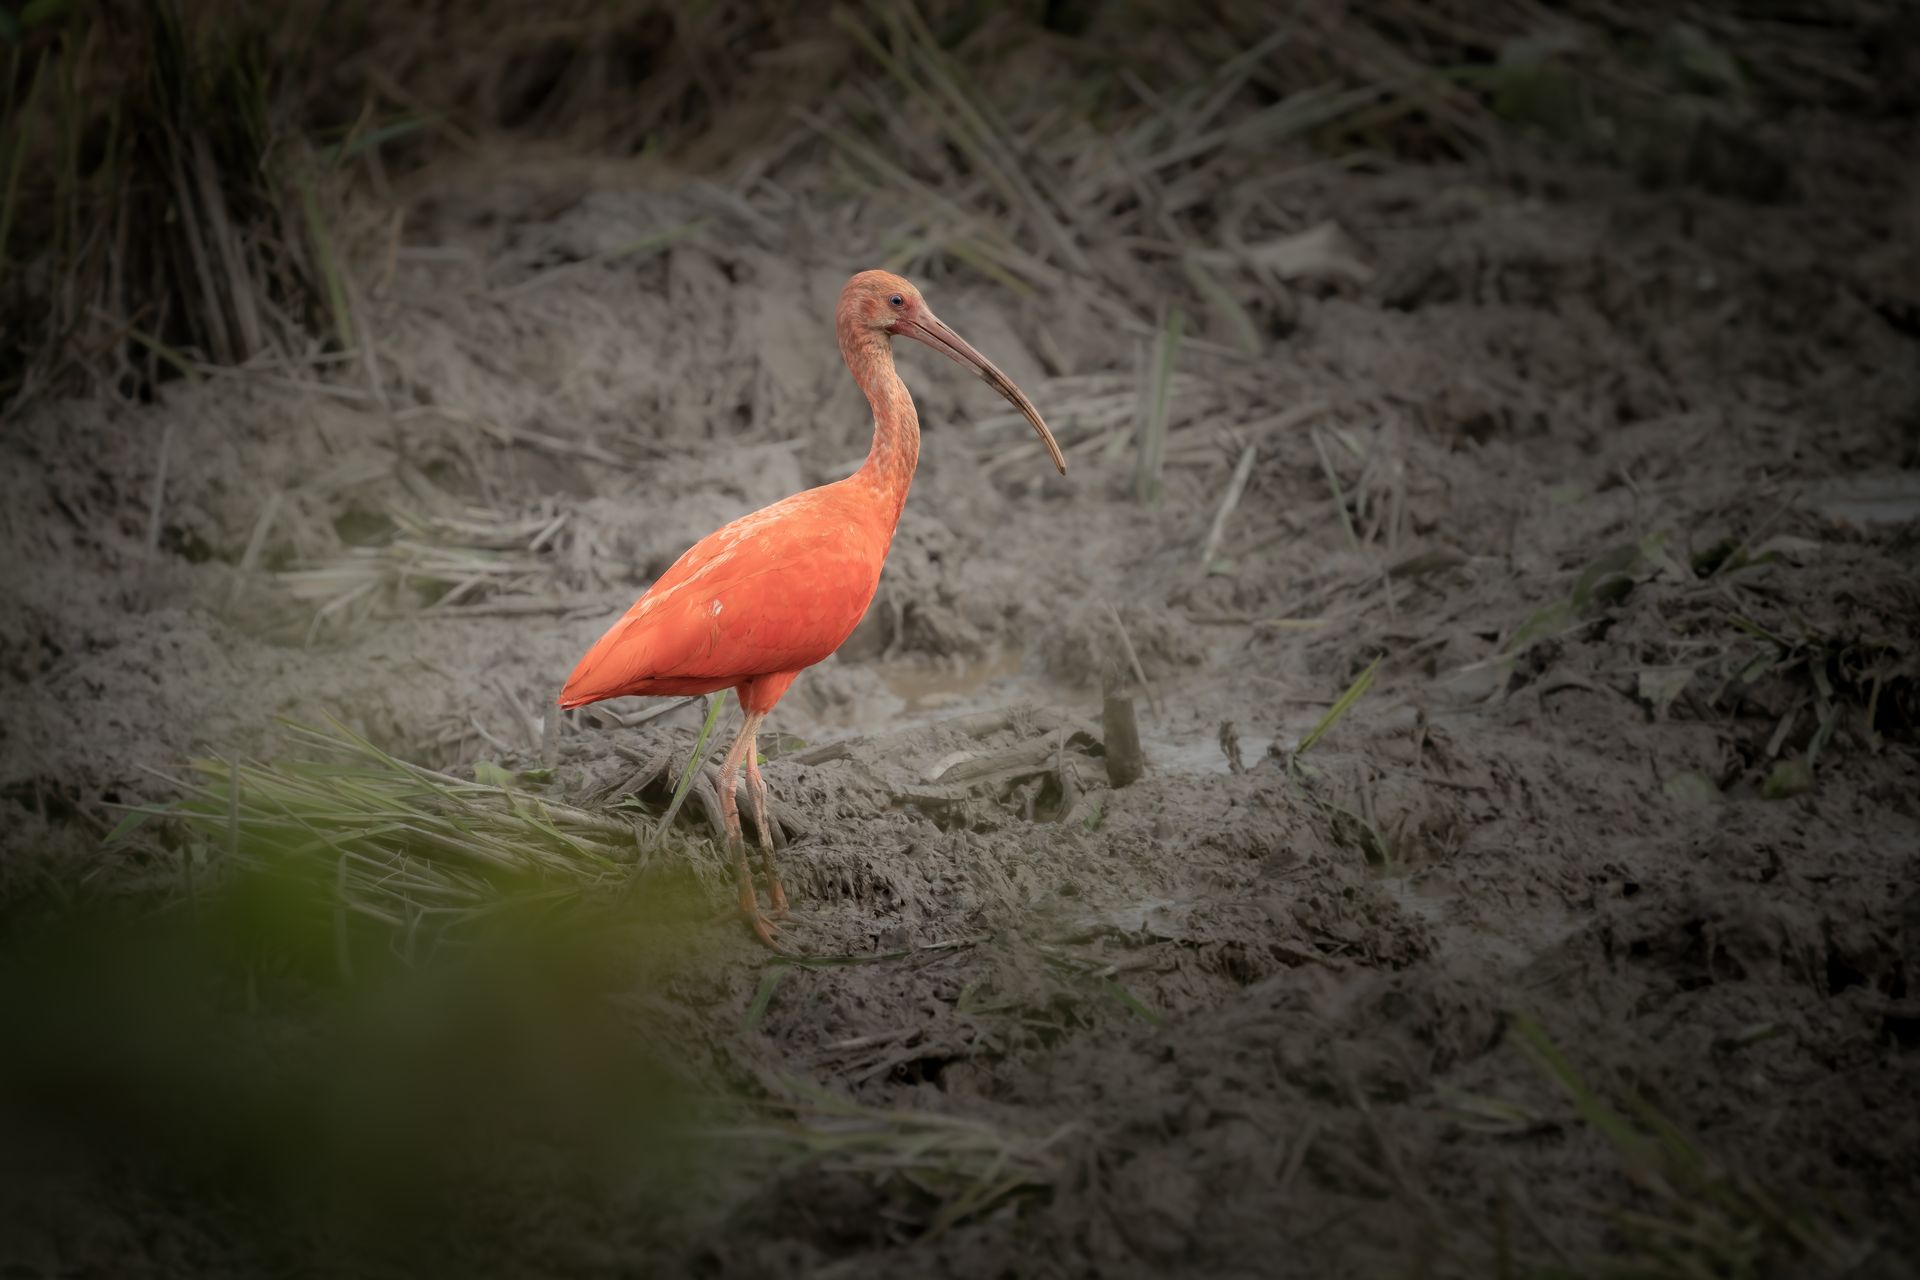
Colombia as the Perfect Training Ground
Colombia, the world’s birding capital with 1,900+ species, is the ideal place to test and refine your settings.
- Hummingbirds: Test extreme shutter speeds (1/4000 sec).
- Andean Condor: Practice slower pans at 1/1000 sec.
- Parrots & Macaws: Try group flight compositions with f/8–f/11.
- Forest Tanagers: Push ISO in dim Andean cloud forests.
From the Llanos wetlands to the Amazon canopy, Colombia’s diversity helps beginners learn quickly while giving experts endless challenges.
Common Mistakes to Avoid
- Too Slow Shutter Speed → blurry wings and bodies.
- Ignoring Light Direction → underexposed or silhouetted birds.
- Chopping Wings → not leaving enough frame space.
- Over-Reliance on Auto Mode → lack of control in tricky light.
- Not Practicing with Common Birds → every missed chance builds frustration.
Practice Drills for All Levels
- Local Parks: Practice panning on pigeons or gulls.
- Hummingbird Feeders: Perfect high-speed hovering shots.
- Raptors: Anticipate flight paths and test tracking modes.
- Low Light: Photograph in the shade to build ISO handling skills.
Final Thoughts
The best settings for bird photography depend on your subject, environment, and skill level. Beginners should focus on shutter priority with Auto ISO, while experts can push boundaries with manual exposure, eye-tracking AF, and custom button setups.
What remains constant is the need for fast shutter speeds, accurate autofocus, and adaptability in the field. Colombia and other birding hotspots provide the perfect classroom, but even your local park offers opportunities to refine skills.
Bird photography is not just about the right settings—it’s about patience, observation, and appreciation for these incredible creatures. Once your camera is dialed in, the magic happens when you connect with the rhythm of flight, the play of light, and the fleeting moments that transform into timeless images.