Flight Mode: How to Photograph Birds Like a Pro
Flight Mode: How to Photograph Birds Like a Pro
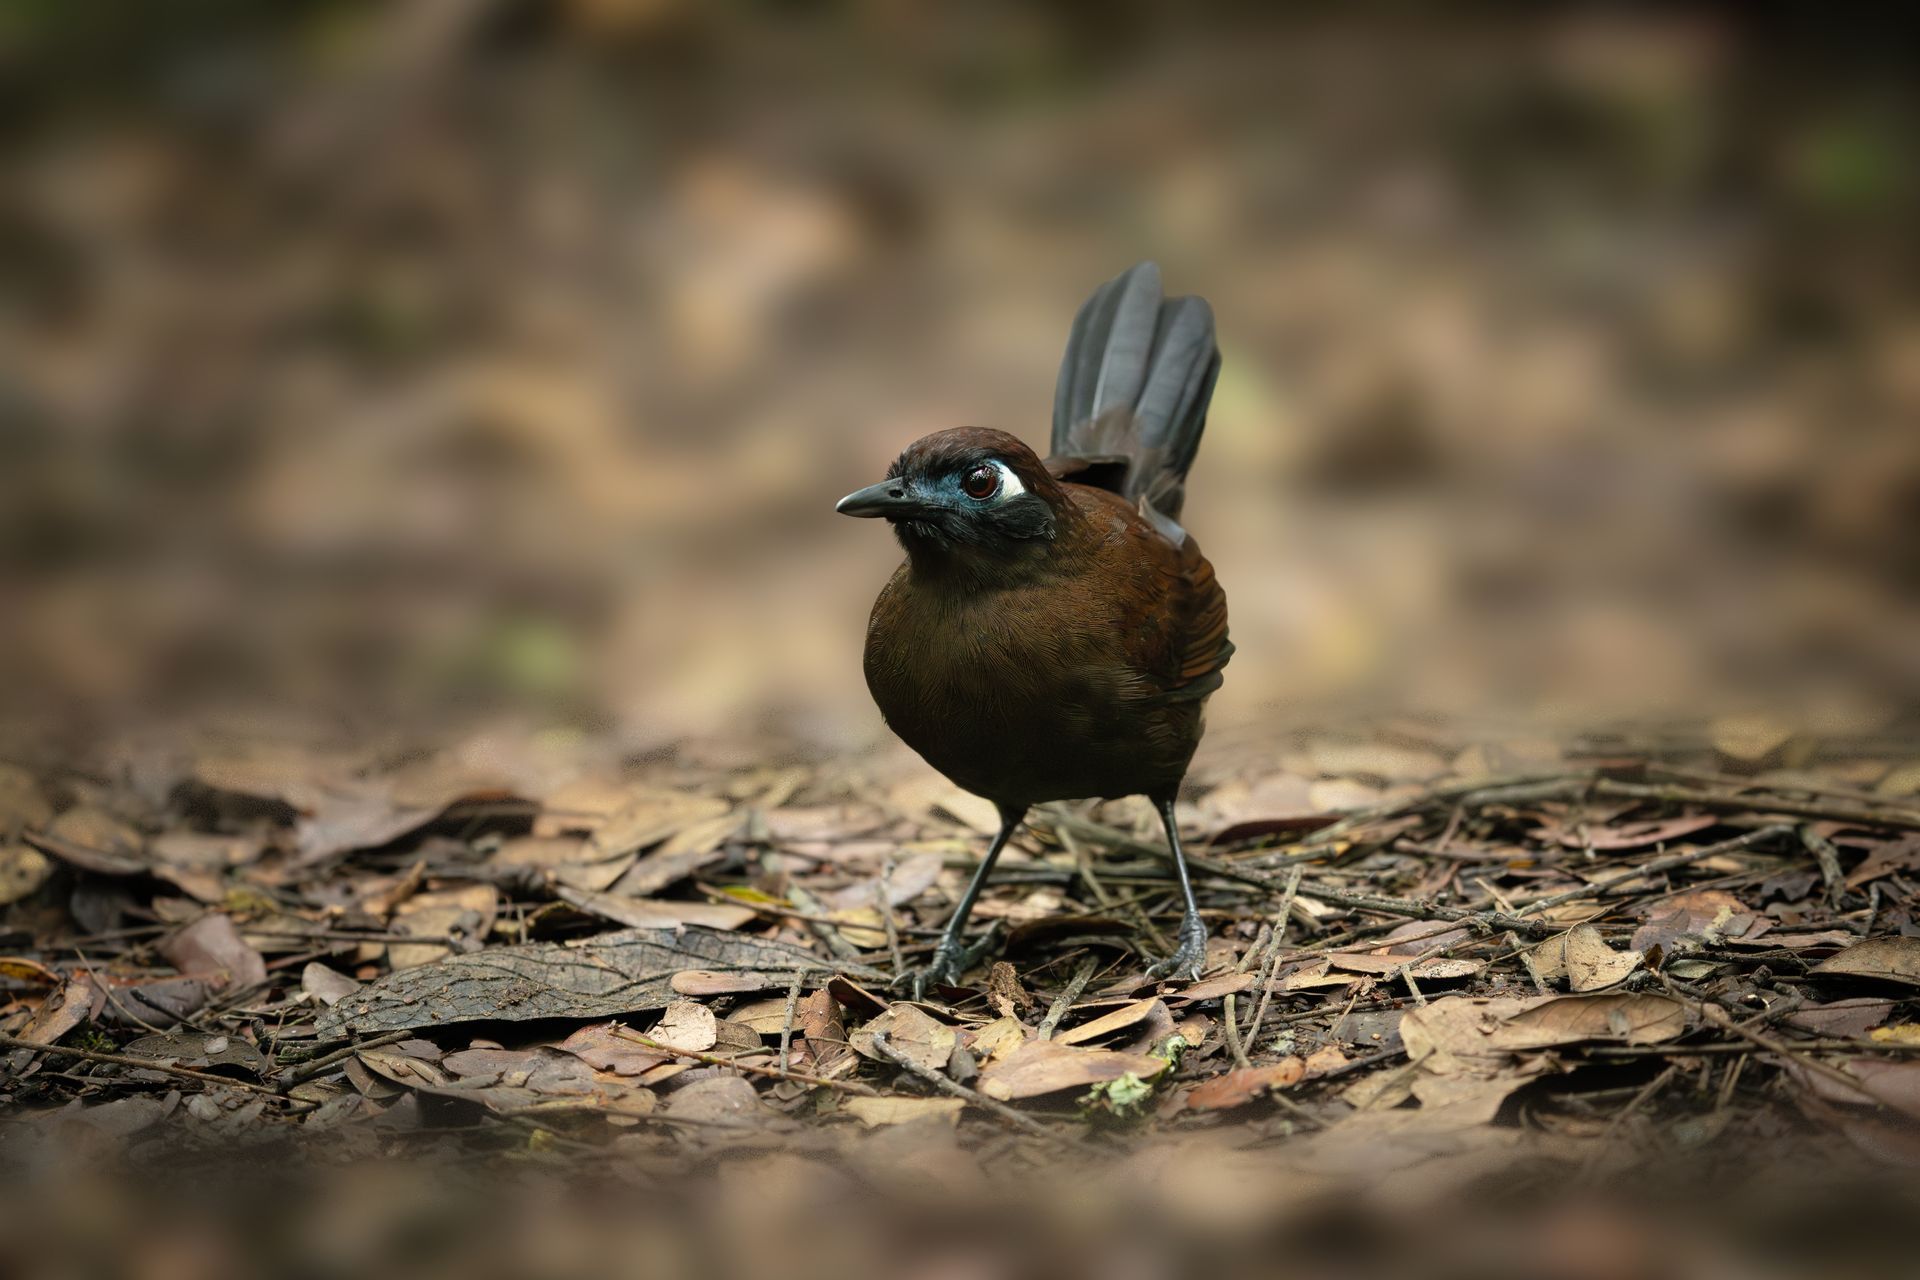
Bird photography is one of the most rewarding yet challenging genres of wildlife photography. While perched birds provide great opportunities to capture intricate feather details and natural behaviors, the true test of skill lies in photographing birds in flight. Freezing a bird mid-air, with its wings outstretched or in a graceful dive, can transform a simple shot into a masterpiece.
Colombia, known as the world’s birding capital, is home to more than 1,900 bird species, making it one of the best places on Earth to practice flight photography. Whether it’s a hummingbird hovering at a flower, a majestic Andean Condor gliding through the skies, or a Scarlet Macaw soaring above the Amazon canopy, Colombia provides the perfect backdrop for learning and mastering this art.
This guide, Flight Mode: How to Photograph Birds Like a Pro, takes you through everything you need to know—camera settings, equipment, techniques, and field strategies—to consistently capture sharp, compelling flight shots.
Understanding the Challenge of Birds in Flight
Photographing birds in flight (often abbreviated as BIF) combines elements of speed, unpredictability, and technical mastery. Birds are fast, agile, and often erratic in the sky, and capturing them requires:
- Fast shutter speeds to freeze motion.
- Accurate focus tracking to keep up with movement.
- Proper exposure settings to deal with changing light.
- Patience and practice to anticipate flight paths.
Unlike perched shots, flight images demand you react in fractions of a second. This is why preparation, gear choice, and familiarity with your subject are critical.
Essential Gear for Bird Flight Photography
The right tools don’t guarantee success, but they increase your chances dramatically. Here’s what professional bird photographers recommend:
Camera Body
- Fast Autofocus System: A camera with reliable subject tracking is crucial.
- High Frame Rate (FPS): At least 10–20 frames per second helps capture wing positions.
- Good Buffer & Processor: To handle long bursts without slowing down.
Examples: Canon R5/R7, Nikon Z9, Sony A1/A9 series, and similar models.
Lenses
- Telephoto Reach: A 400mm–600mm lens (prime or zoom) allows you to frame birds mid-air.
- Zoom Flexibility: Lenses like 100–400mm or 200–600mm are versatile when birds change distance quickly.
- Fast Aperture: f/4 or f/5.6 helps in low light and keeps shutter speeds high.
Accessories
- Sturdy Tripod or Gimbal Head (optional for larger lenses).
- Comfortable Harness or Strap for long sessions.
- Extra Batteries & Memory Cards—burst shooting consumes both quickly.
Camera Settings for Flight Mode
To capture crisp, professional-quality shots, you need to master your camera’s flight mode settings.
Shutter Speed
- Minimum 1/2000 sec for small fast birds (hummingbirds, swifts).
- 1/1000–1/1600 sec for larger birds (raptors, waterfowl).
- Experiment with slower speeds (1/250–1/500 sec) for artistic wing blur.
Aperture
- f/5.6–f/8 provides a balance between depth of field and light gathering.
- Wider apertures (f/4) isolate subjects beautifully but require precise focus.
ISO
- Start with Auto ISO and set a maximum you’re comfortable with (e.g., ISO 6400).
- Colombia’s cloud forests often require higher ISO due to dim light.
Autofocus Mode
- Continuous AF (AI Servo/AF-C) to track moving birds.
- Wide/Tracking AF Zones for erratic fliers.
- Single Point AF for predictable flight paths.
Drive Mode
- High-Speed Continuous Shooting—capture multiple wingbeats in a burst.
Stabilization
- Keep IBIS (In-Body Image Stabilization) or lens stabilization active, especially when handholding.
Techniques to Photograph Birds in Flight
Even with the best gear, success comes from field technique.
1. Learn Bird Behavior
Understanding bird habits helps anticipate movement:
- Raptors often circle before diving.
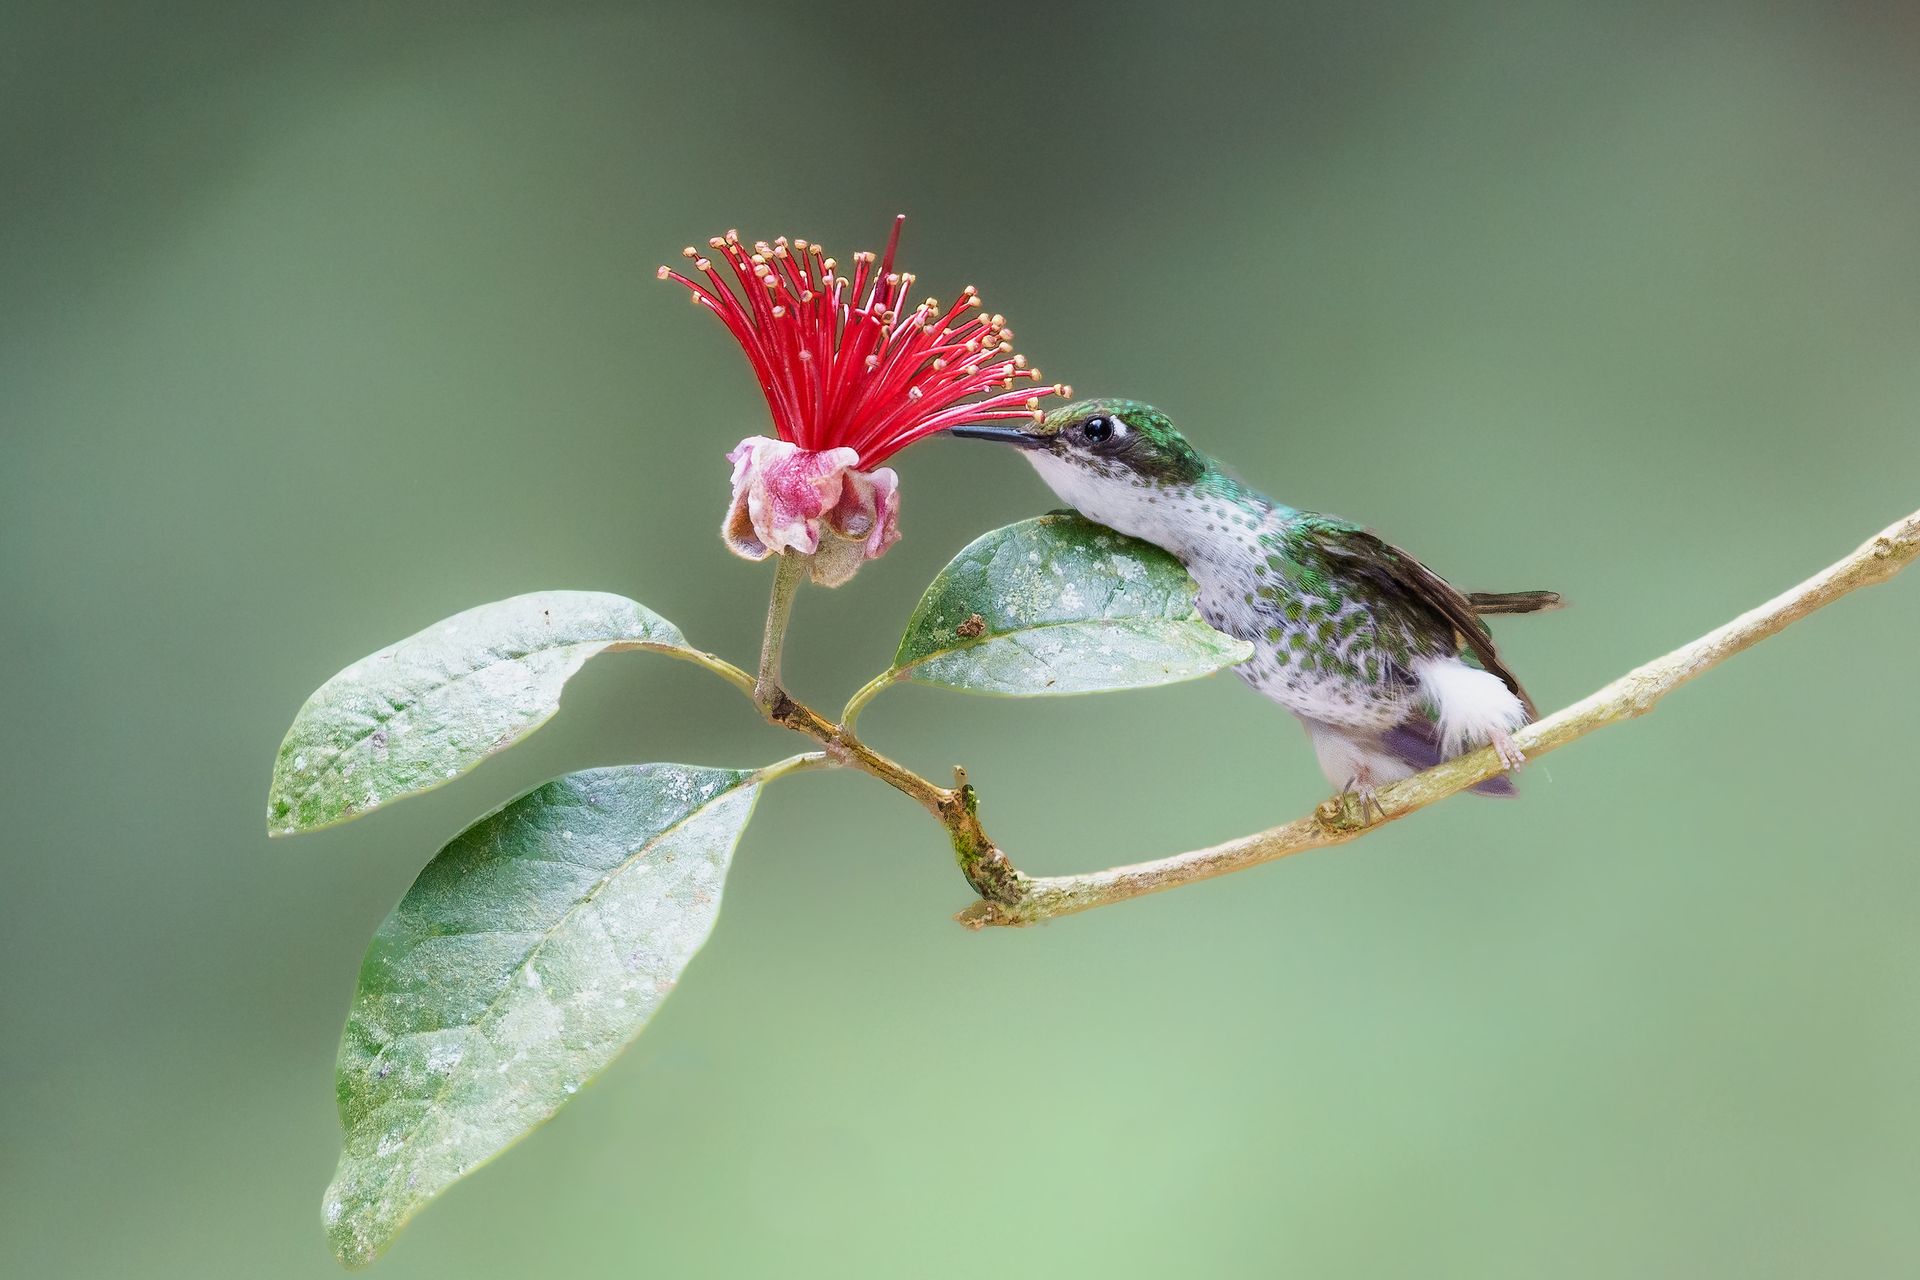
- Hummingbirds hover briefly between flowers.
- Shorebirds take off in flocks with predictable patterns.
2. Practice Panning
- Track the bird smoothly while matching its speed.
- Keep elbows tucked for stability.
- Use your waist rather than just arms to pivot.
3. Focus on the Eyes
- Sharp eyes make or break a flight photo.
- Use eye-tracking autofocus if your camera supports it.
4. Position Yourself with Good Light
- Keep the sun behind you to illuminate feathers.
- Side lighting creates dramatic wing shadows.
- Backlighting can highlight translucent feathers (e.g., hummingbirds).
5. Anticipate the Take-Off and Landing
- Birds often give subtle signals—wing flutters, crouching—before launching.
- Pre-focus on perches or favorite flowers to be ready.
6. Use Backgrounds Wisely
- A blurred forest or mountain backdrop adds depth.
- Avoid clutter that distracts from the bird.
Colombia: A Paradise for Bird Flight Photography
Colombia’s diverse ecosystems offer endless opportunities to practice and perfect flight shots.
Hummingbirds in Flight
- Locations: Jardín Encantado (near Bogotá), Santa Marta Mountains, Reserva Rogitama.
- Tips: Position near feeders or flowers, use fast shutter speeds, and capture hovering.
Raptors Soaring the Andes
- Species: Andean Condor, Black-chested Buzzard-Eagle, Caracaras.
- Best Spots: Chingaza National Park, Los Nevados, Tatacoa Desert edges.
- Tips: Use longer lenses and track circling flight paths.
Macaws and Parrots in the Amazon
- Species: Scarlet Macaw, Blue-and-Yellow Macaw, Mealy Parrot.
- Best Spots: Leticia, Amacayacu National Park.
- Tips: Watch for pairs flying together—symmetry makes powerful compositions.
Waterbirds in the Llanos
- Species: Herons, Ibises, Kingfishers.
- Best Spots: Hato La Aurora, Casanare.
- Tips: Capture dramatic take-offs from rivers and wetlands.
Common Mistakes to Avoid
- Using Too Slow Shutter Speeds – leads to blurry wings and bodies.
- Chopping Wings – not leaving enough frame space for full wingspan.
- Poor Light Angles – shooting into harsh backlight without intent.
- Over-Reliance on Feeders – while useful, natural behavior shots are more rewarding.
- Ignoring Backgrounds – clutter can ruin even sharp flight shots.
Practice Drills for Improving
You don’t need rare birds to practice—try these drills:
- Seagulls or pigeons at local parks to train tracking.
- Dragonflies and butterflies for erratic movement practice.
- Bats at dusk for challenging low-light scenarios.
Consistent practice ensures you’ll be ready when a condor or hummingbird comes into frame in Colombia.
Ethical Considerations
Bird photography must always respect wildlife:
- Never bait or flush birds for flight shots.
- Avoid disturbing nesting or feeding behavior.
- Keep a respectful distance—long lenses exist to minimize intrusion.
- Support reserves and local communities that protect bird habitats.
Final Thoughts
Mastering bird flight photography is a journey of patience, skill, and passion. By combining the right gear, technical knowledge, and practice, you’ll gradually transform missed shots into breathtaking captures.
And there’s no better place to hone these skills than Colombia—the world’s bird capital. From the swift hummingbirds of the Andes to the mighty condors gliding across high mountain skies, Colombia offers challenges and rewards that few other destinations can match.
When you switch your camera to flight mode and prepare for the unpredictability of birds in motion, you’re not just taking photos—you’re documenting the grace of life in the air.