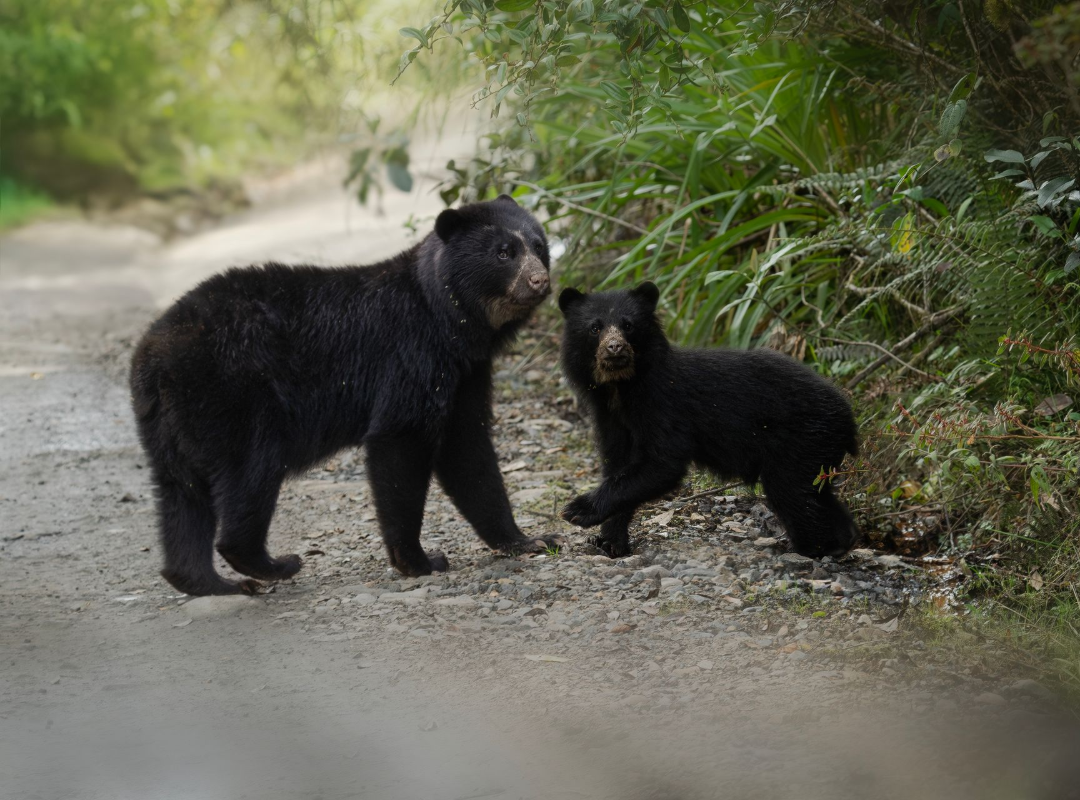
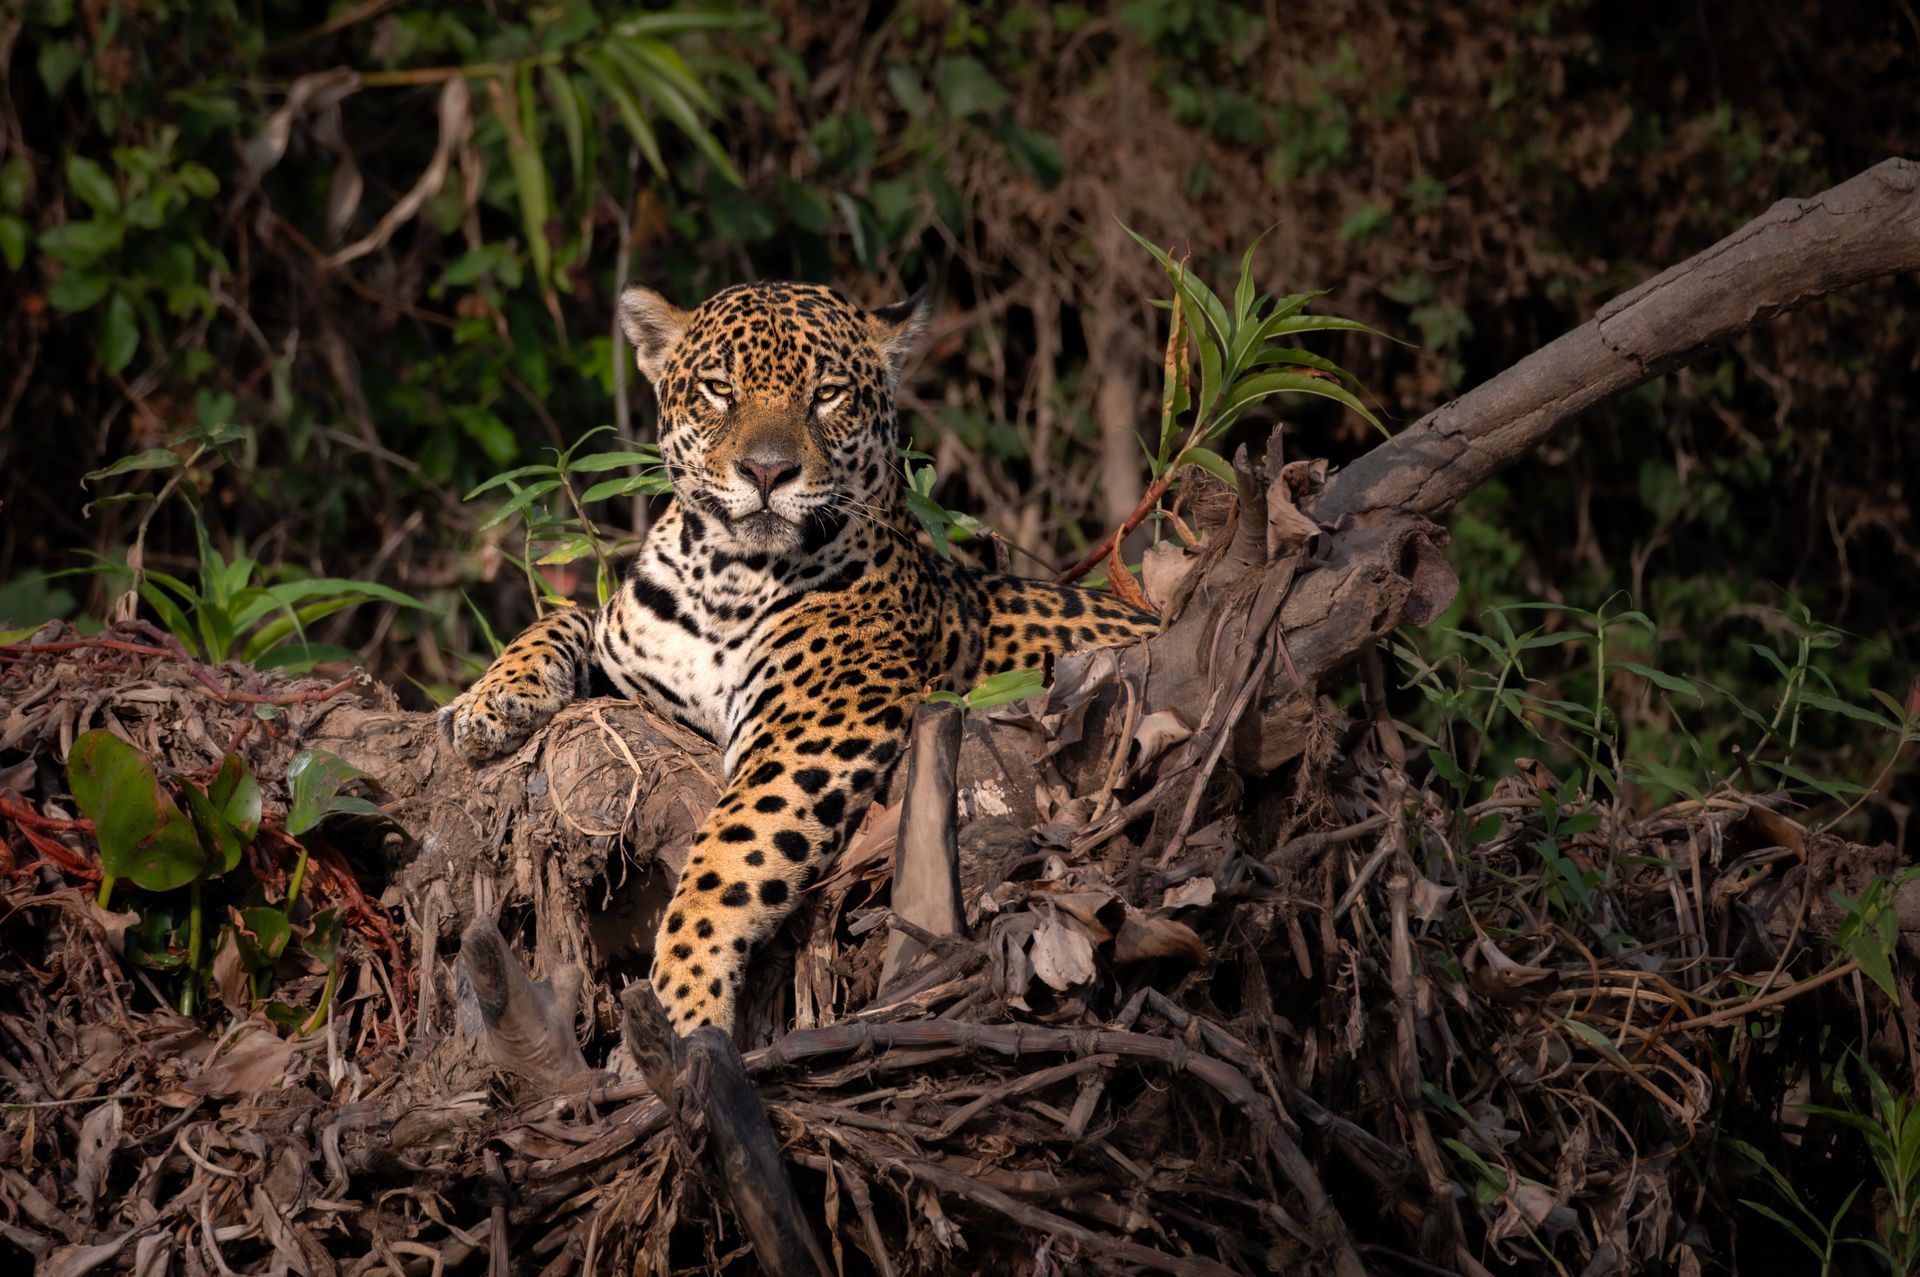
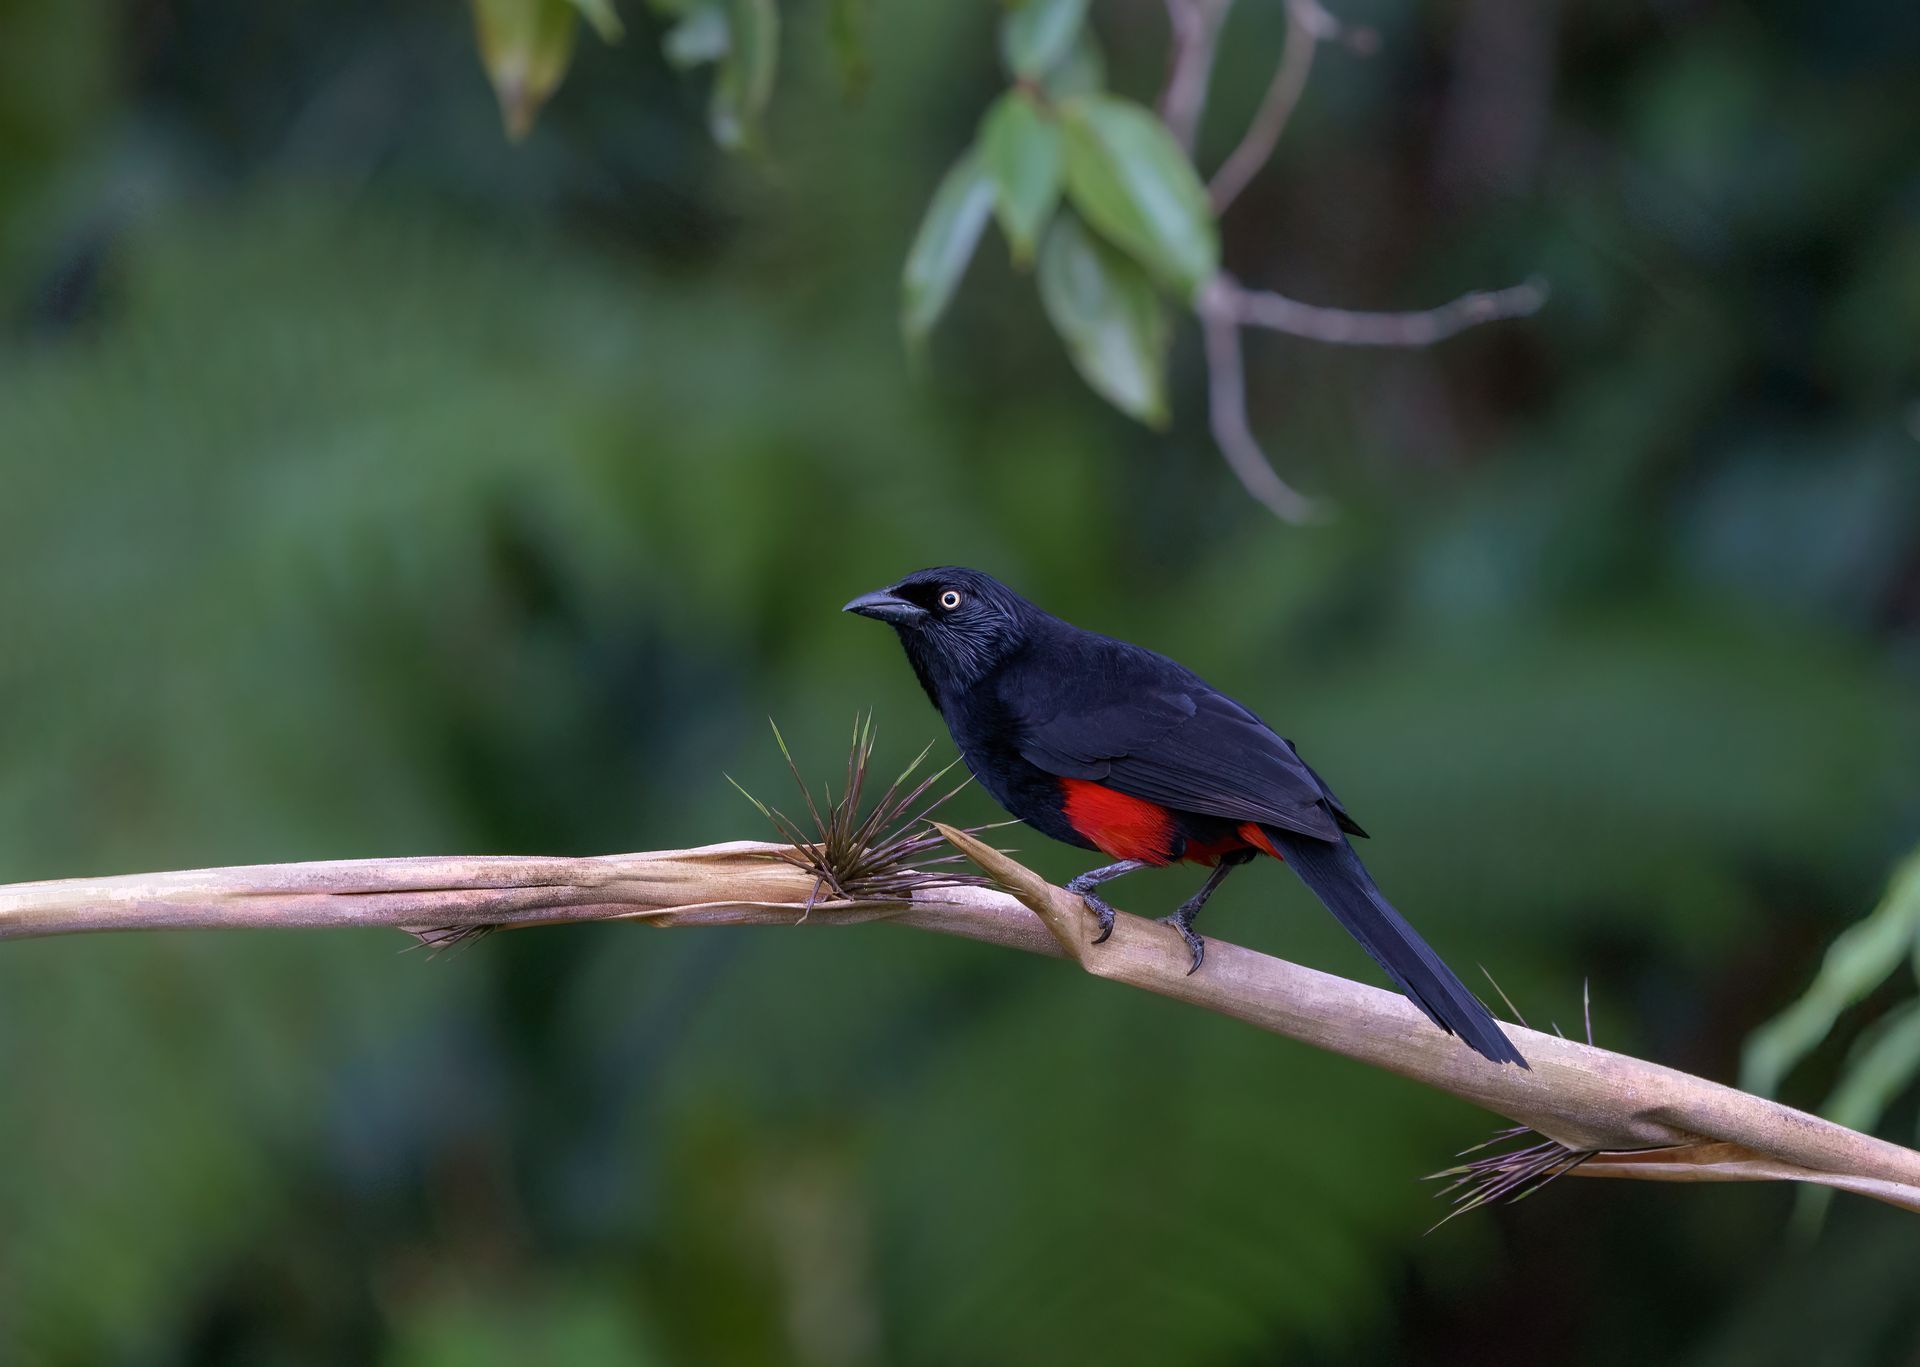
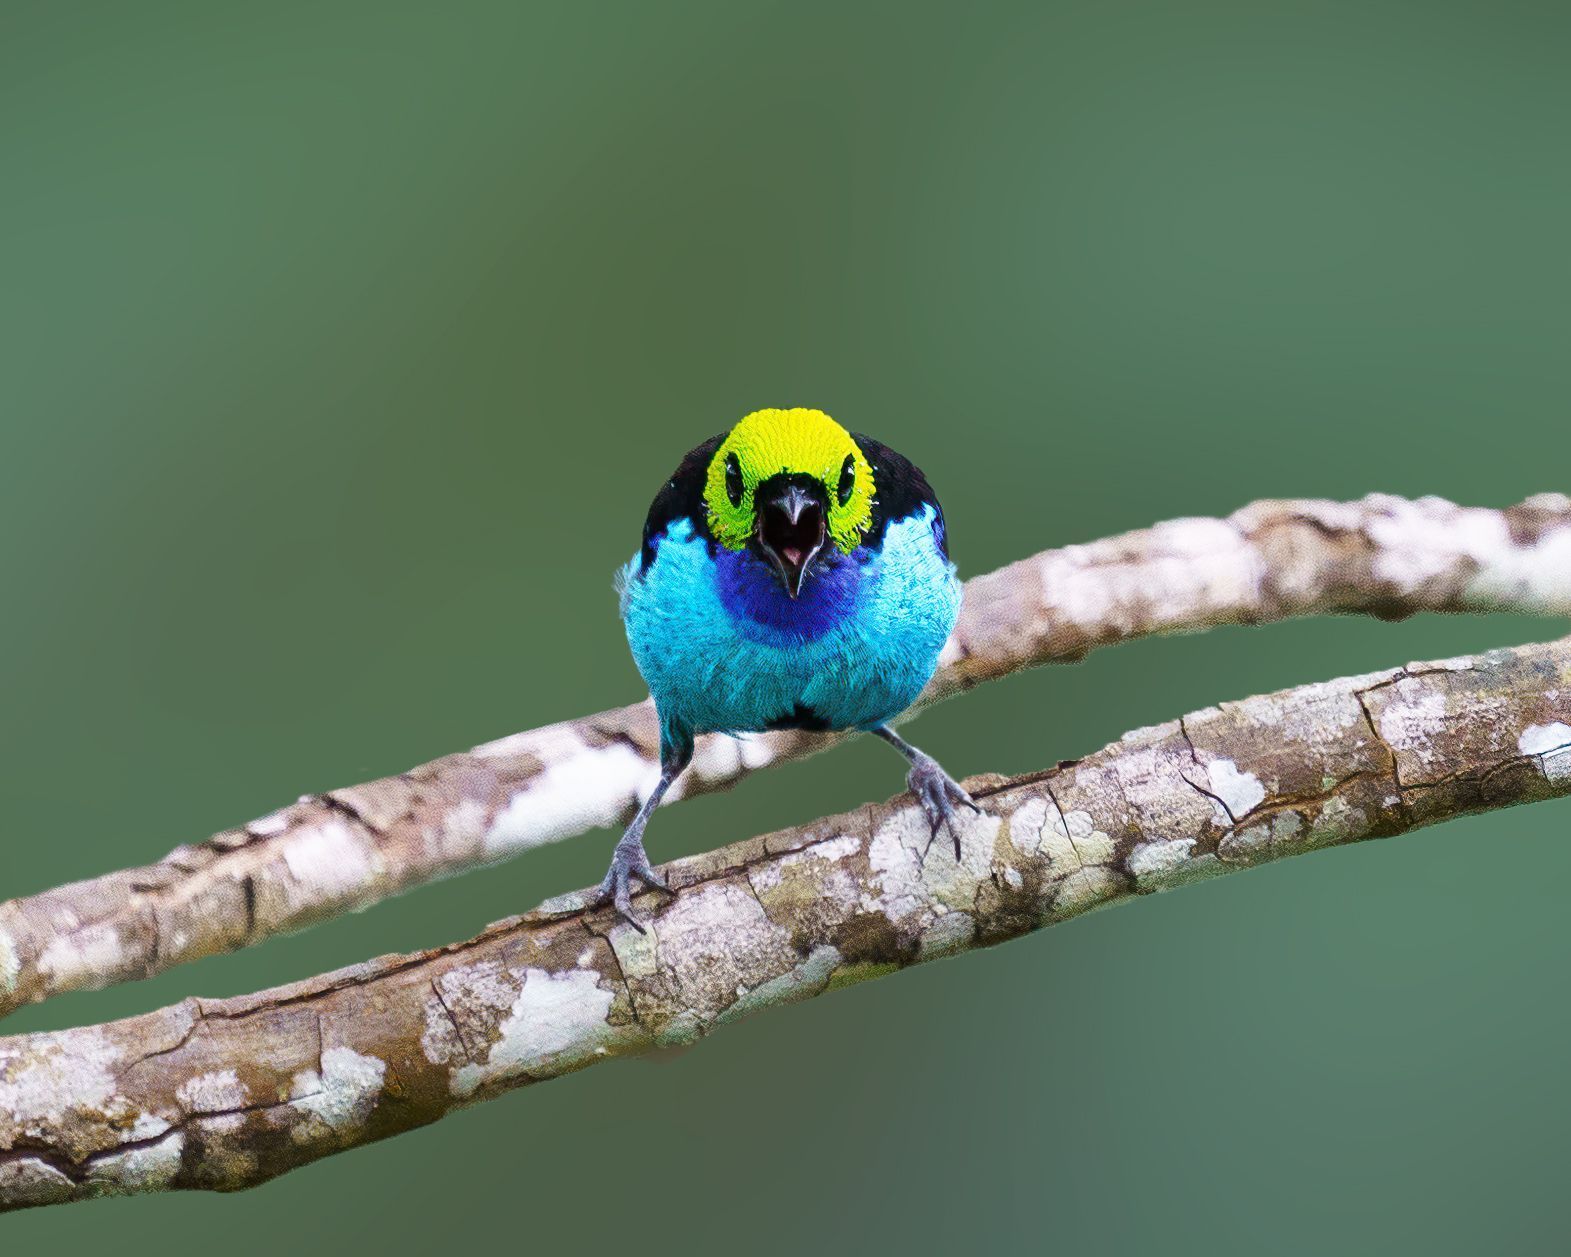
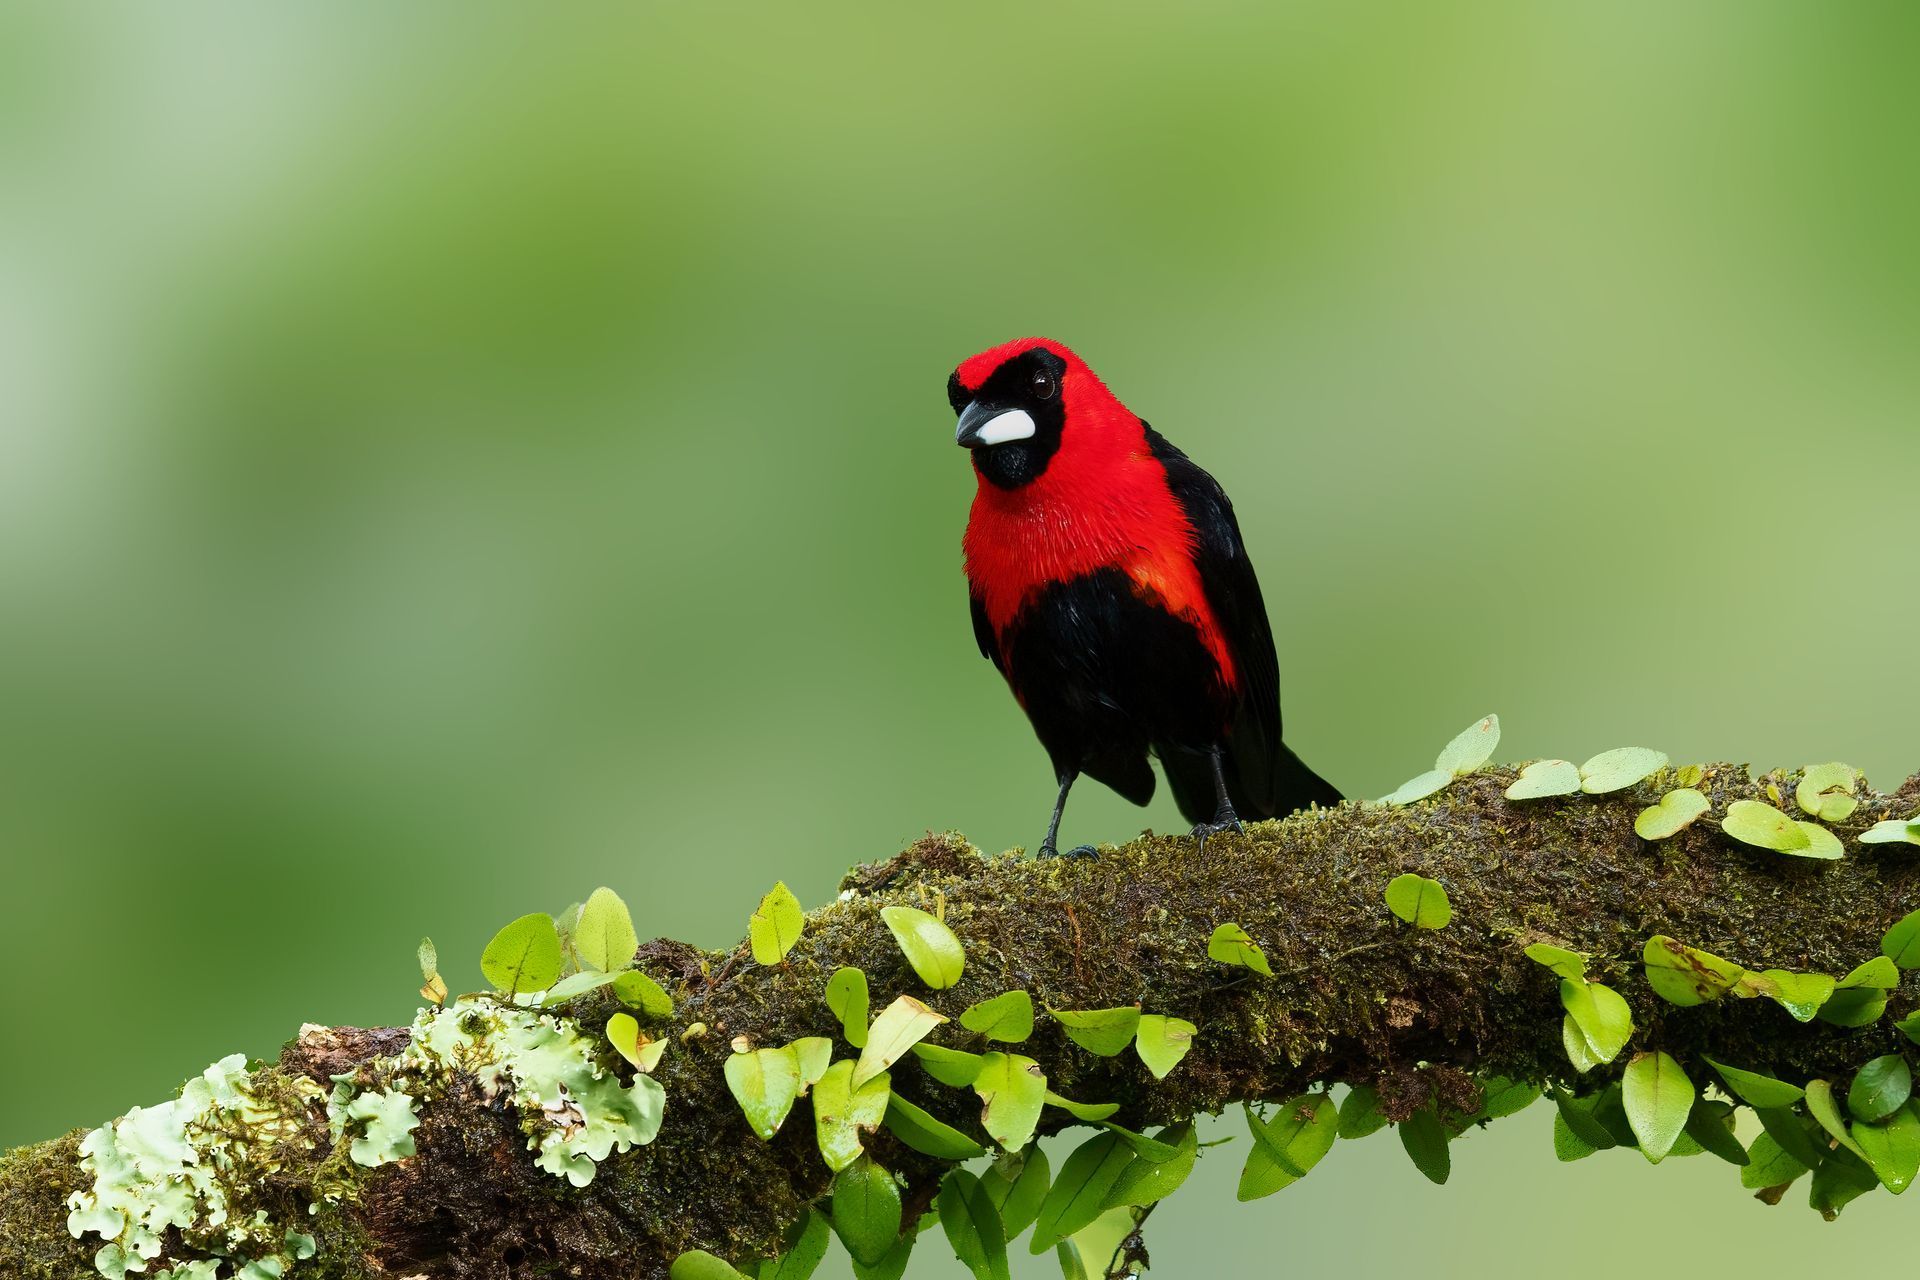
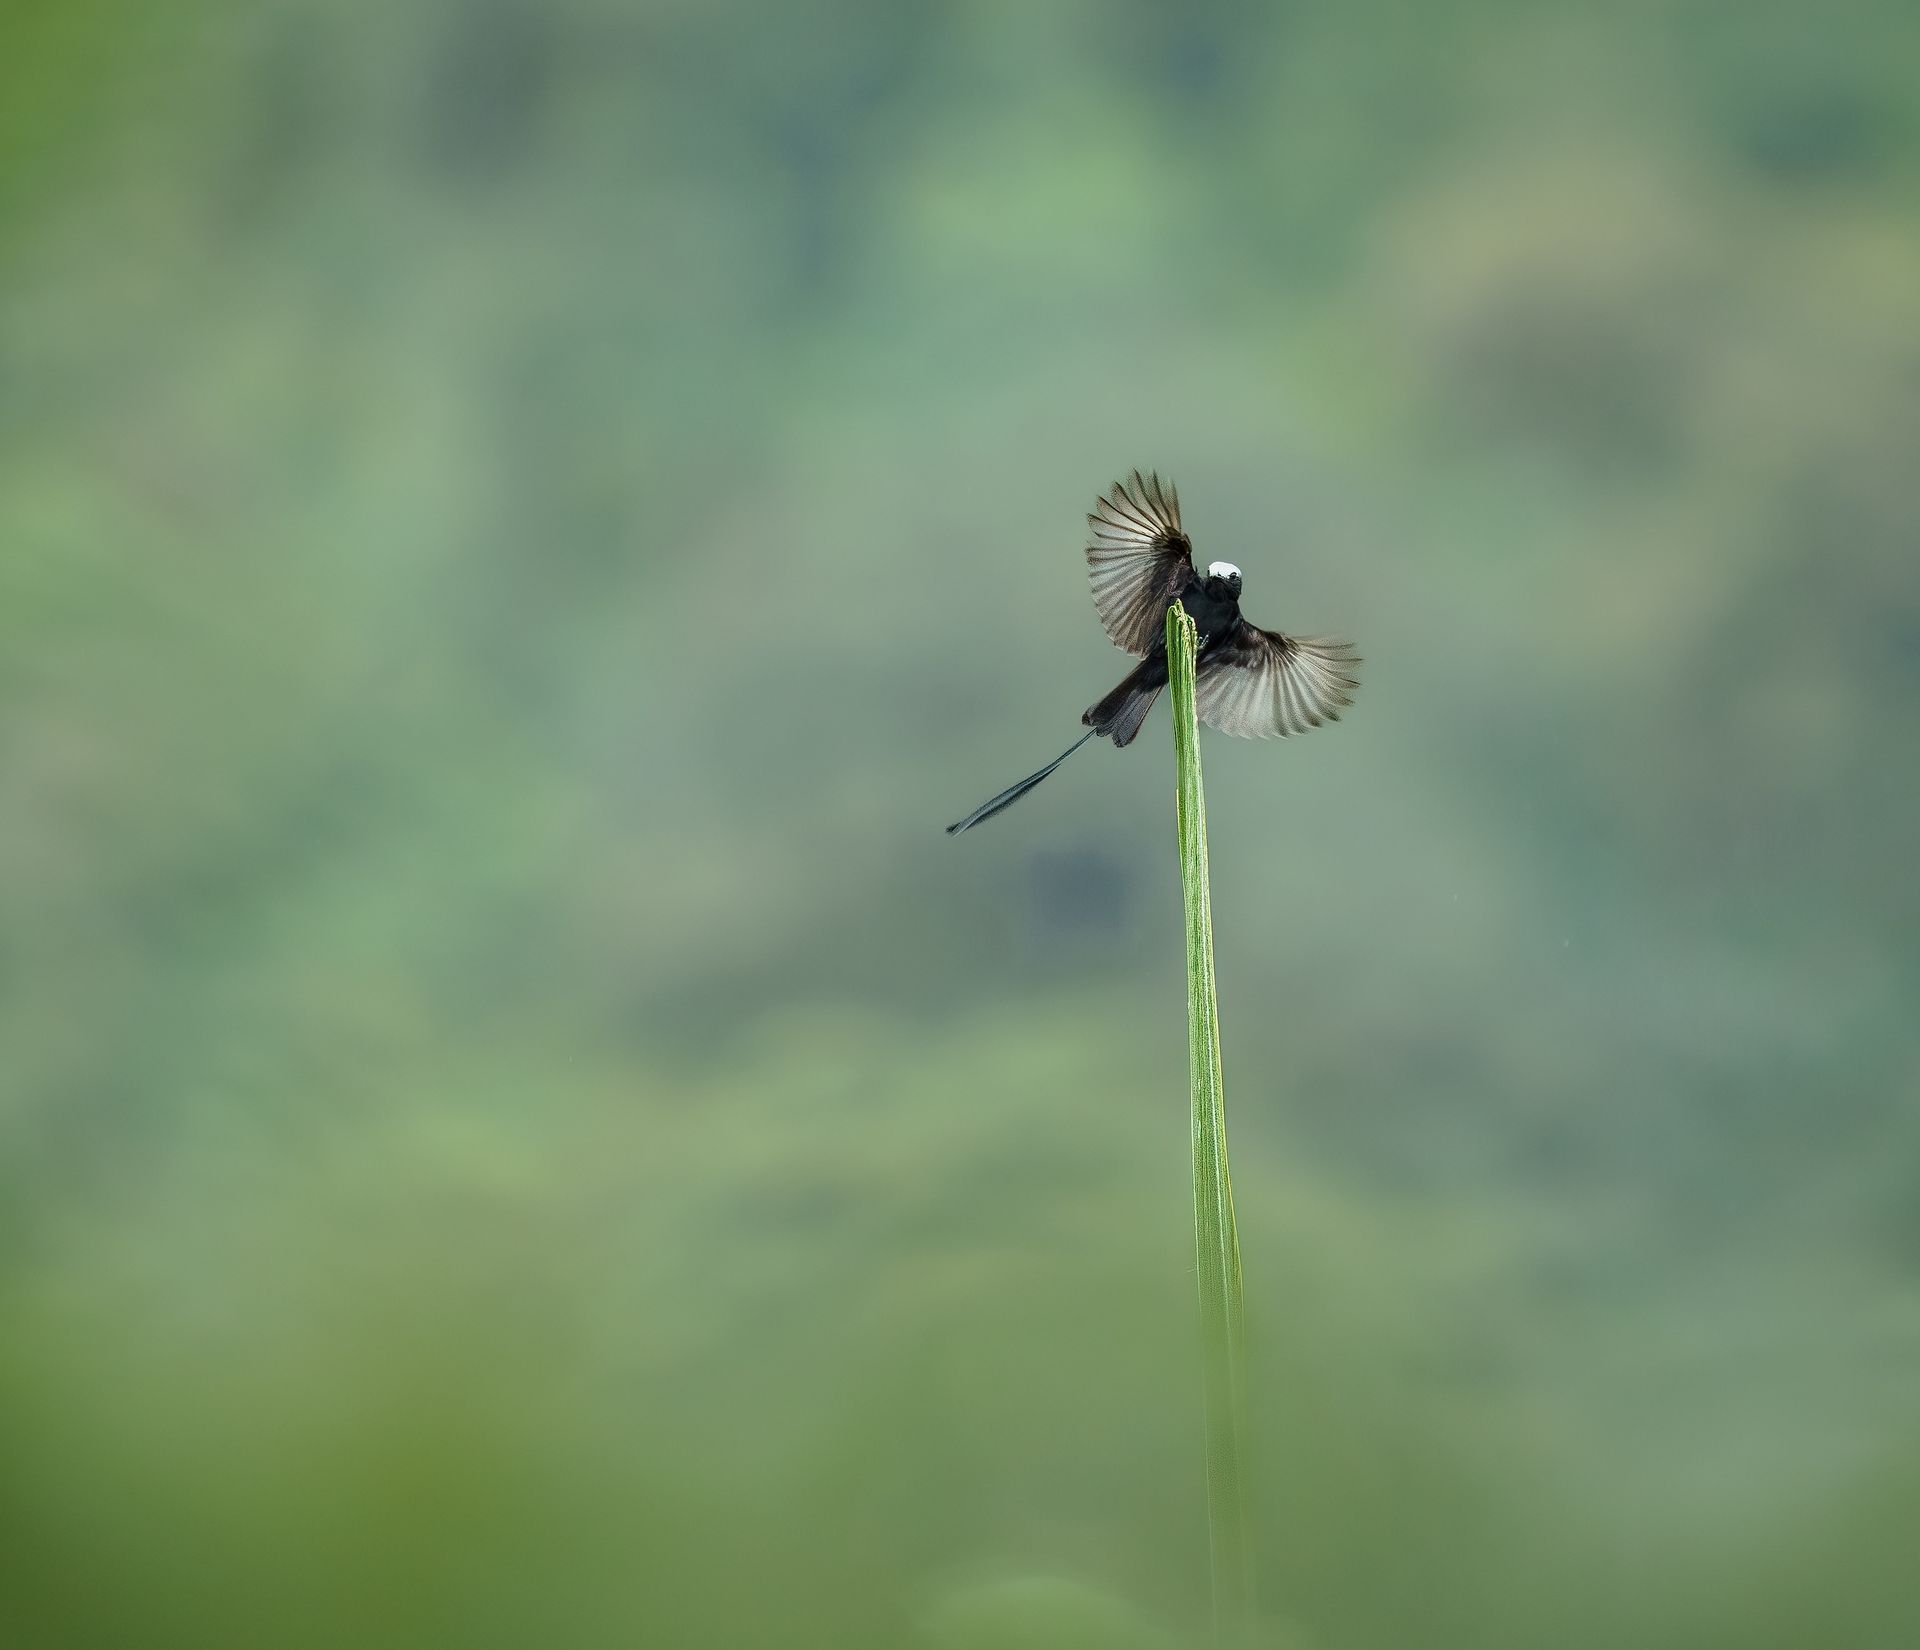
A tanager steps from shadow into a shaft of sun. Then a hummingbird materializes at arm’s length, wings invisible to the eye. The camera settings tropical birds demand rarely come from a single preset. They are a fast, deliberate response to changing light, movement, distance, and the bird’s behaviour.
In Colombia’s cloud forests, Amazonian edges, and Caribbean dry forests, photographers often work in conditions that challenge even excellent equipment. The reward is extraordinary colour, rare species, and intimate moments. The practical goal is simple: protect shutter speed, prioritize the bird’s eye, and allow ISO to do the work when the forest becomes dark.
Start With Shutter Speed, Not ISO
For tropical bird photography, shutter speed is usually determines whether an image feels finished or frustrating. A technically low ISO file is not useful if the bird’s head is soft from motion blur.
For a perched bird that is settled and relatively close, start around 1/1000 second. That is often enough for toucans, motmots, cotingas, tanagers, and other subjects that pause briefly, especially with good technique and lens support. Raise the shutter to 1/1600 or 1/2000 second when a bird is actively feeding, calling, turning its head, or working through foliage.
Birds in flight require more speed. Begin at 1/2500 second for larger, predictable birds such as herons, macaws, or raptors moving across a clear background. For smaller, quicker species, 1/3200 to 1/5000 second gives you a much stronger chance of retaining detail in the head and wings. A Swallow-tailed Kite soaring over an Andean ridge may allow a slightly slower exposure than a fast-flying parrot erupting from the canopy.
Hummingbirds are their own category. At natural light levels, 1/2000 to 1/4000 second can produce a compelling image with a sharp head and some wing blur that communicates movement. Fully freezing the wings often requires controlled multi-flash setups rather than simply pushing shutter speed. Both approaches are valid. The choice depends on whether you want a natural sense of motion or a studio-like rendering of every feather.
Use Aperture for the Bird, Then the Background
Long lenses create shallow depth of field surprisingly quickly, particularly when a bird is close. For a single perched bird in clean surroundings, f/5.6 to f/7.1 is an excellent working range. It lets in valuable light while keeping the eye, face, and much of the body sharp.
Open to f/4 or f/2.8 when the forest is dim, the background is busy, or you need every fraction of a stop for shutter speed. This can produce beautiful separation around a perched hummingbird or a small forest species, but focus placement becomes unforgiving. If the bird turns slightly toward or away from you, one eye may be sharp while the bill tip or rear eye falls out of focus.
For larger birds close to the camera, or for a bird posed at an angle, consider f/7.1 to f/9. A
perched Harpy Eagle, for example, benefits from enough depth to render its powerful bill and both eyes clearly. Do not stop down automatically, though. In low rainforest light, the resulting ISO increase may cost more image quality than the extra depth of field gains.
Background matters as much as aperture. A small change in your position can place a distant patch of vegetation behind the bird and create a smooth wash of green, even at f/7.1. Moving your feet is often more effective than opening the lens another stop.
Let Auto ISO Work for You
Manual exposure with Auto ISO is one of the most reliable camera settings for tropical birds because it protects the two variables that most affect your image: shutter speed and aperture. Set the shutter speed needed for the behaviour, choose an aperture that suits the subject, then let Auto ISO adjust as a bird moves between shade and open sky.
A practical starting point for a forest perch is 1/1250 second at f/5.6 or f/6.3 with Auto ISO. For birds in flight, move to 1/2500 second or faster and use the widest aperture your lens allows. Set a maximum ISO based on your camera and personal noise tolerance, but don't be overly conservative. Modern cameras produce usable, detailed files at ISO 3200, 6400, and beyond when you handle exposure well.
The key distinction is that high ISO is manageable; underexposure is much harder to repair. Lifting a dark tropical forest image in post-processing can reveal noise, flatten colour, and diminish fine feather detail. Aim for a bright exposure that retains important highlights, especially on white throats, reflective bills, and pale wing patches.
Exposure Compensation Is Essential in the Tropics
Auto ISO does not eliminate the need to watch exposure. A dark bird against a bright sky can fool the meter into producing a silhouette. A white bird in deep green shade can easily lose detail in its brightest feathers.
Use exposure compensation when the scene calls for it. With a dark bird against a light background, add roughly +1 to +2 stops and watch the histogram. With a bright bird filling the frame against dark foliage, reduce exposure by one-third to one stop if highlights begin to clip. Zebra warnings and highlight alerts are valuable tools here, particularly in the rapidly changing light of the canopy edge.
Raw capture gives you the latitude needed for these demanding scenes. It also preserves the subtle blues, emerald greens, iridescent gorgets, and warm chestnut tones that make tropical species so rewarding to photograph.
Focus on the Eye and Build a Reliable AF Setup
Continuous autofocus is the default choice for active birds. Use your camera’s bird-detection or animal-detection mode when it performs reliably with your subject and background. Modern systems can find an eye remarkably well, but tangled branches, low contrast, and leaves crossing the frame can still confuse them.
For a perched bird in vegetation, a small flexible zone or single point often gives more control than allowing the camera to choose from the entire frame. Place it on the head or upper body, acquire focus, then refine composition while keeping it focused. For flight, a larger zone makes it easier to keep a fast-moving bird within the autofocus area, especially when it changes direction.
Back-button focus can help photographers separate focusing from shutter release. It is not mandatory, but it becomes useful when a bird remains perched and you want to lock focus, wait for a better head angle, and shoot without the camera refocusing on a foreground leaf.
Stabilization Helps, but It Cannot Stop a Bird
Image stabilization, monopods, tripods, and beanbags are valuable in the field. They reduce camera movement, ease fatigue during long waits, and help you compose precisely with
500mm or 600mm lenses. They do not freeze a bird’s motion. If a jacamar snaps its head toward a passing insect, a slow shutter speed will still blur the subject even on a locked tripod.
When using a tripod for static birds, check whether your lens’s stabilization mode is designed for tripod use. For panning flight shots, use the appropriate panning mode if your system offers one. A monopod is often the best compromise on narrow trails, in boats, and at roadside viewpoints where mobility matters.
Adapt to Rainforest Light Without Losing the Moment
Tropical weather changes quickly. A bright morning can become soft cloud cover in minutes, and a productive trail may offer alternating deep shade and dazzling openings. Build your settings around the most likely opportunity, not the ideal one.
If you are waiting at a fruiting tree, favour a fast enough shutter speed for arrivals and brief wing flicks. If you are photographing
from a blind at a known perch, you can work more deliberately, test the background, and fine-tune exposure before the bird returns. At hummingbird feeders, watch where each bird pauses, not just where it feeds. A short hover beside a clean flower or branch may produce a more natural image.
Rain adds another consideration. Protect your camera and lens from rain, keep a dry microfiber cloth handy, and avoid opening your camera body in wet conditions. Moisture, fogged front elements, and sudden low light are part of the experience, not a reason to stop working.
Photograph Responsibly Around Sensitive Species
A strong image should never come at the expense of a bird’s welfare. Keep a respectful distance, avoid blocking feeding routes, and never crowd nesting birds or repeatedly pressure a subject for a closer frame. Use playback and flash with particular restraint, especially around rare, territorial, or breeding species.
Ethical field practice also protects access. In community reserves and private forest sites, patient behaviour helps sustain the trust that makes exceptional photography possible. Retorno Photo Tours works with local communities and specialist guides because conservation, local livelihoods, and meaningful photographic opportunities are connected.
Before your next forest session, choose a shutter speed for the behaviour you hope to photograph, set an aperture that gives the bird enough depth, and let Auto ISO respond to the light. Then slow your breathing, watch the perch, and be ready when the forest reveals its colour.