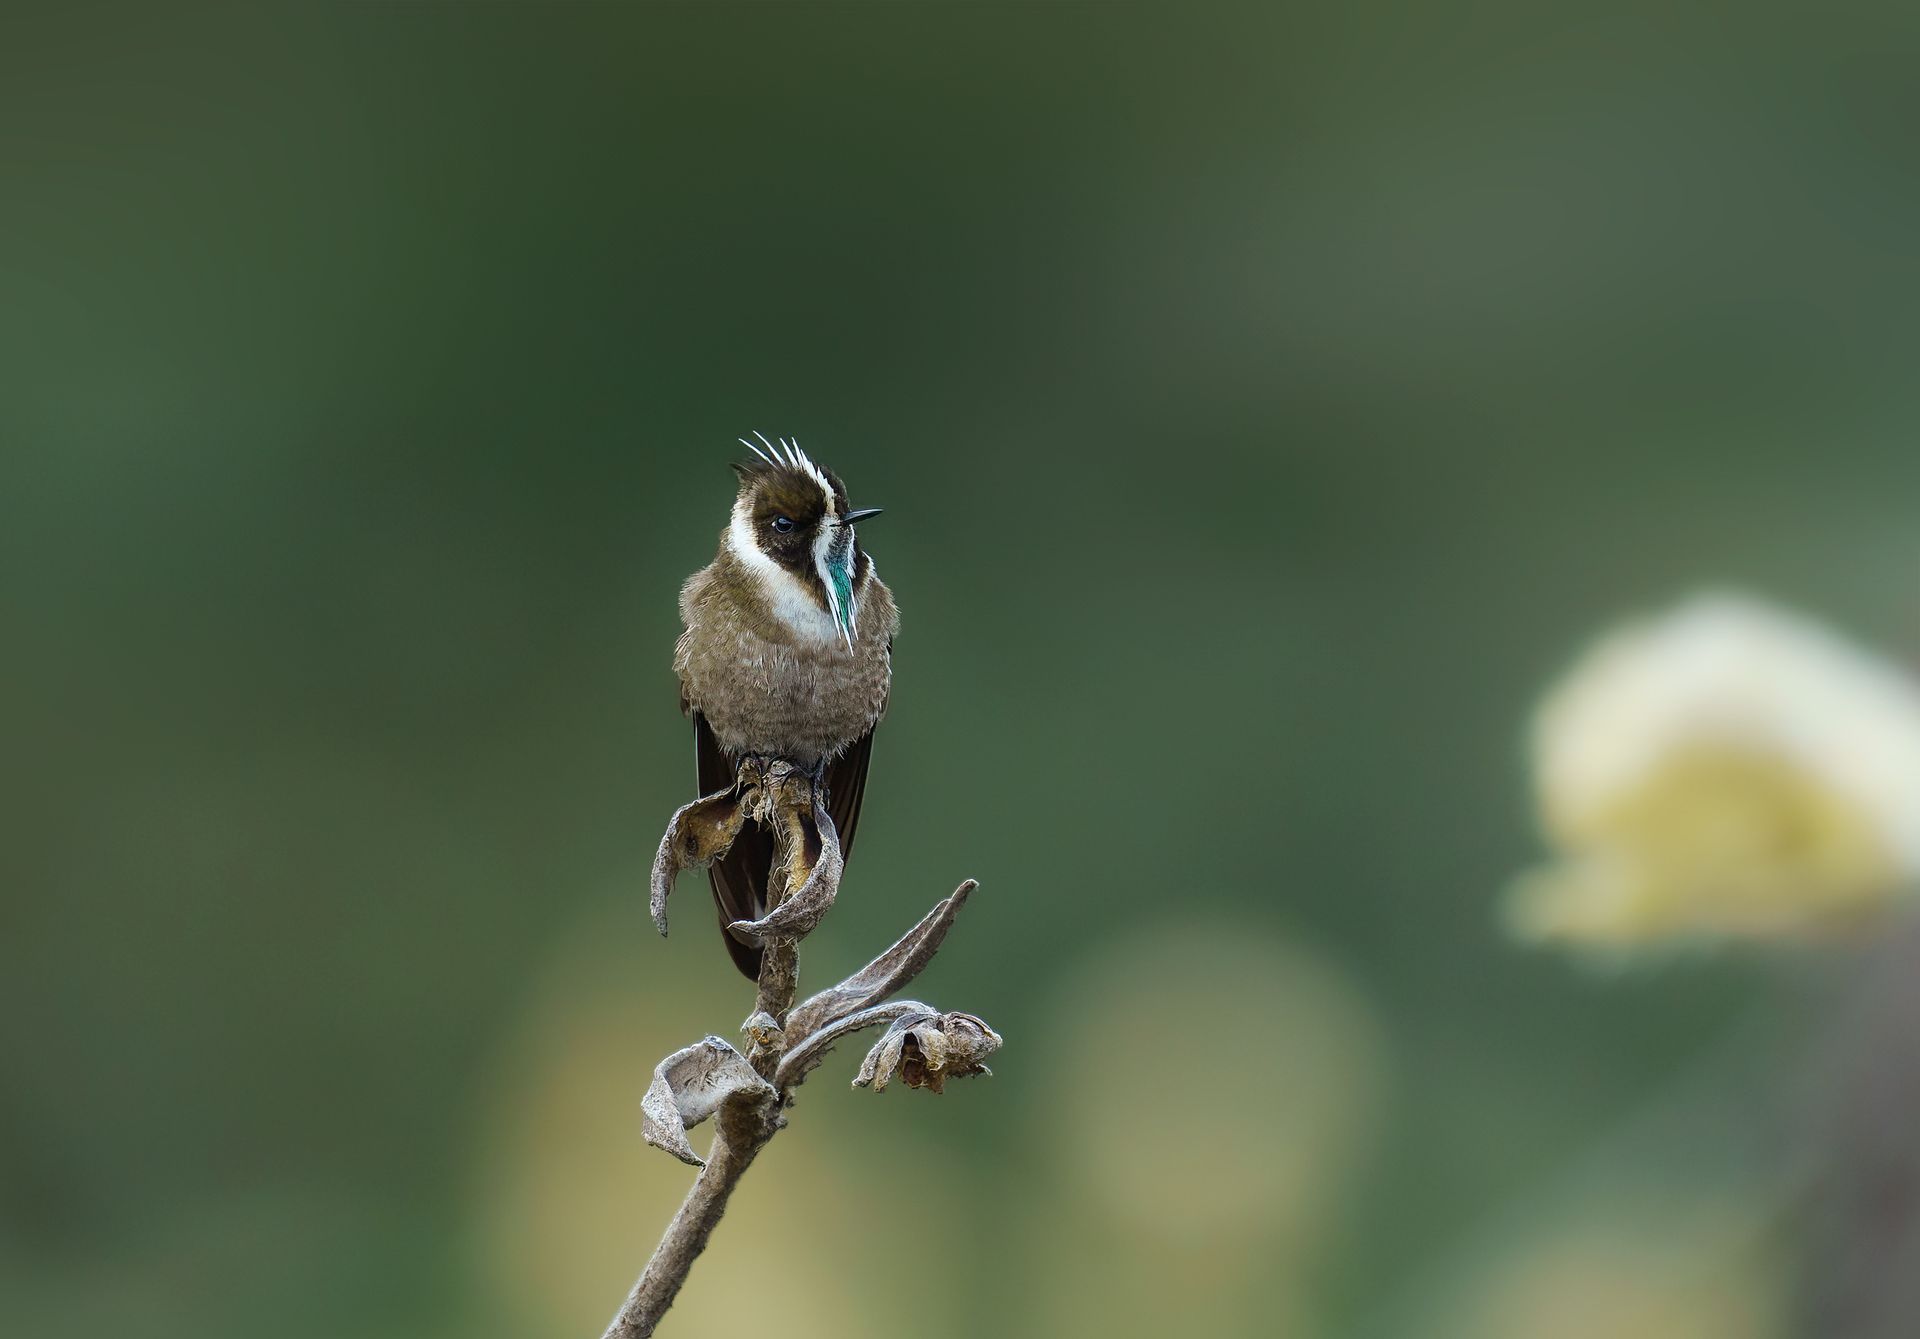

Best Camera Beanbags for Wildlife Photography
What Makes a Camera Beanbag Good?
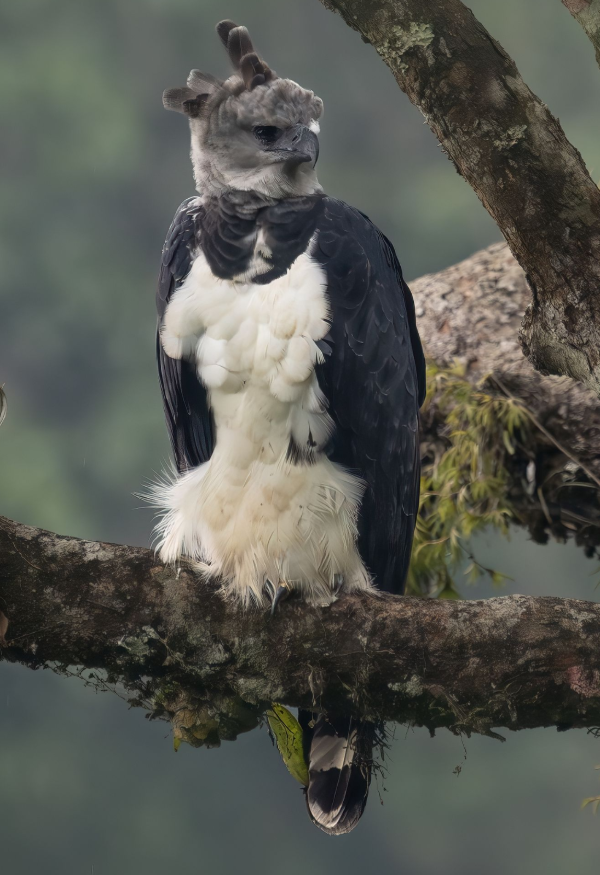
A 600mm lens, a low vehicle window, and a Harpy Eagle that may appear for only a few seconds create a simple field truth: your support system matters. The best camera beanbags for wildlife photography are often the fastest way to stabilize a long lens when a tripod is too slow, too tall, or simply impossible to use.
For bird and wildlife photographers, a beanbag is not a budget substitute for a tripod. It is a specialized tool. Used well, it absorbs vibration, lets you work close to ground level, and provides a forgiving platform on vehicles, hides, boats, rocks, and rails. Used poorly, it can become a heavy, awkward bag that never leaves your luggage.
The right choice depends on your lens, your destination, and how you photograph. A lightweight mirrorless body with a 100-400mm lens has very different needs from a full-frame body and a 600mm f/4. Before buying, consider where the bag will actually earn its place in your kit.
What Makes a Camera Beanbag Good?
A wildlife beanbag needs three things: a stable shape, durable fabric, and a practical filling strategy. Stability comes from a wide contact area and enough internal volume to cradle the lens without collapsing under it. A tall, narrow bag may look compact, but it can roll or shift when you pan with a heavy telephoto.
Fabric is equally important. Field supports encounter wet truck beds, muddy trails, dusty blinds, humid forest floors, and abrasive boat rails. Look for water-resistant material, reinforced seams, and a securely protected fill opening. Waterproof does not mean invincible, especially after hours in tropical rain, but a quality outer shell will keep the bag useful and easier to clean.
The filling question is often overlooked. Many photographers travel with an empty beanbag and source filling at their destination. This avoids carrying several pounds of rice, plastic pellets, or other material through airports. The trade-off is that you need a dependable way to fill and empty it before and after the trip.
The Best Camera Beanbags by Shooting Situation
Rather than one universal winner, these are the most useful beanbag styles for serious wildlife work.
1. The Large Double-Pod Beanbag for Long Lenses
A large double-pod, sometimes called a saddle beanbag, has two raised chambers with a channel down the middle. The lens rests in that channel, reducing side-to-side movement while still allowing a smooth pan. This is the strongest all-around choice for photographers using 500mm, 600mm, or 800mm lenses from a vehicle or fixed hide.
It is particularly valuable for safari-style shooting in the Pantanal, where long lenses may need to move quickly from a jaguar on the riverbank to a perched kingfisher or a flying macaw. The drawback is bulk. A properly sized double-pod bag is not small, and it needs sufficient filling to perform as intended.
2. The Medium Saddle Bag for Travel Flexibility
A medium saddle bag is the sensible choice for photographers carrying a 100-400mm, 200-600mm, or 300mm f/2.8. It fits more easily in a daypack, works well over a vehicle door, and provides enough support for most bird photography when light levels are good.
For many international travelers, this is the best balance of stability and portability. It will not feel as locked-in as a heavy-duty bag beneath a 600mm f/4, but it is far more likely to come with you on a hike, into a small boat, or to a remote hummingbird feeder setup.
3. The Flat, Wide Beanbag for Vehicle Windows
A flatter beanbag is designed to drape across the top of a door or window frame. Its wide footprint spreads the weight of the camera and lens, which helps reduce vibration transmitted through the vehicle. This shape is excellent when you are seated and expect subjects to appear at roughly the same height as the window.
Choose one with enough depth to keep the lens from touching hard metal or glass. If the bag is too thin, it may protect your equipment but provide little real support. If it is too tall, your shooting angle becomes awkward, especially with low subjects.
4. The Compact Bag for Hides and Feeders
Small beanbags excel in controlled locations: bird blinds, lodge decks, feeder stations, and observation platforms. They can sit on a bench, a shelf, or a narrow rail where tripod legs would interfere with other photographers.
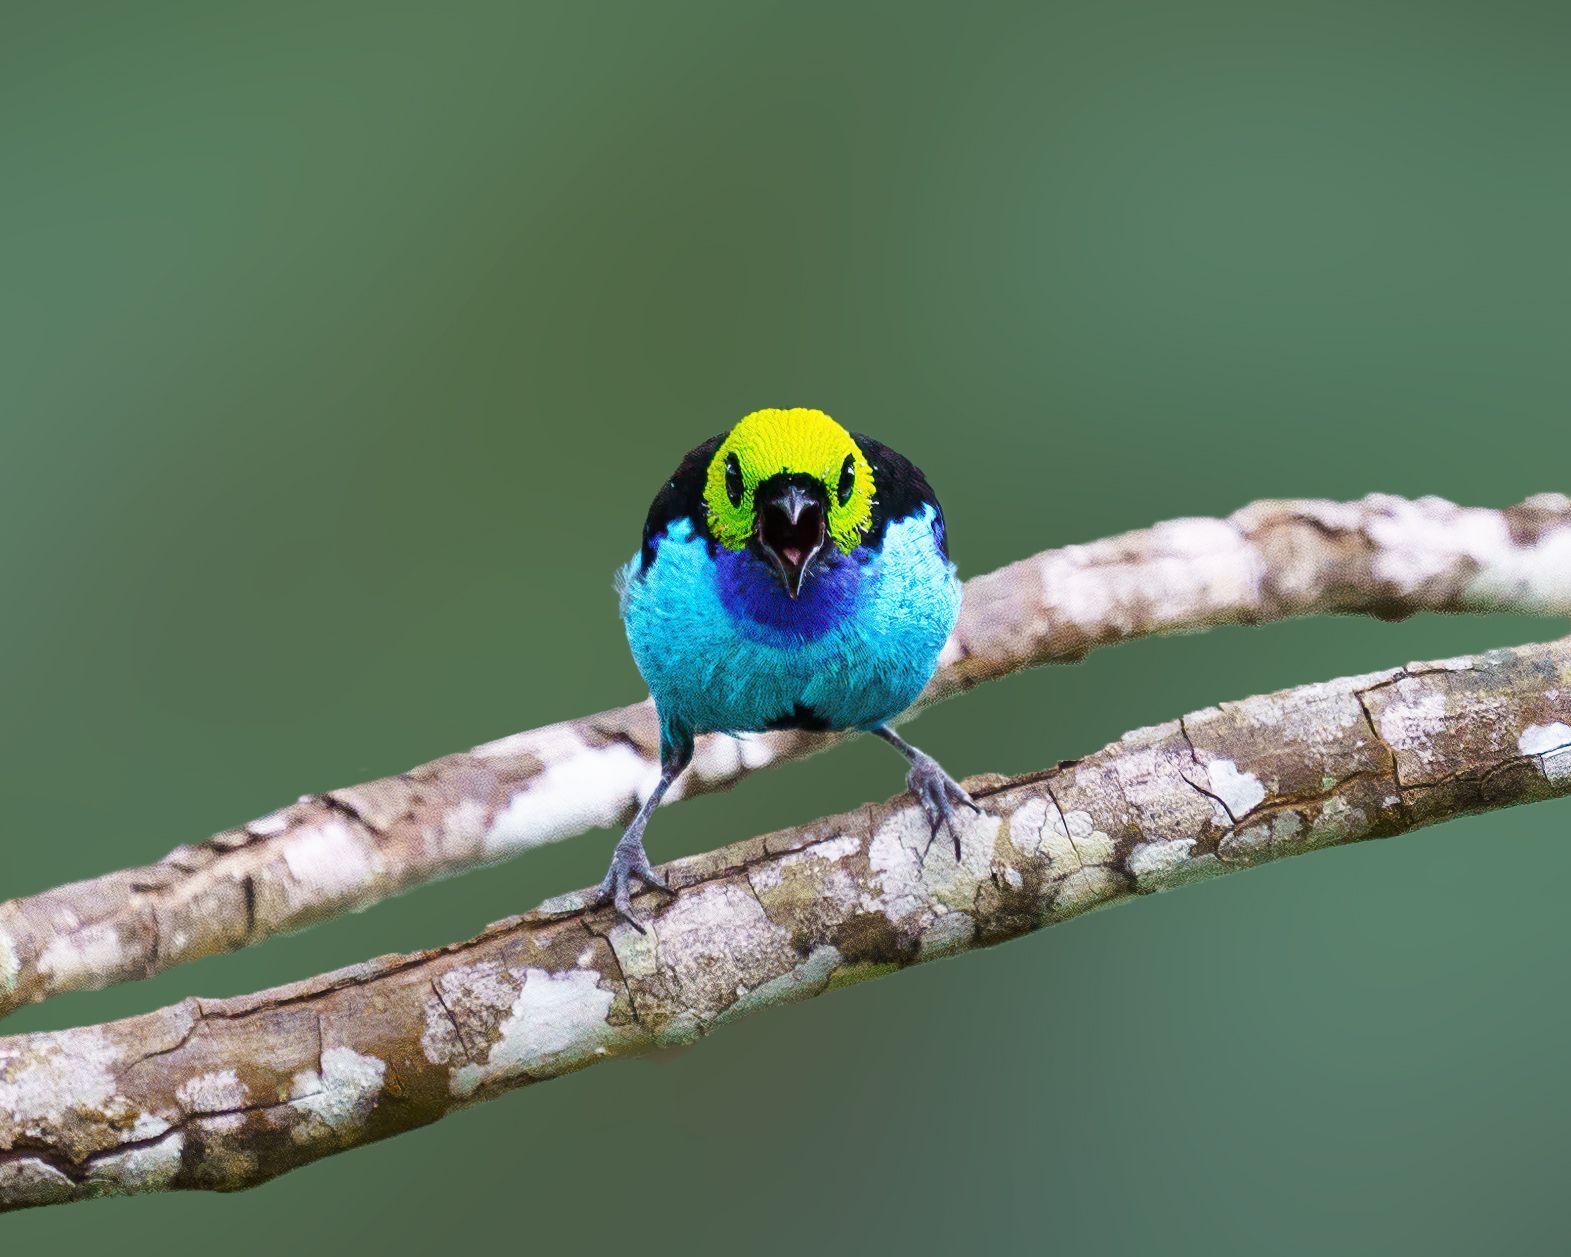
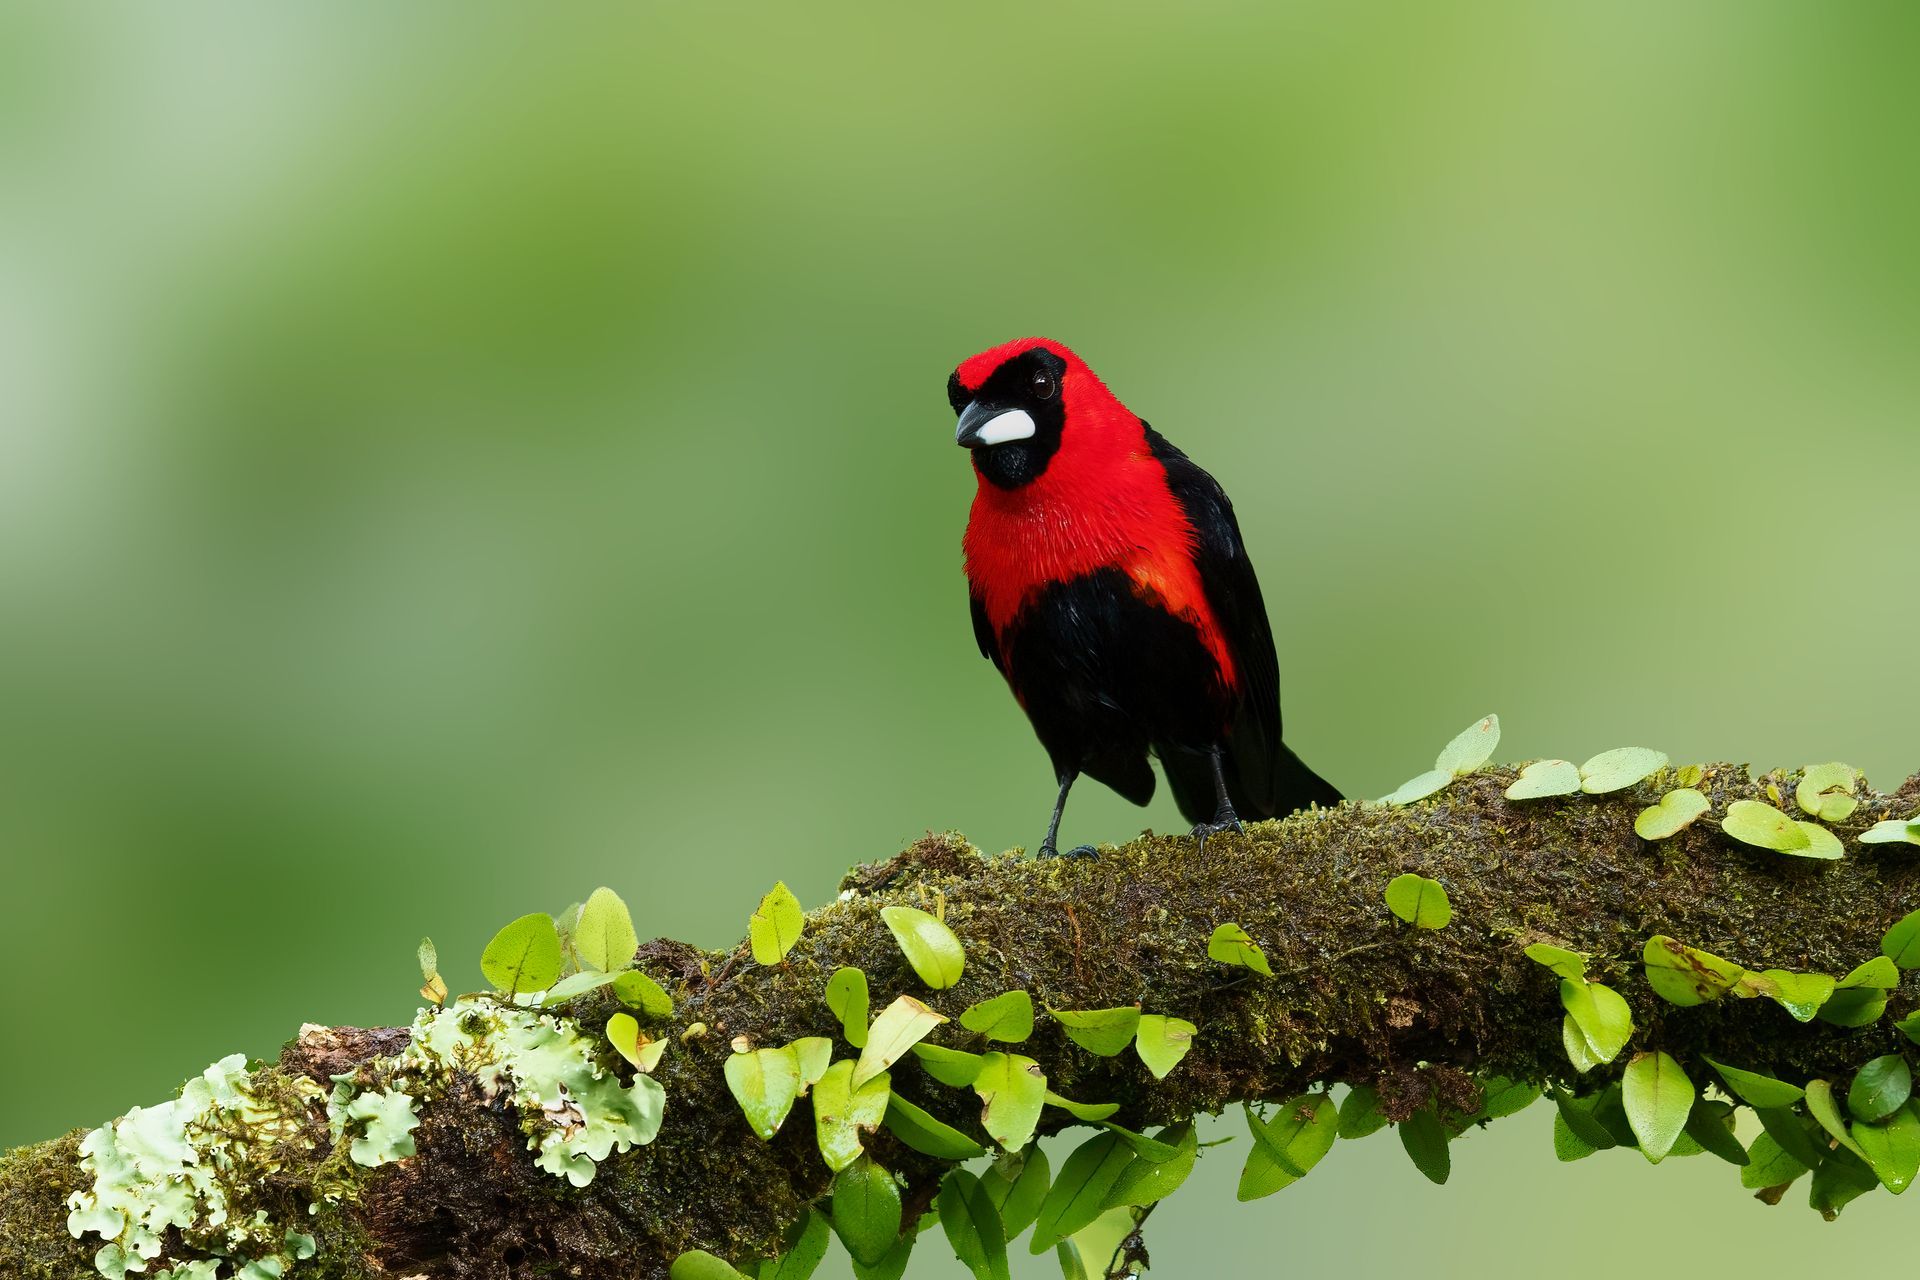
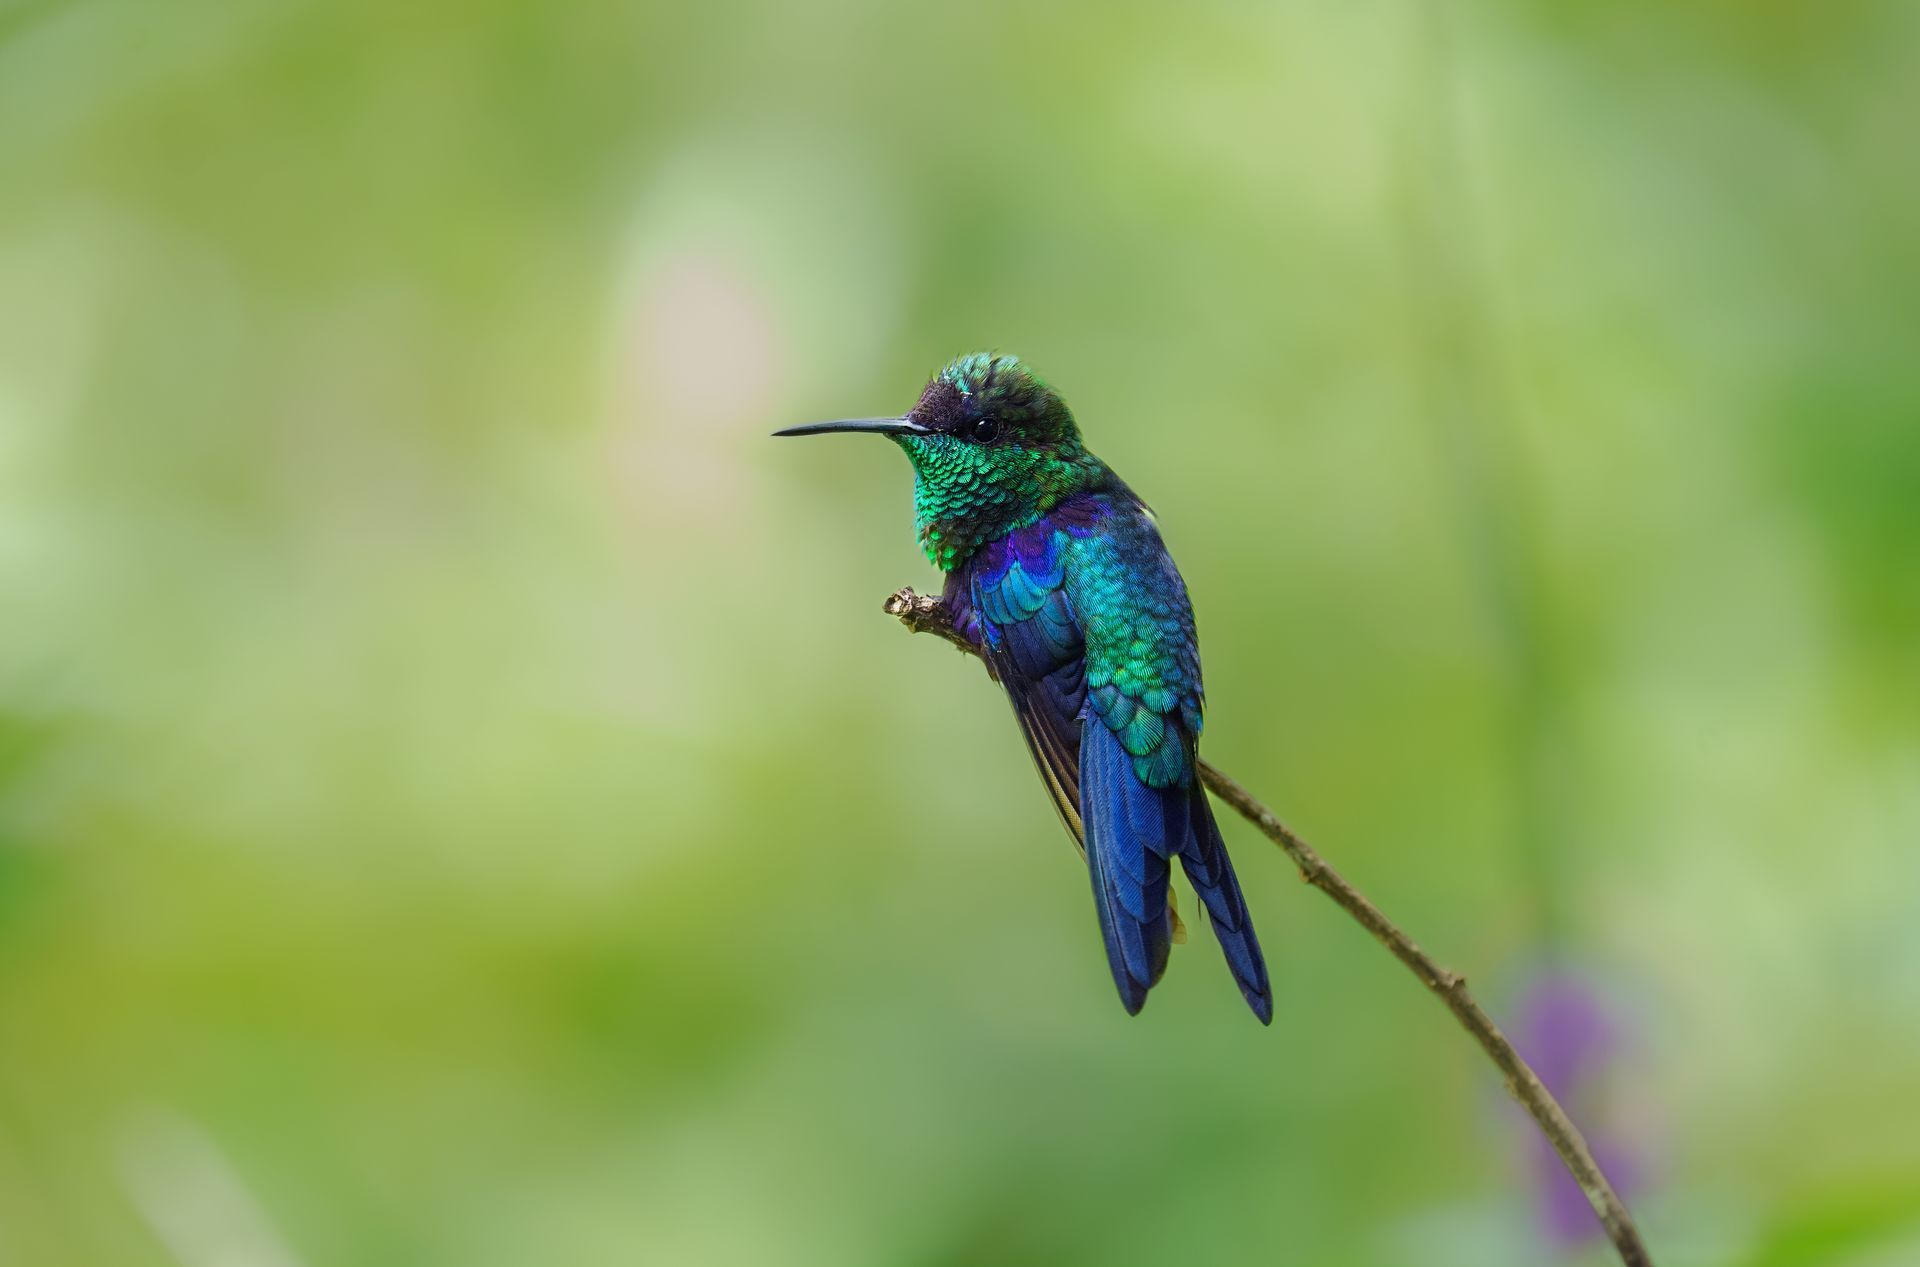
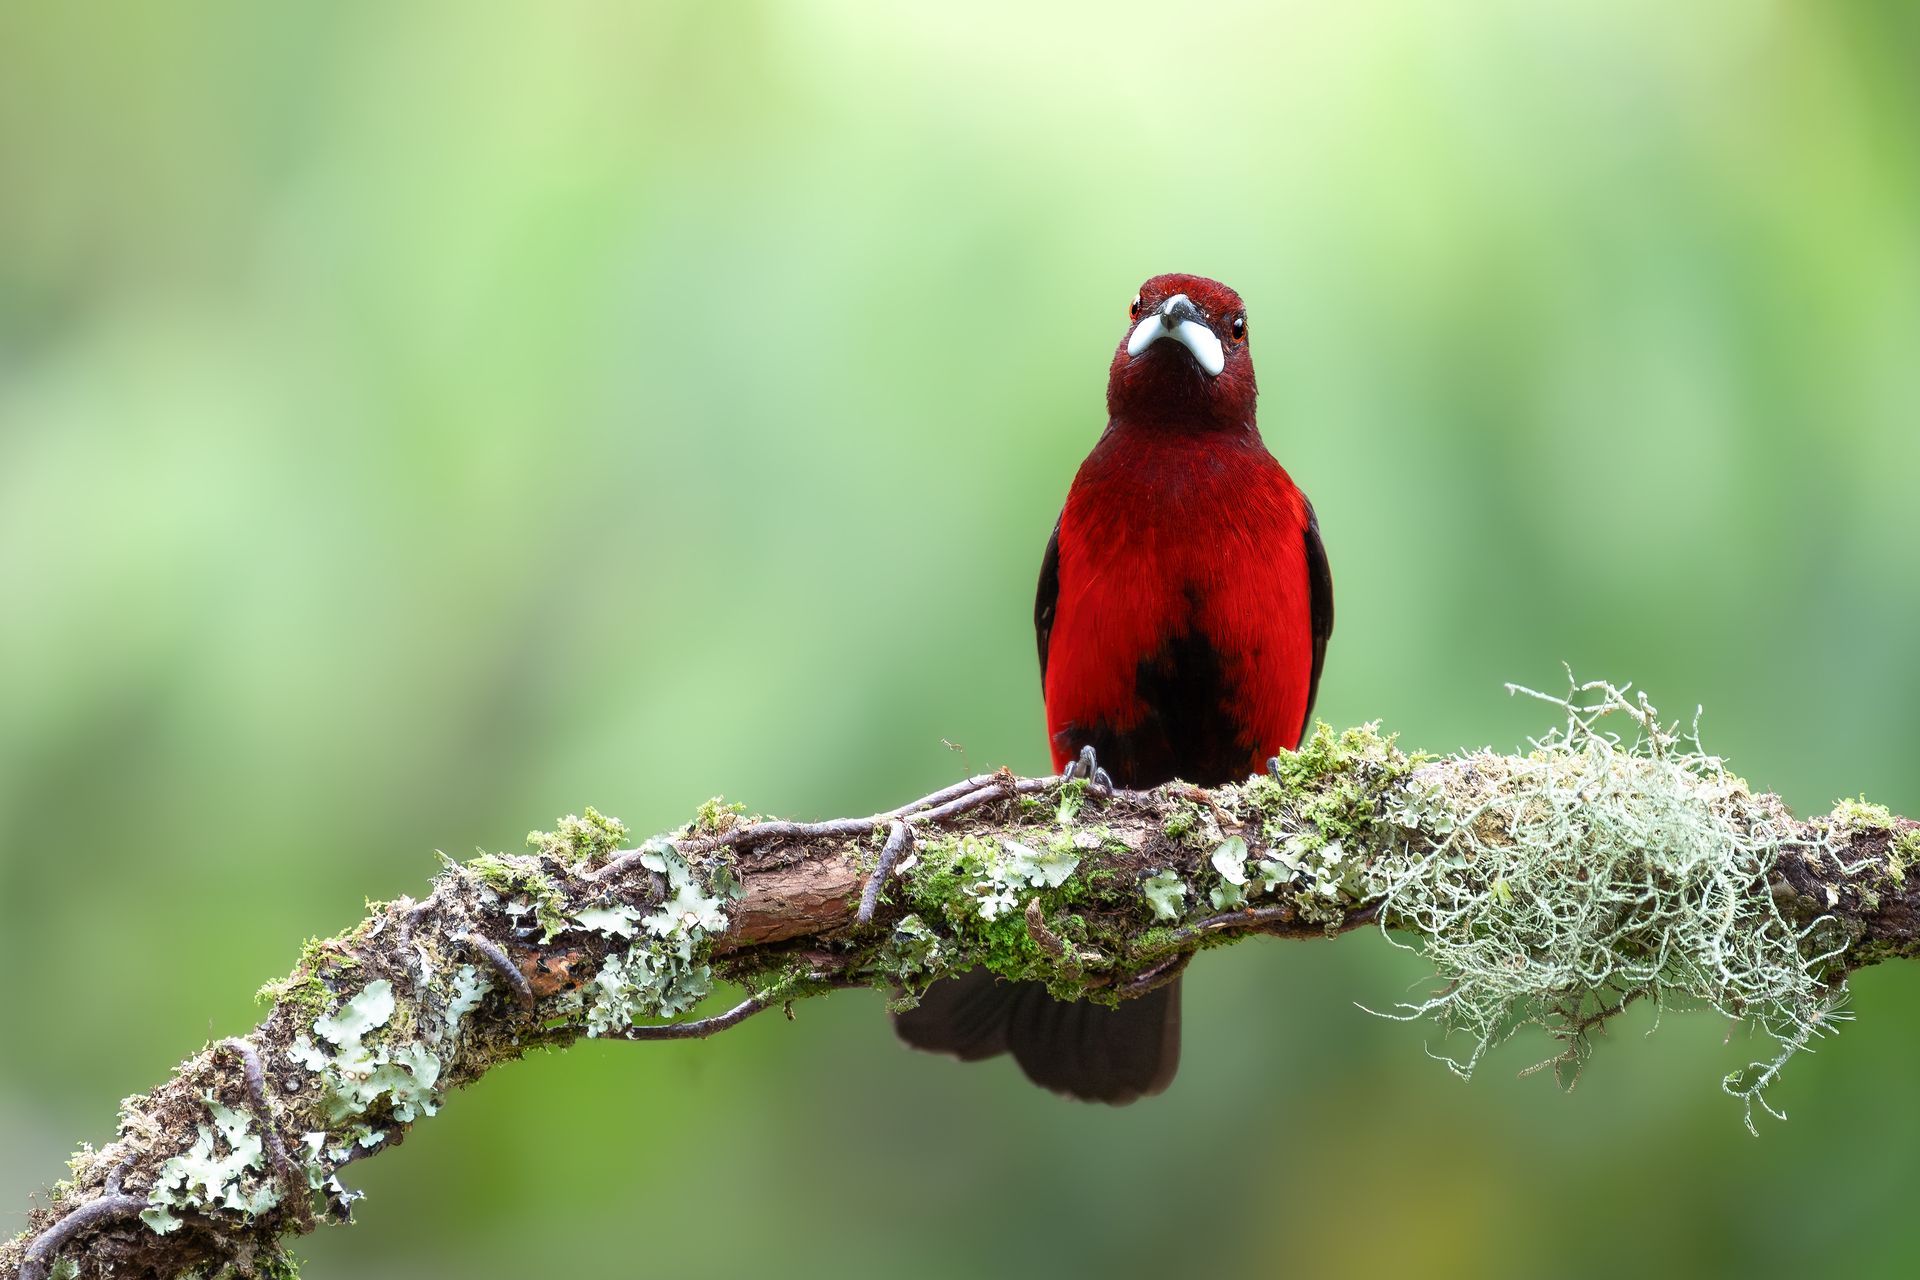
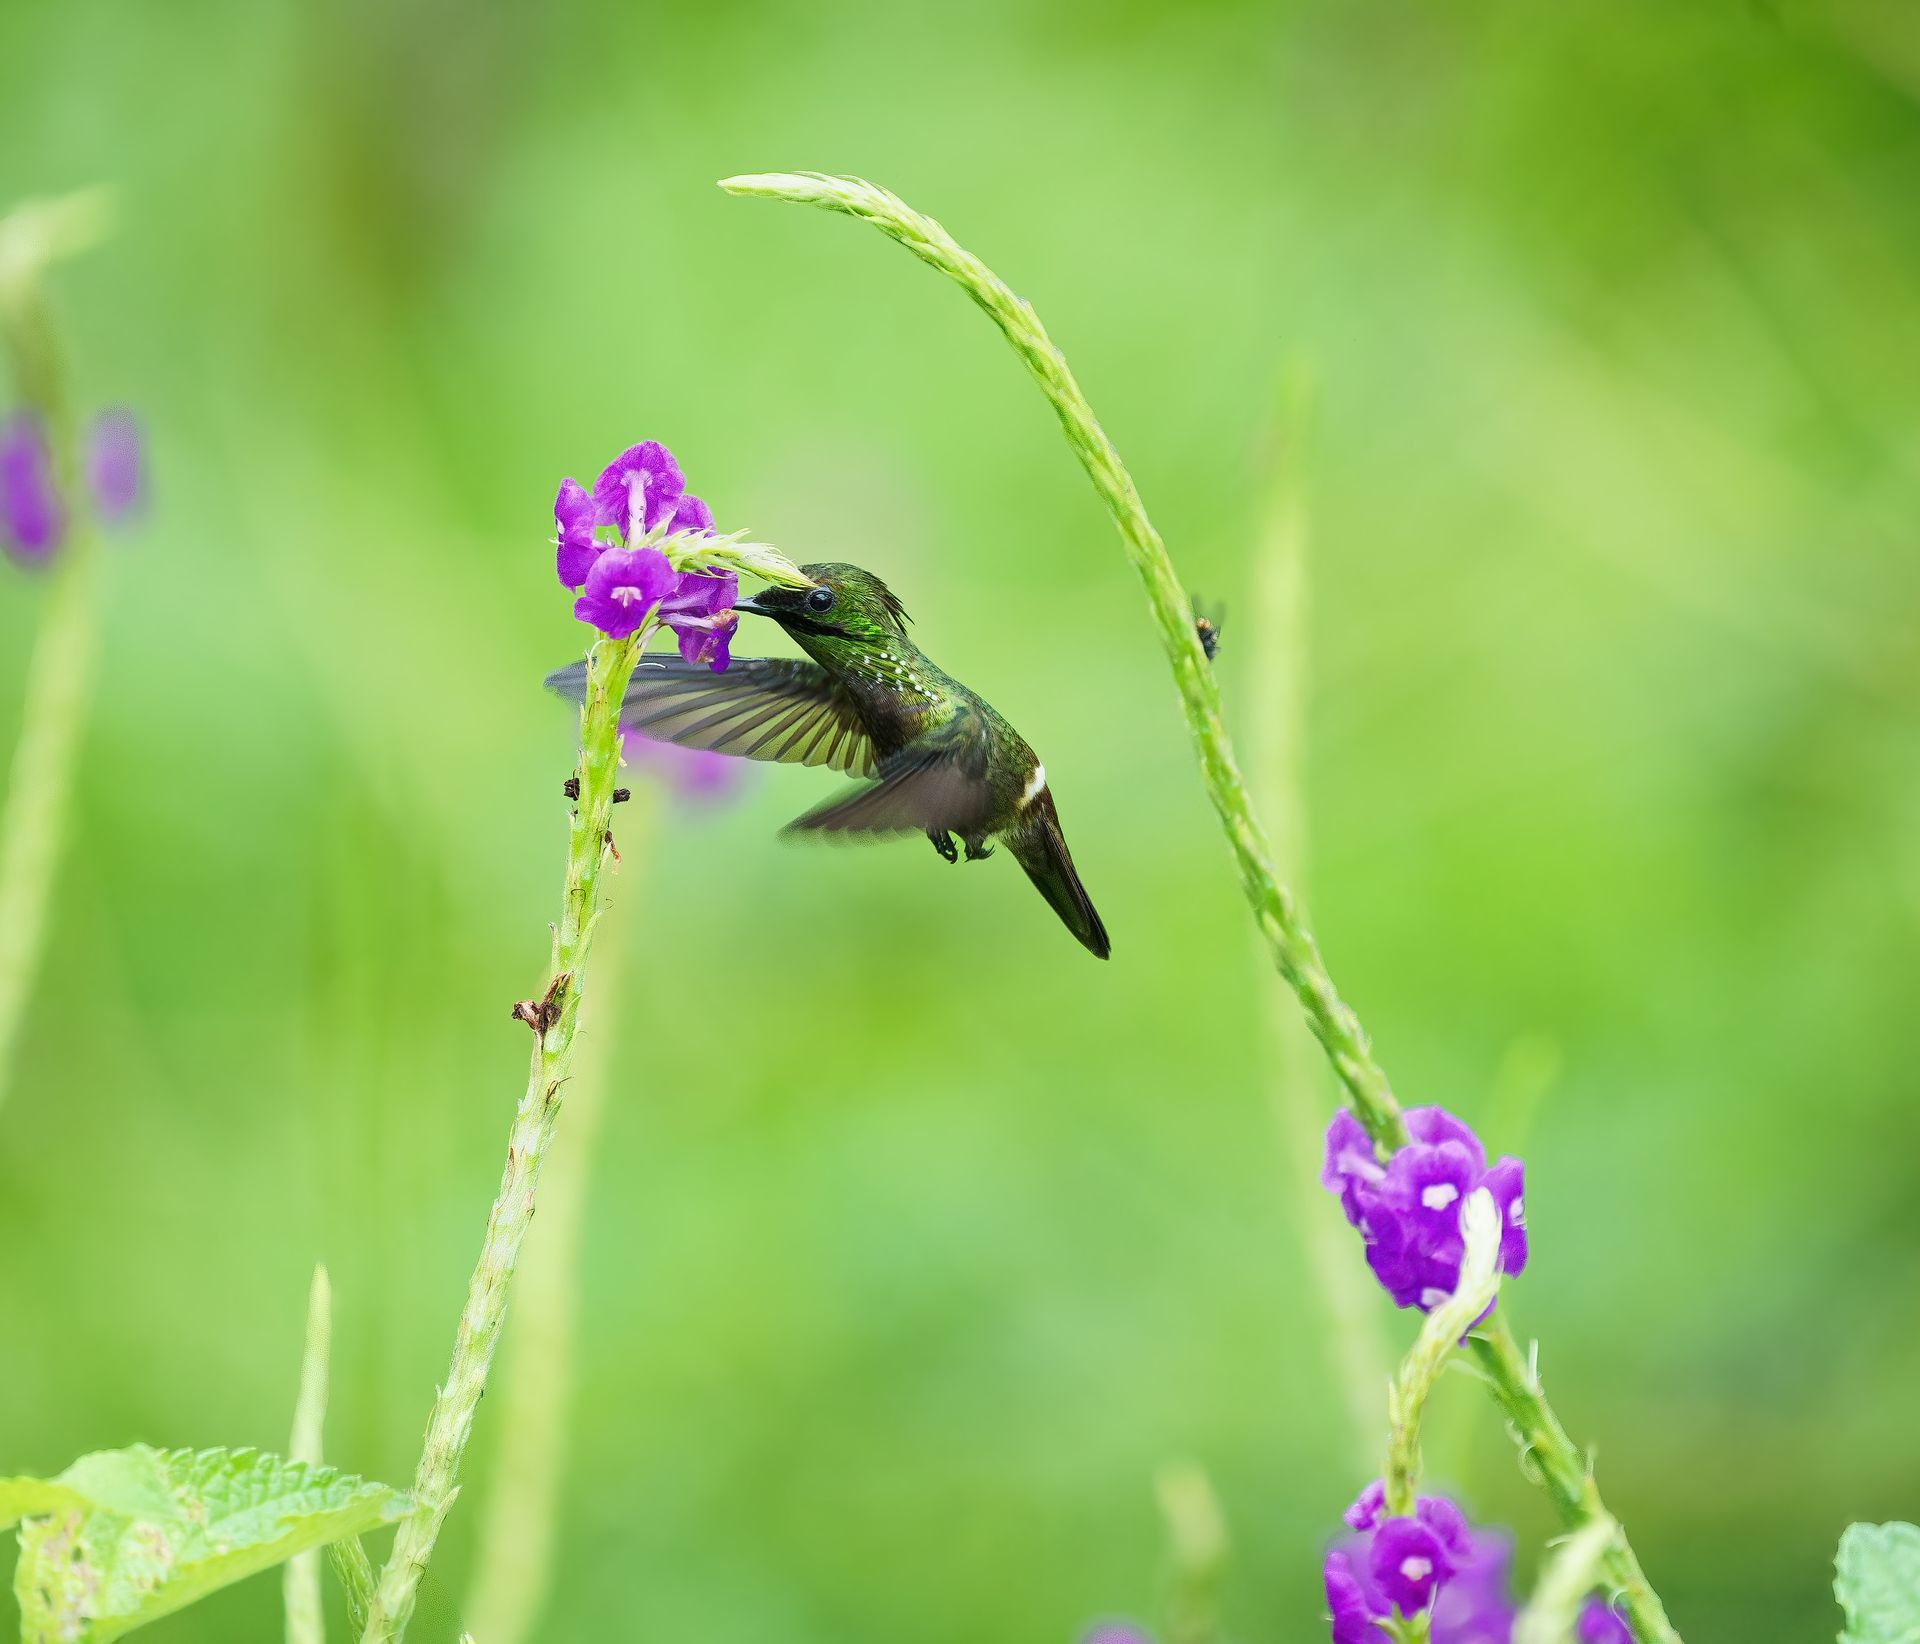
This style is ideal for hummingbirds, tanagers, toucans, and other birds photographed from a fixed position. It is less capable when you need to react to rapidly changing action, because a compact bag offers limited elevation and a smaller panning surface.
5. The Ground-Level Bag for Mammals and Reptiles
For a low perspective on a frog, caiman, fox, or small bird, a low-profile beanbag can be more effective than a tripod. It places the lens close to eye level with the subject, creating an intimate image with softer foreground and background separation.
Ground work does demand care. Use a tough, cleanable outer fabric and avoid placing the bag where it could disturb nests, sensitive vegetation, or an animal's route. In wet forest conditions, carry a simple waterproof ground sheet so the bag does not absorb moisture and dirt all day.
6. The Lightweight Empty-Fill Bag for International Trips
An empty-fill beanbag is often the most practical travel option. You pack the shell flat, then fill it with locally available material once you arrive. Lightweight plastic pellets are popular because they resist moisture and do not make the bag excessively heavy. Rice, beans, sand, and gravel can work, but each has limitations.
Organic fillings can attract insects or create customs concerns, while sand and gravel may be inconvenient to dispose of responsibly. Ask your tour operator or lodge staff before arrival if filling material can be arranged. That small detail can determine whether your beanbag is useful or remains folded in your suitcase.
7. The Waterproof Boat Beanbag
River and wetland photography calls for a bag with a tough, water-resistant shell and a securely sealed fill port. On a boat, the beanbag cushions your lens from hard rails and absorbs some vibration, but it cannot eliminate the movement of the vessel itself.
Keep expectations realistic. For slow-moving boats and perched subjects, a beanbag can be excellent. For birds in flight from a rocking skiff, handheld shooting or a carefully managed monopod may be the better choice. Never let a heavy lens rest unsecured on a rail when the boat is moving.
8. The Oversized Heavy-Duty Bag for Fixed Vehicle Work
If your photography centers on vehicles and your lens is large, an oversized bag is worth the inconvenience. It provides the greatest damping effect, gives the lens a deep cradle, and makes slow, deliberate compositions easier at lower shutter speeds.
This is a specialist tool, not an everyday carry item. It is best for photographers who know they will spend long periods shooting from a vehicle, especially with super-telephoto primes. For hiking-based birding, the same bag may be more burden than benefit.
How to Match the Bag to Your Lens
The heavier the lens, the more the beanbag must resist compression and twisting. A 100-400mm zoom can work well on a medium bag, especially when the collar is centered over the support. A 600mm f/4 needs a broader base and deeper saddle, with the lens foot or collar positioned securely in the center channel.
Do not balance the camera body on the bag while the lens hangs off the front. Support the lens near its center of gravity. This protects the camera mount and improves stability. When tracking a moving bird, use gentle pressure from your non-shooting hand to guide the lens rather than forcing it through the fabric.
A beanbag also works best with sensible technique. Turn off image stabilization only if your specific lens requires it on a stable support. Keep shutter speeds high enough for your subject, particularly when shooting from a vehicle or boat. A beanbag reduces shake, but it cannot stop a bird from moving.
Practical Packing and Field Care
Bring the beanbag shell empty unless you are traveling by vehicle and know the weight is manageable. Pack a small funnel or a wide-mouth scoop if the bag has a narrow opening, and keep an extra zip bag for leftover filling. After wet sessions, dry the bag thoroughly before storing it with camera equipment.
During an expedition, treat the beanbag as part of your field etiquette. Keep it inside the vehicle or on designated surfaces, avoid blocking another photographer's position, and do not use it to push closer to wildlife. The best images come from patience, thoughtful positioning, and respect for the animal's space.
A well-chosen beanbag may look like a modest piece of gear beside a flagship camera and a long prime lens. Yet when a rare bird settles at window height or a jaguar pauses beside the boat, that modest support can be the difference between a rushed record shot and the frame you traveled so far to make.
Scheduled Tours
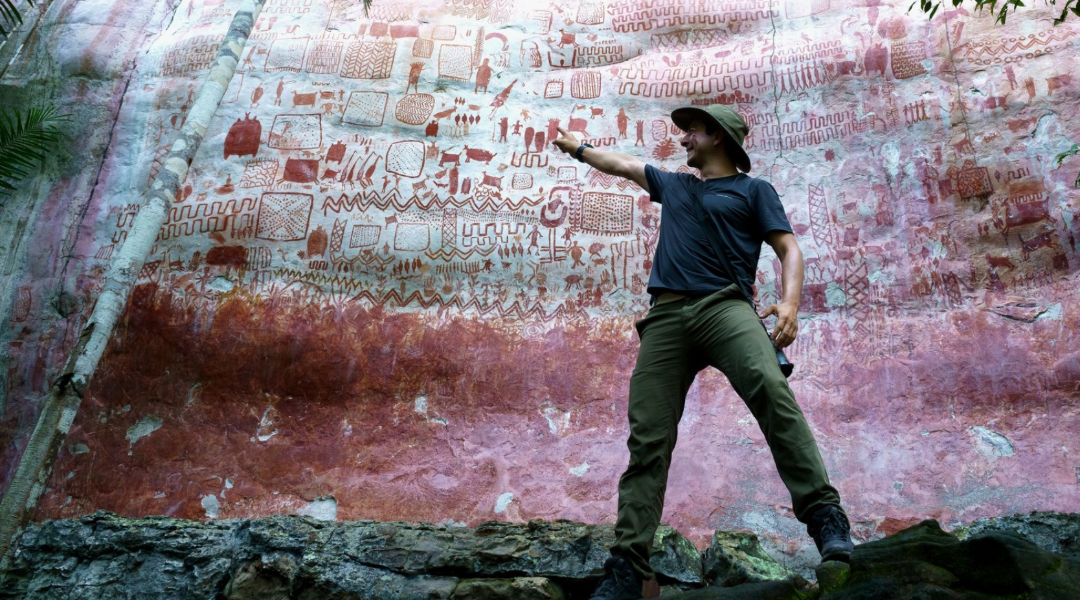
The road to Chiribiquete, Colombia's Western Amazon.
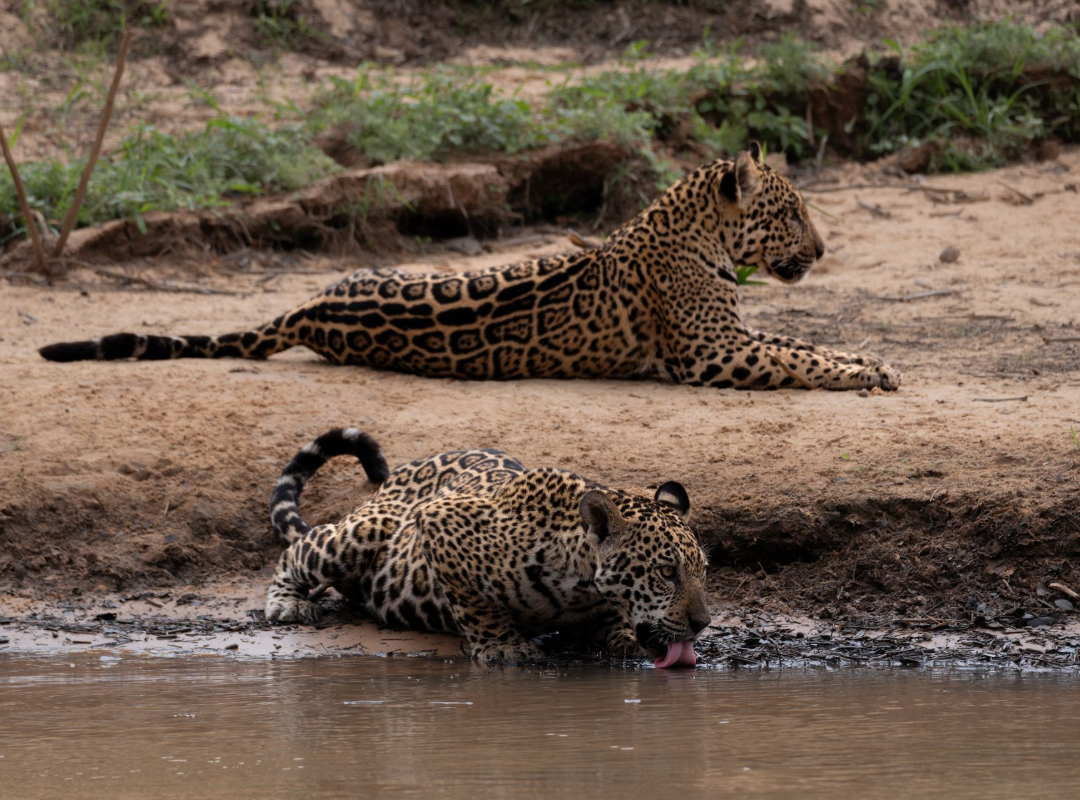
Jaguars Safari, Pantanal - Brazil.
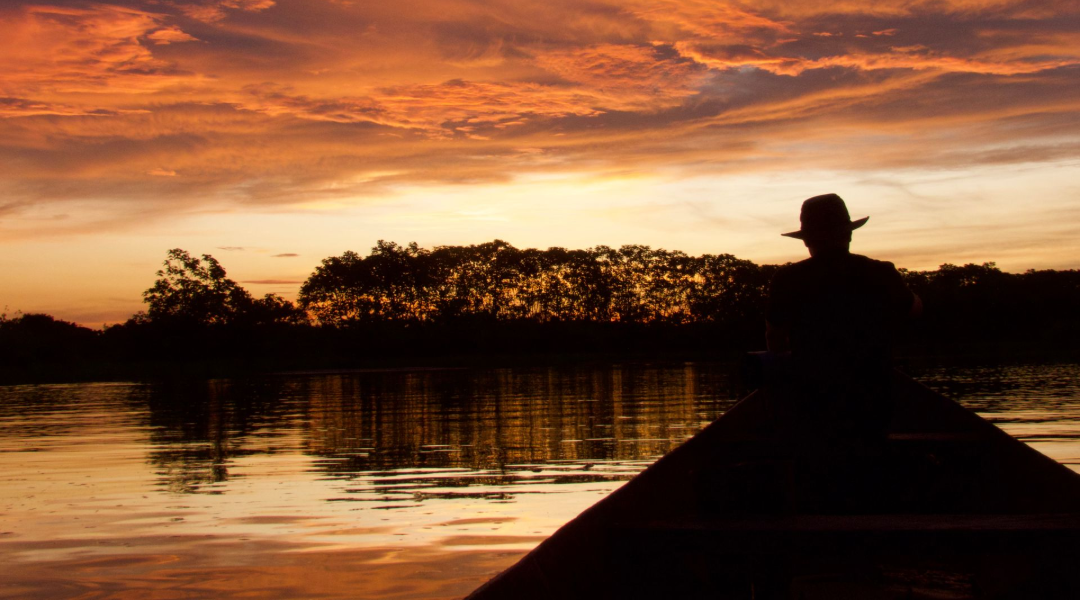
Amazon's Guiana Shield Specialties. Mitu-Vaupes.
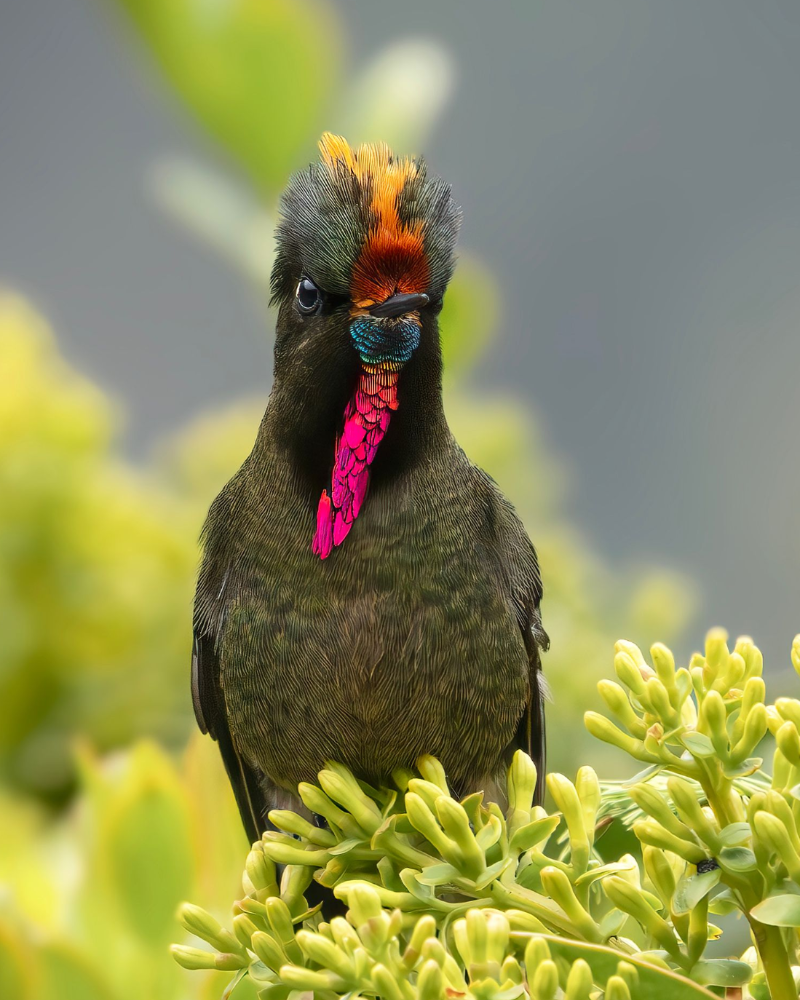
Emblematic Birds Photo Tour, Coffee Triangle.