From Capture to Creation: Editing Workflow for Professional Bird Photography
From Capture to Creation: Editing Workflow for Professional Bird Photography
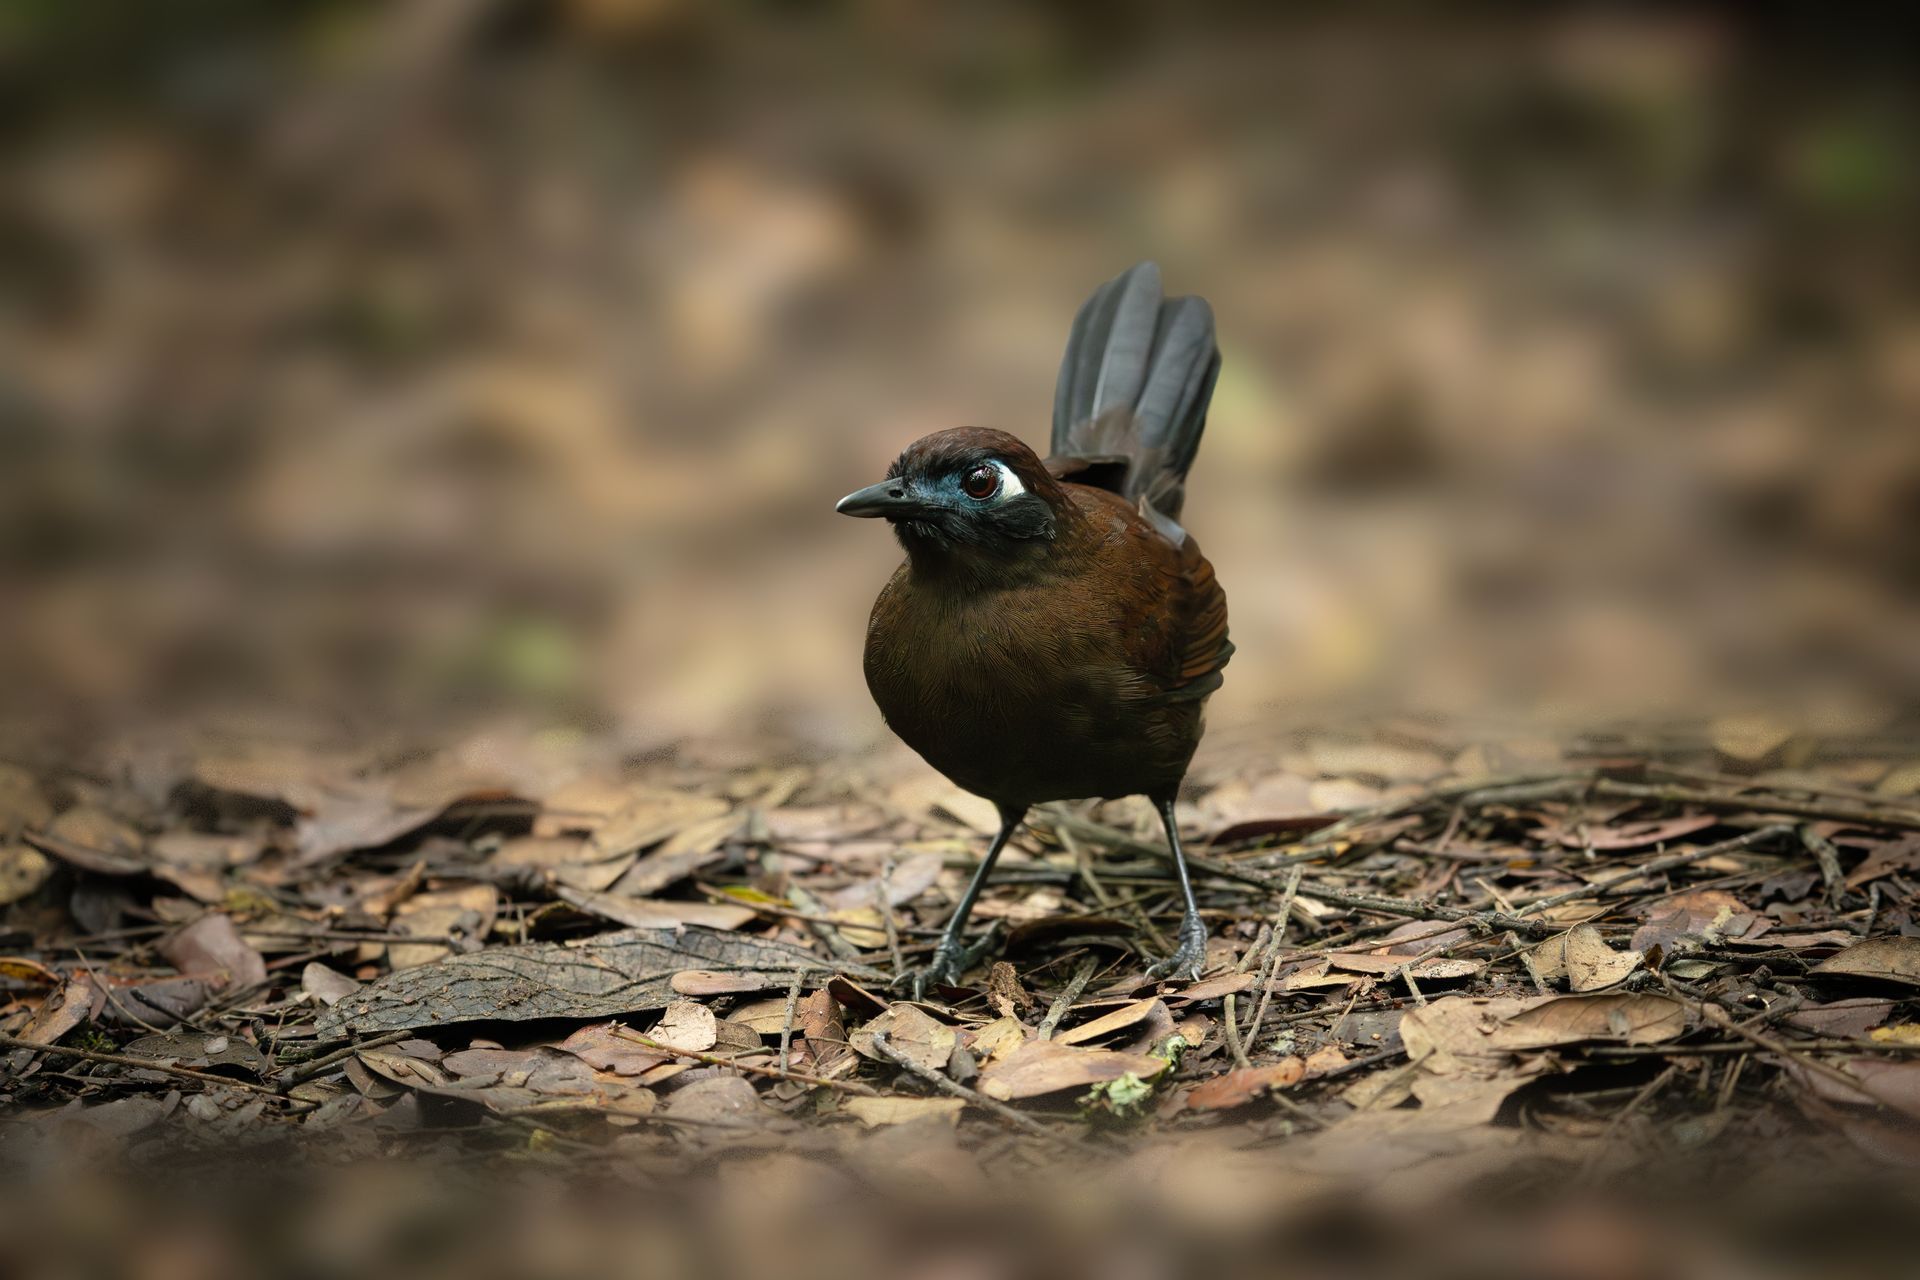
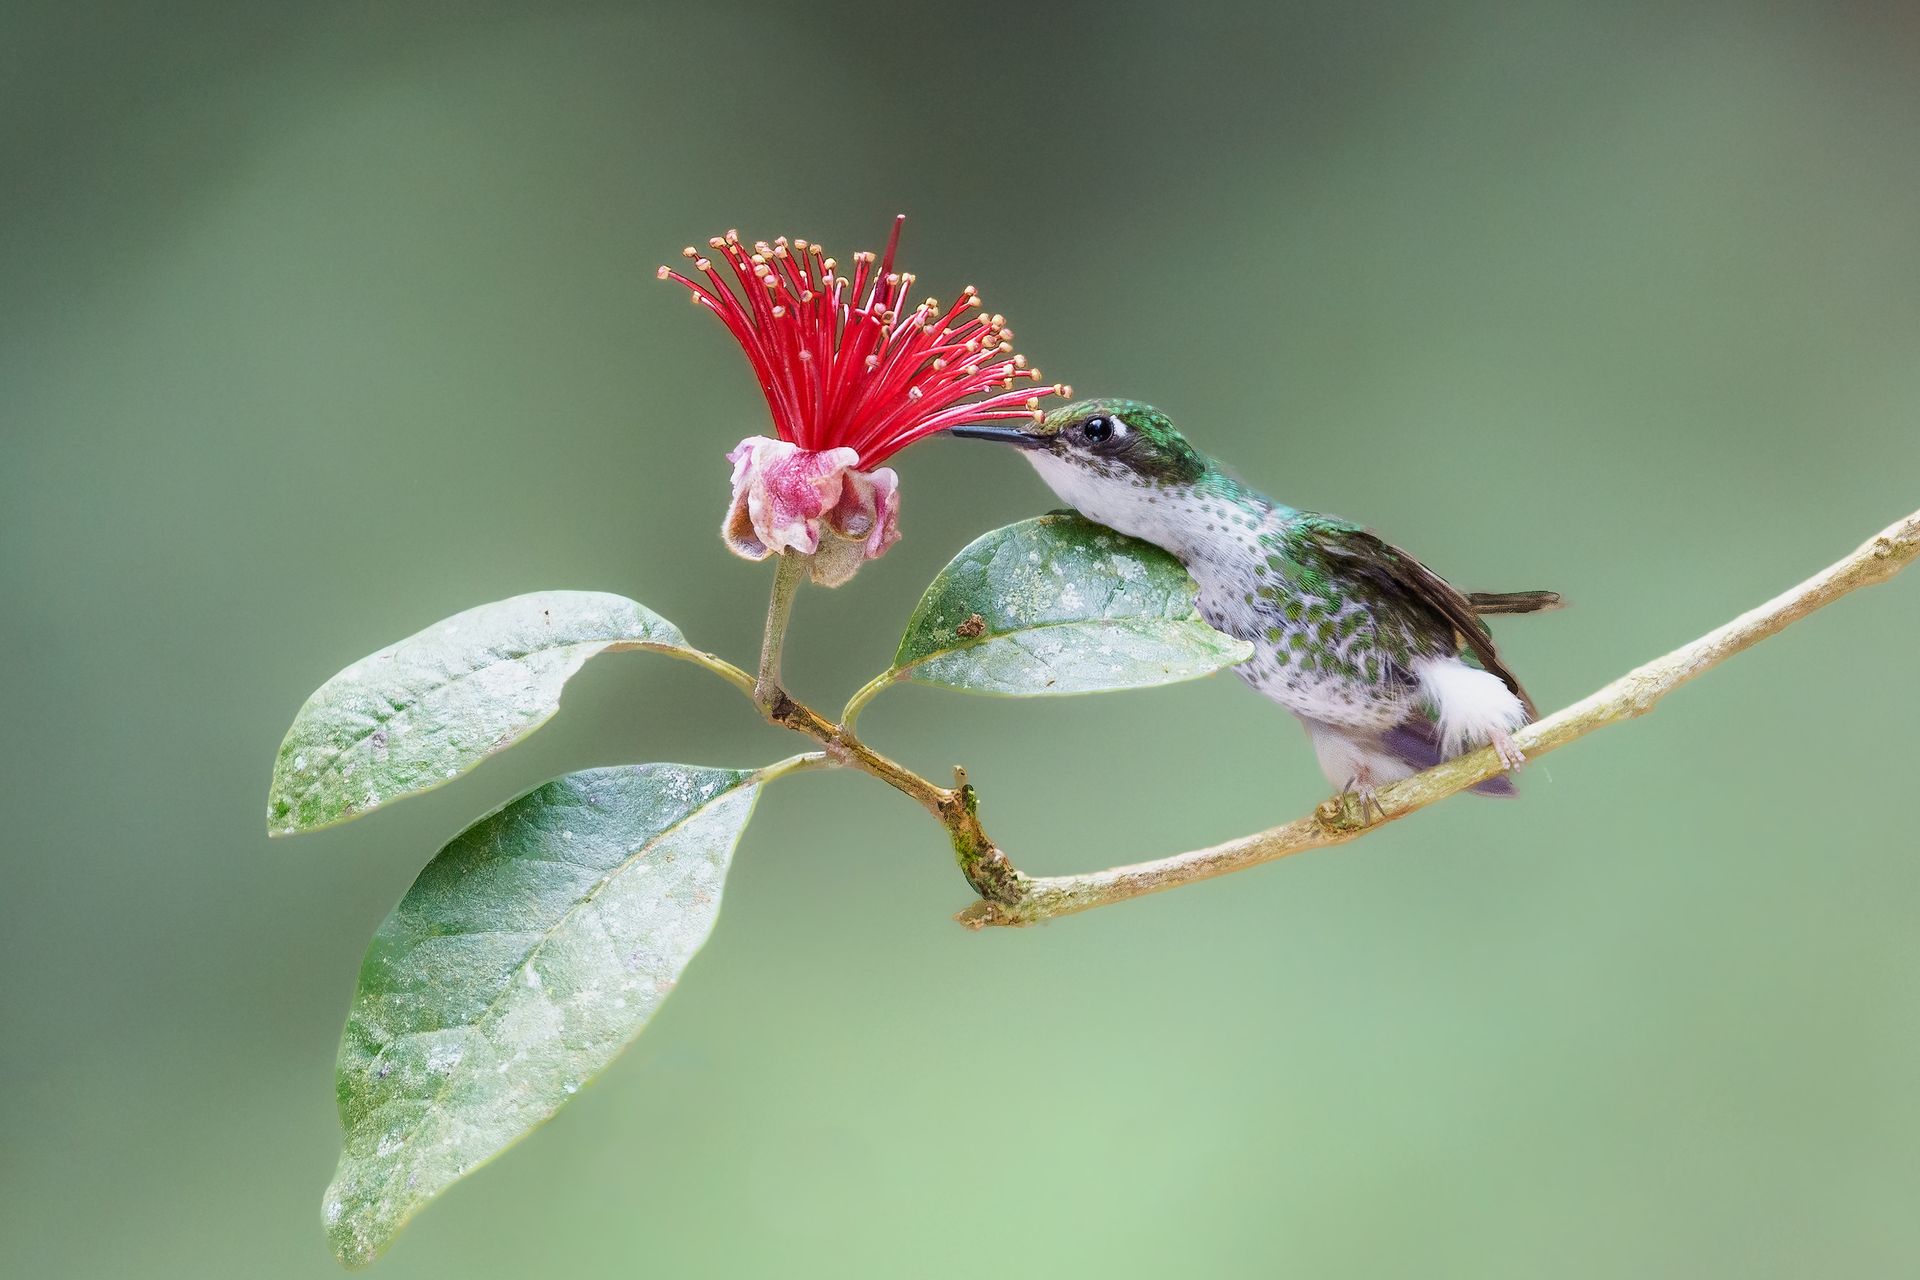
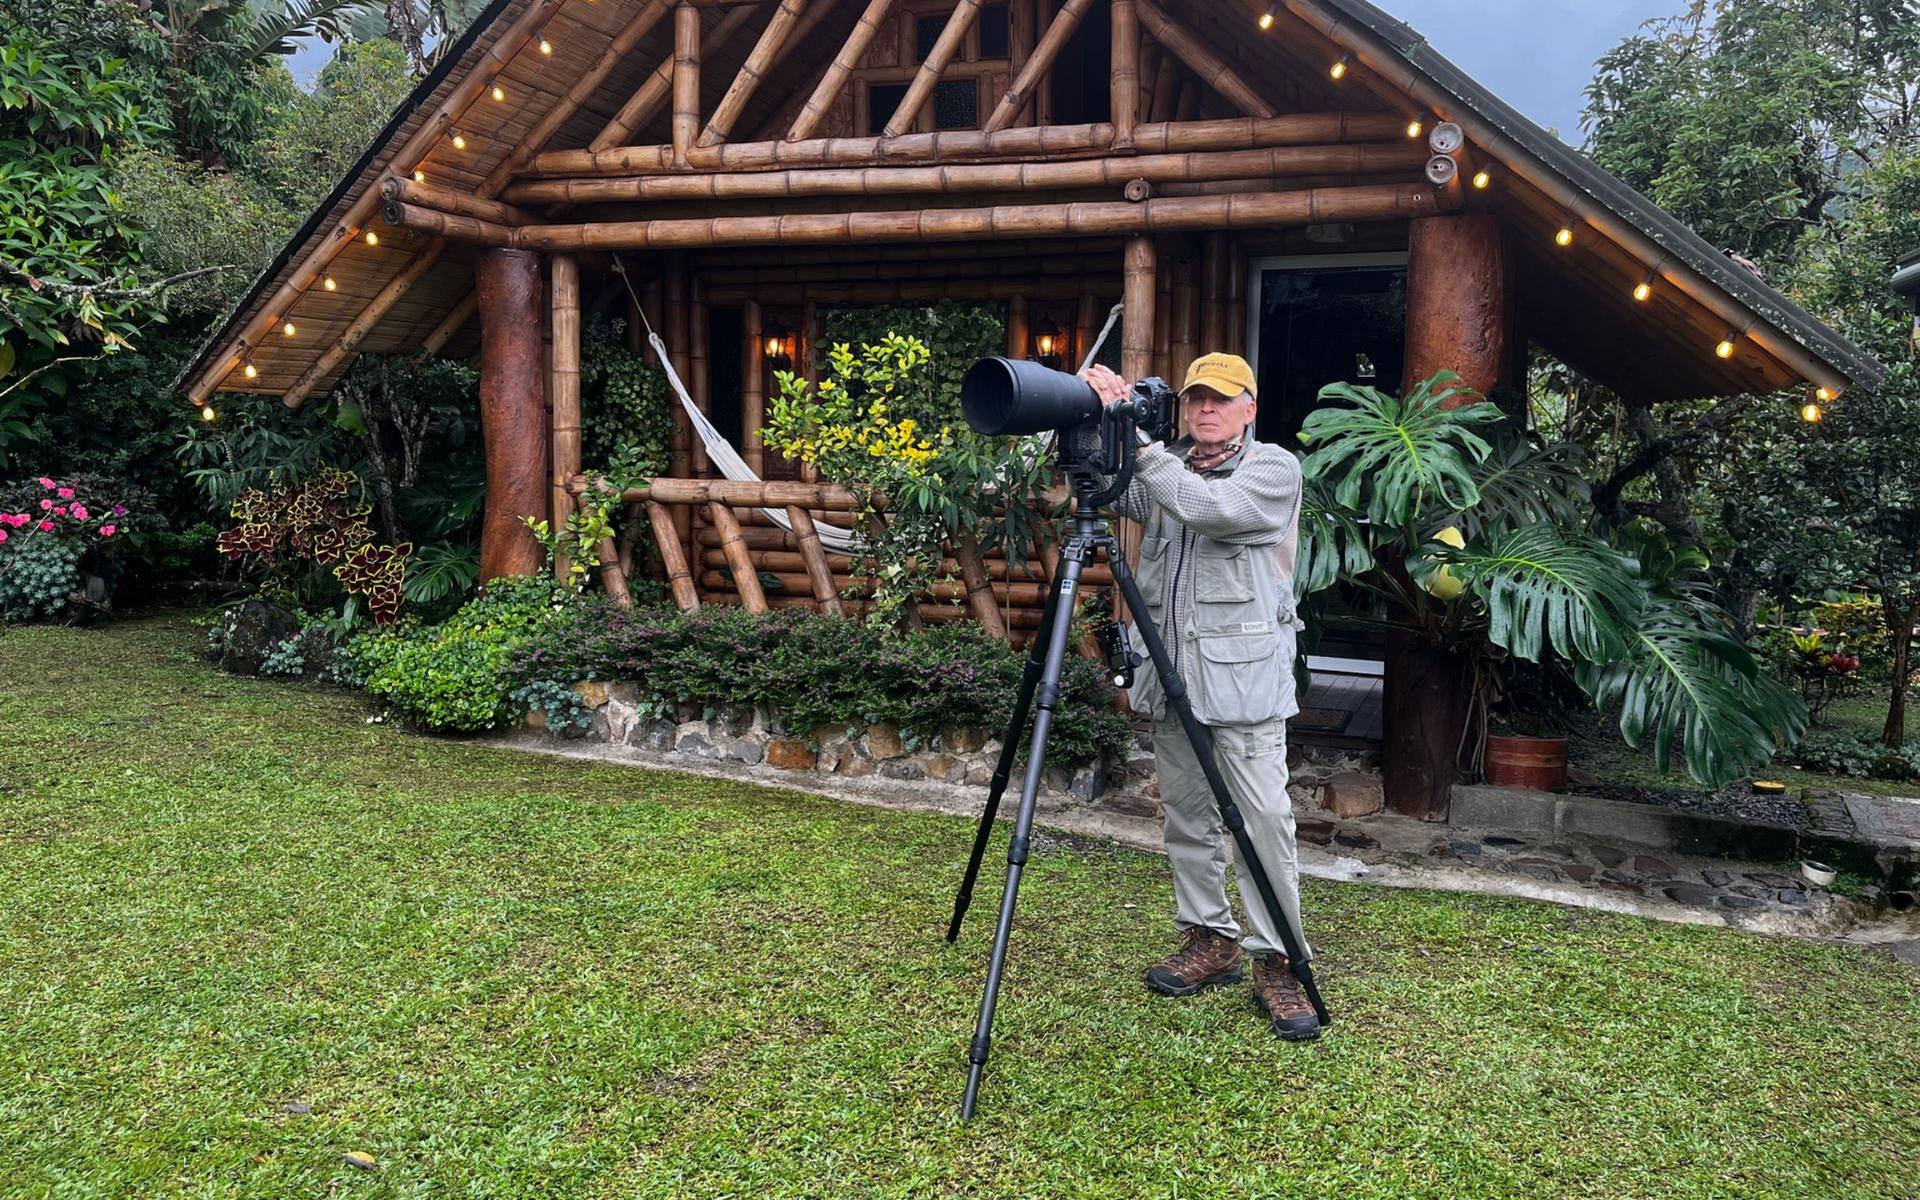
Capturing a great bird photograph in the field is only the first step. The transformation from a raw image to a polished, professional result happens during the editing process. In wildlife photography—especially in diverse environments like Colombia—editing plays a critical role in refining exposure, enhancing detail, and bringing out the true essence of the moment.
A well-structured editing workflow not only improves image quality but also ensures consistency across your portfolio. Understanding how to move efficiently from capture to creation is what separates casual editing from professional results.
Why Post-Processing Matters in Bird Photography
Even with perfect technique in the field, raw images often require adjustments.
Editing allows you to:
- Correct exposure and white balance
- Enhance colors without losing realism
- Recover details in shadows and highlights
- Improve overall composition
The goal is not to alter reality, but to present the scene as it was experienced in the moment.
Step 1: Organizing and Reviewing Your Images
After a day in the field, the first step is to organize your files.
A structured approach includes:
- Importing images into editing software
- Sorting by location, species, or session
- Reviewing and selecting the strongest shots
This process helps you focus on quality rather than quantity and saves time during editing.
Step 2: Culling for the Best Frames
Wildlife photography often involves burst shooting, resulting in many similar images.
During culling, focus on:
- Sharpness, especially around the eye
- Wing position and body posture
- Clean backgrounds and composition
Selecting only the best frames ensures that your final portfolio maintains a high standard.
Step 3: Basic Adjustments and Exposure Correction
Once you’ve selected your images, begin with global adjustments.
Key areas to refine:
- Exposure to balance brightness
- Contrast to add depth
- Highlights and shadows to recover details
- White balance to correct color tones
These adjustments create a solid foundation for further editing.
Step 4: Color Enhancement With Natural Balance
Bird photography often involves vibrant colors, especially in tropical regions.
Enhancing color should be done carefully:
- Increase vibrance rather than oversaturating
- Maintain natural tones of feathers and environment
- Adjust specific color channels if needed
The goal is to highlight the bird’s natural beauty without making the image look artificial.
Step 5: Sharpening and Detail Enhancement
Sharpness is critical in bird photography.
To enhance details:
- Apply selective sharpening to the bird, especially the eye
- Avoid over-sharpening, which can create unnatural textures
- Use noise reduction where necessary, especially in high ISO images
Balancing sharpness and noise ensures a clean, professional look.
Step 6: Background Refinement
A clean background helps the subject stand out.
Editing techniques may include:
- Slightly softening or blurring the background
- Reducing distractions or bright spots
- Adjusting exposure to separate the subject from the background
Subtle adjustments can significantly improve composition without altering the natural scene.
Step 7: Cropping and Composition Improvement
Cropping is an important part of storytelling.
Consider:
- Maintaining space in the direction the bird is facing or moving
- Removing unnecessary elements from the frame
- Improving balance and framing
A well-cropped image feels intentional and visually engaging.
Step 8: Advanced Local Adjustments
Professional editing often involves selective adjustments.
These may include:
- Brightening the bird’s eye for emphasis
- Enhancing feather detail in specific areas
- Adjusting exposure on the subject independently from the background
Local adjustments add depth and draw attention to key elements of the image.
Step 9: Maintaining Ethical Editing Standards
Ethics in wildlife photography extend to editing.
Best practices include:
- Avoid adding or removing elements that change the reality of the scene
- Do not manipulate behavior or context
- Keep edits natural and truthful
Authenticity is essential for both artistic integrity and conservation awareness.
Step 10: Exporting for Different Uses
Final images should be exported based on their intended use.
For example:
- High-resolution files for printing
- Optimized versions for websites and social media
- Consistent color profiles for professional presentation
Proper export settings ensure your images look their best across all platforms.
Building a Consistent Editing Style
Developing a recognizable style is important for professional photographers.
Consistency can be achieved by:
- Using similar color tones and contrast levels
- Applying a uniform editing approach across images
- Refining your workflow over time
A consistent style strengthens your portfolio and personal brand.
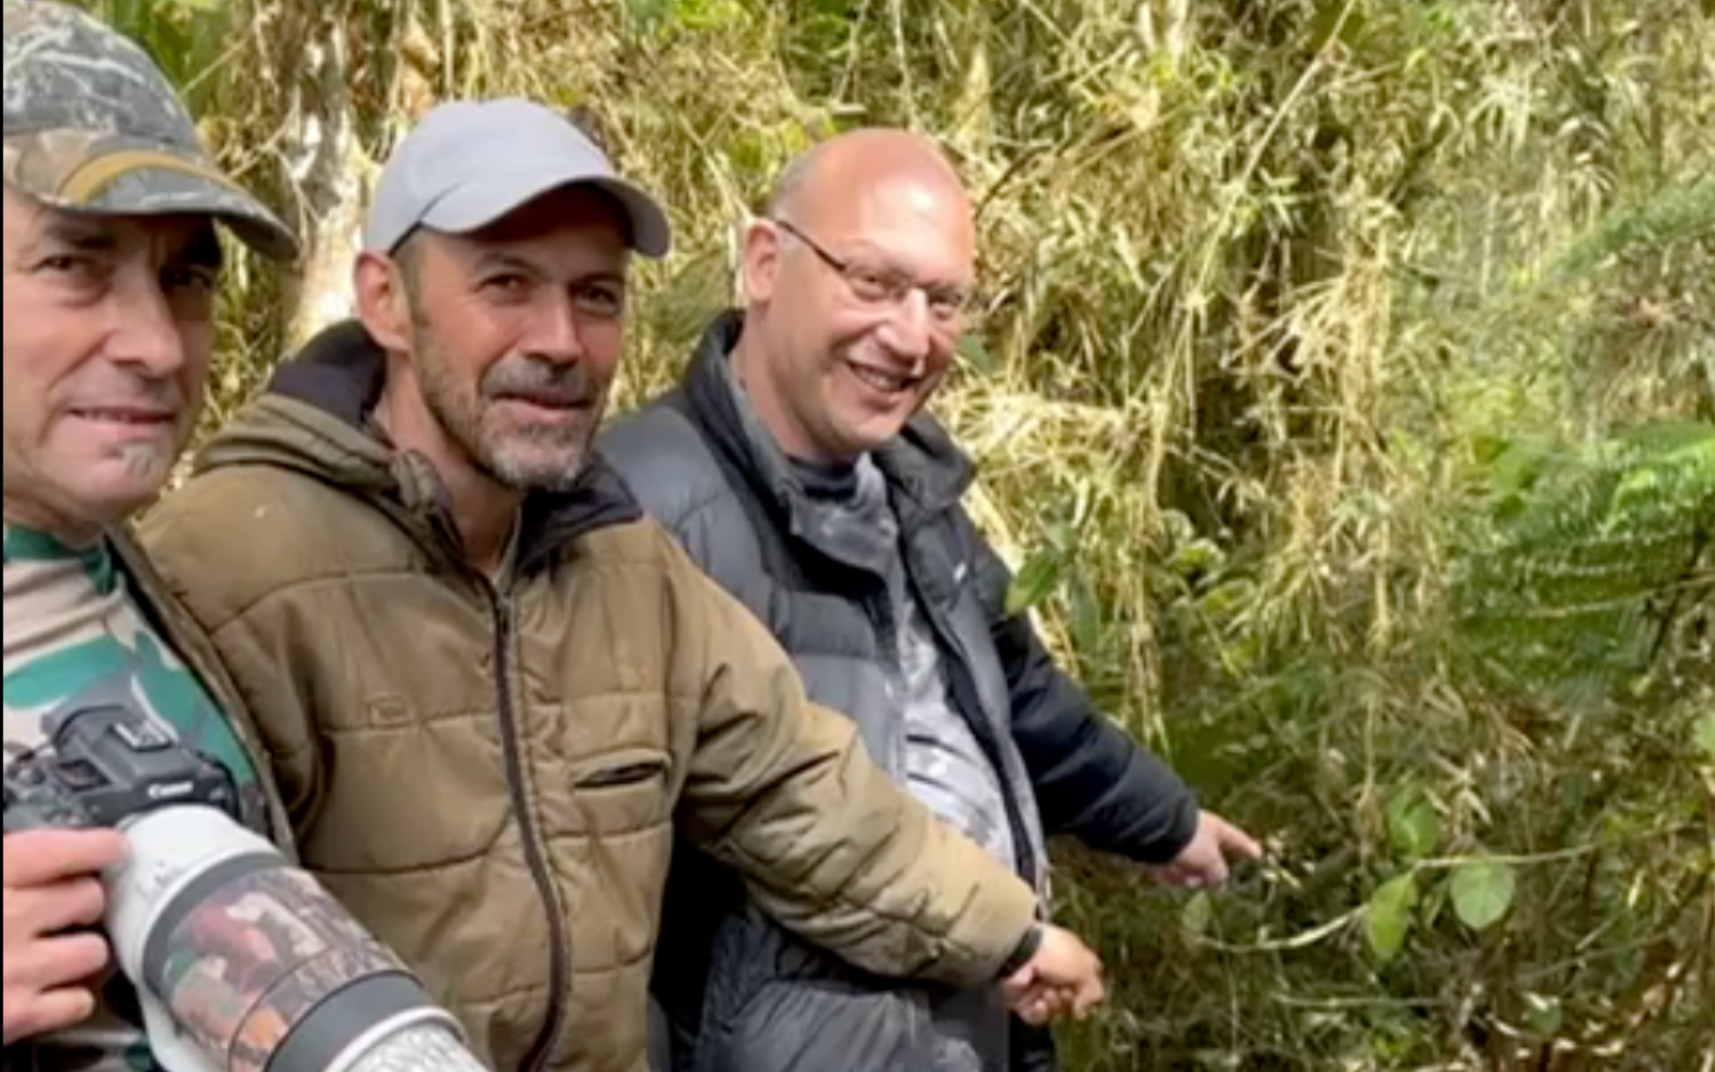
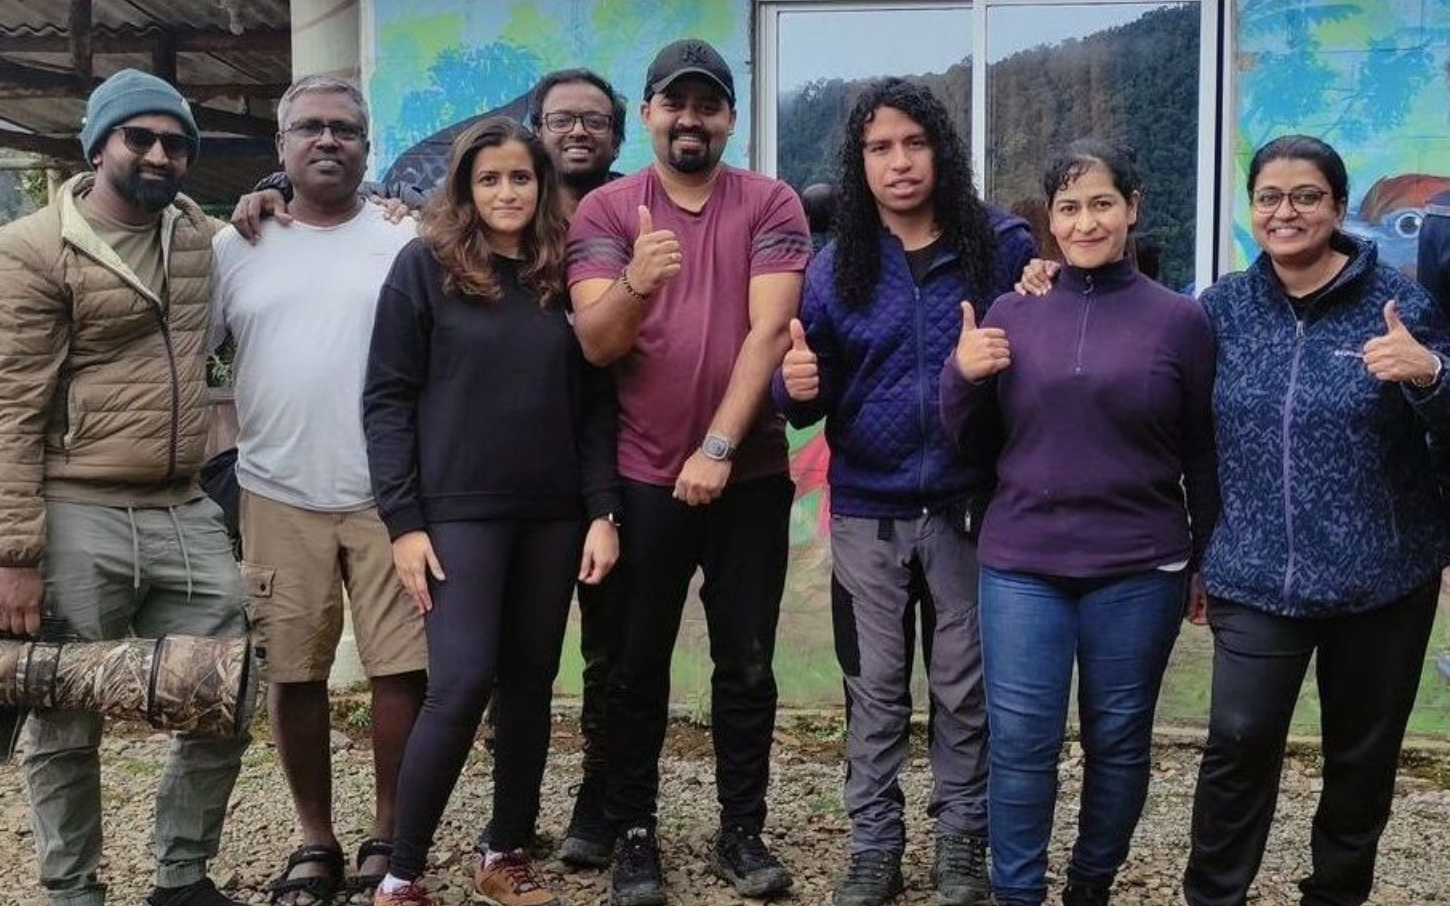
Learning Editing Through Experience and Guidance
Editing skills improve with practice, but guided learning can accelerate the process.
Working with experienced photographers helps you:
- Understand advanced techniques
- Avoid common editing mistakes
- Develop a more efficient workflow
Combining field experience with post-processing knowledge leads to stronger overall results.
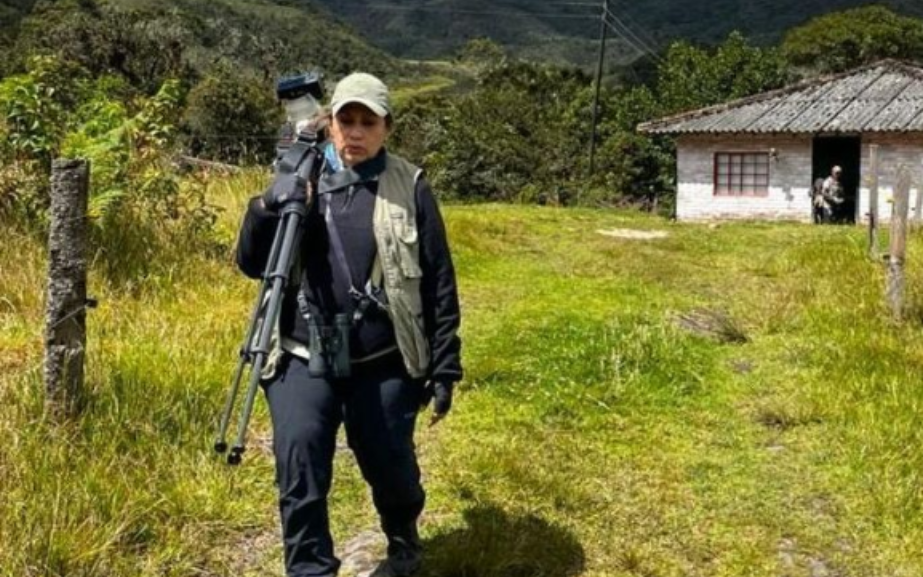
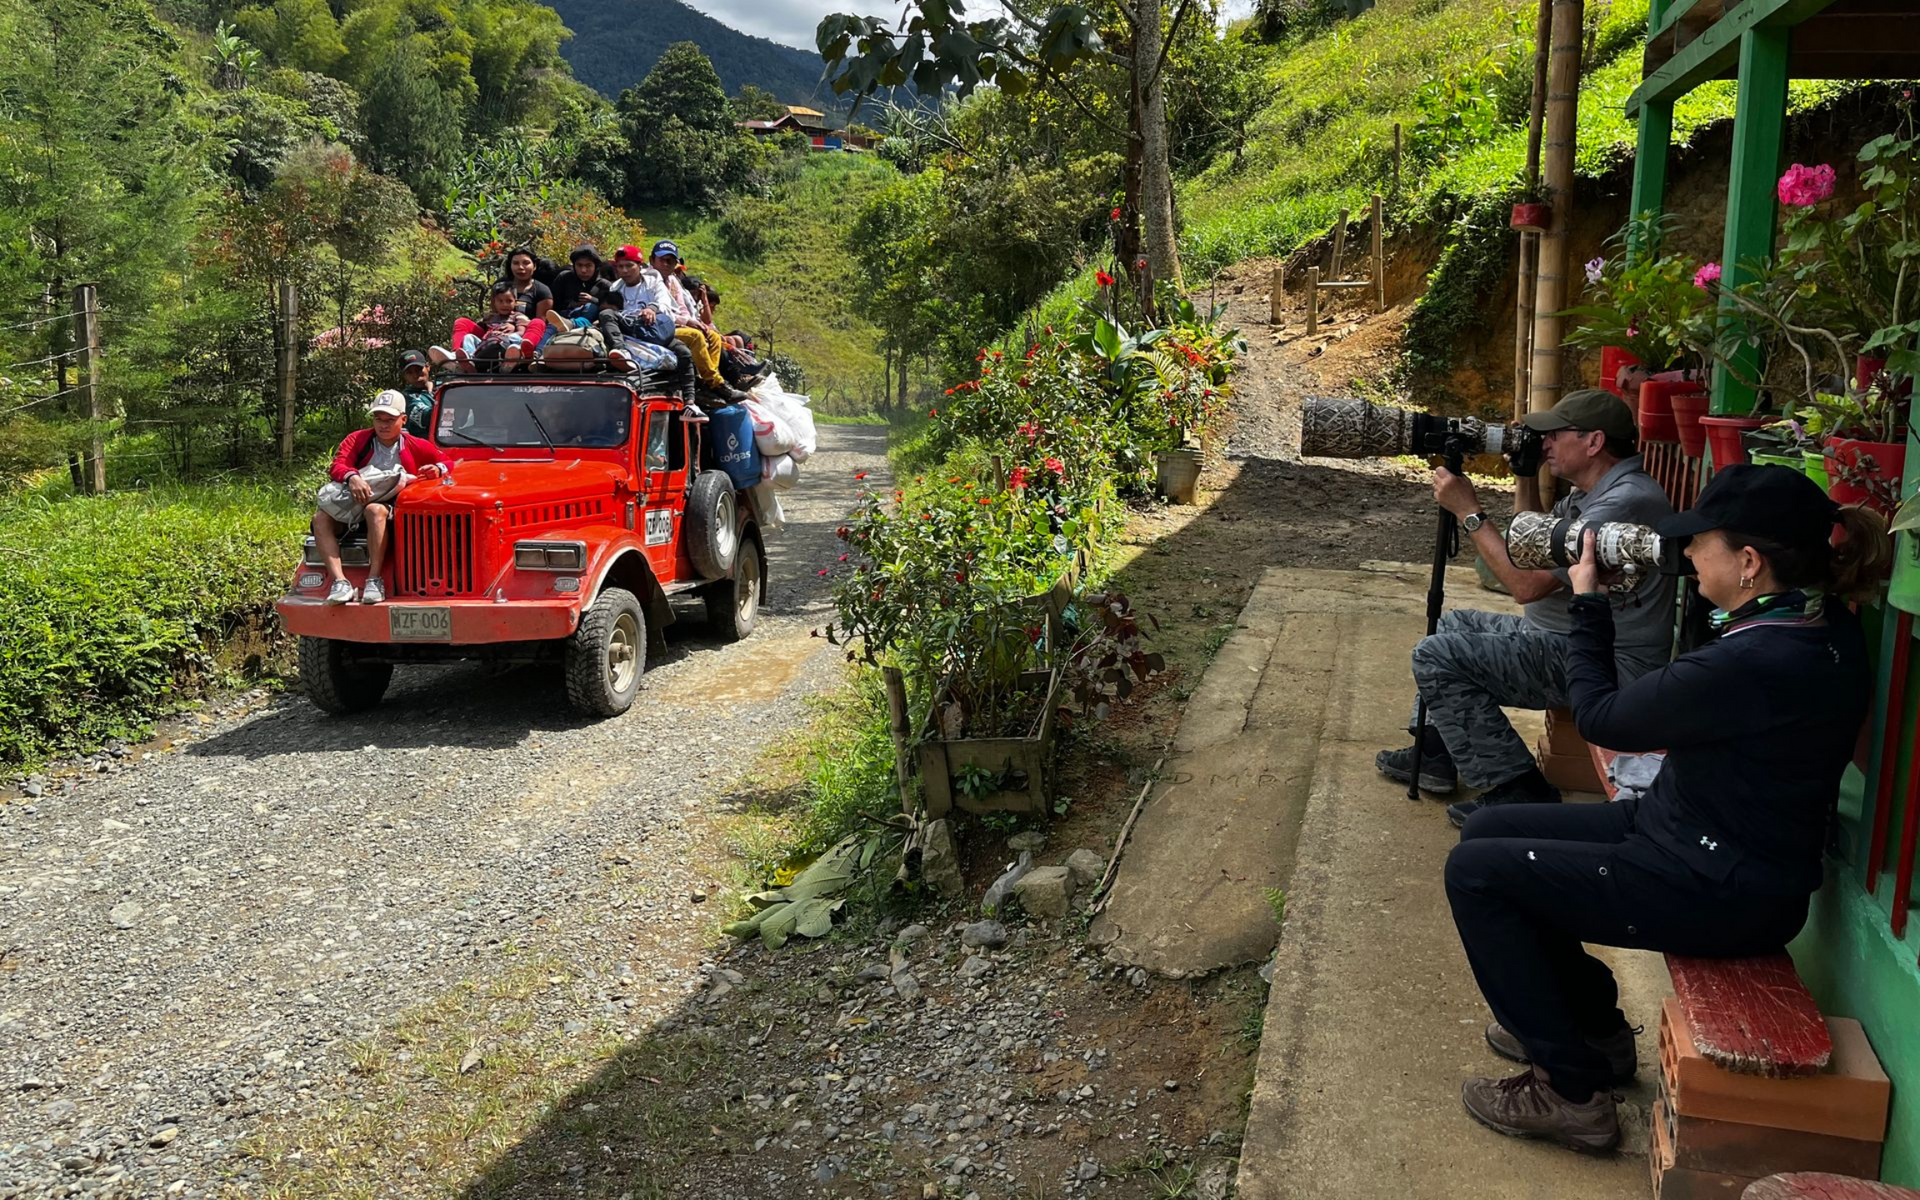
Experience the Full Workflow with Retorno Photo Tours
Retorno Photo Tours supports photographers not only in capturing great images in Colombia but also in understanding how to refine them afterward.
Our approach includes:
- Guidance on capturing images optimized for editing
- Advice on post-processing techniques
- Real-world experience across diverse environments
- Support in building a strong and consistent portfolio
We help photographers complete the full journey—from capture to creation.
If you would like to improve both your shooting and editing skills, we invite you to contact us through our website.
By mastering your editing workflow, you can transform your raw captures into powerful, professional wildlife images that truly stand out.