
Rainforest Humidity Camera Management in the Field
Hot, cold, rainy, misty, and extreme weather cause camera fogging. How to solve this.
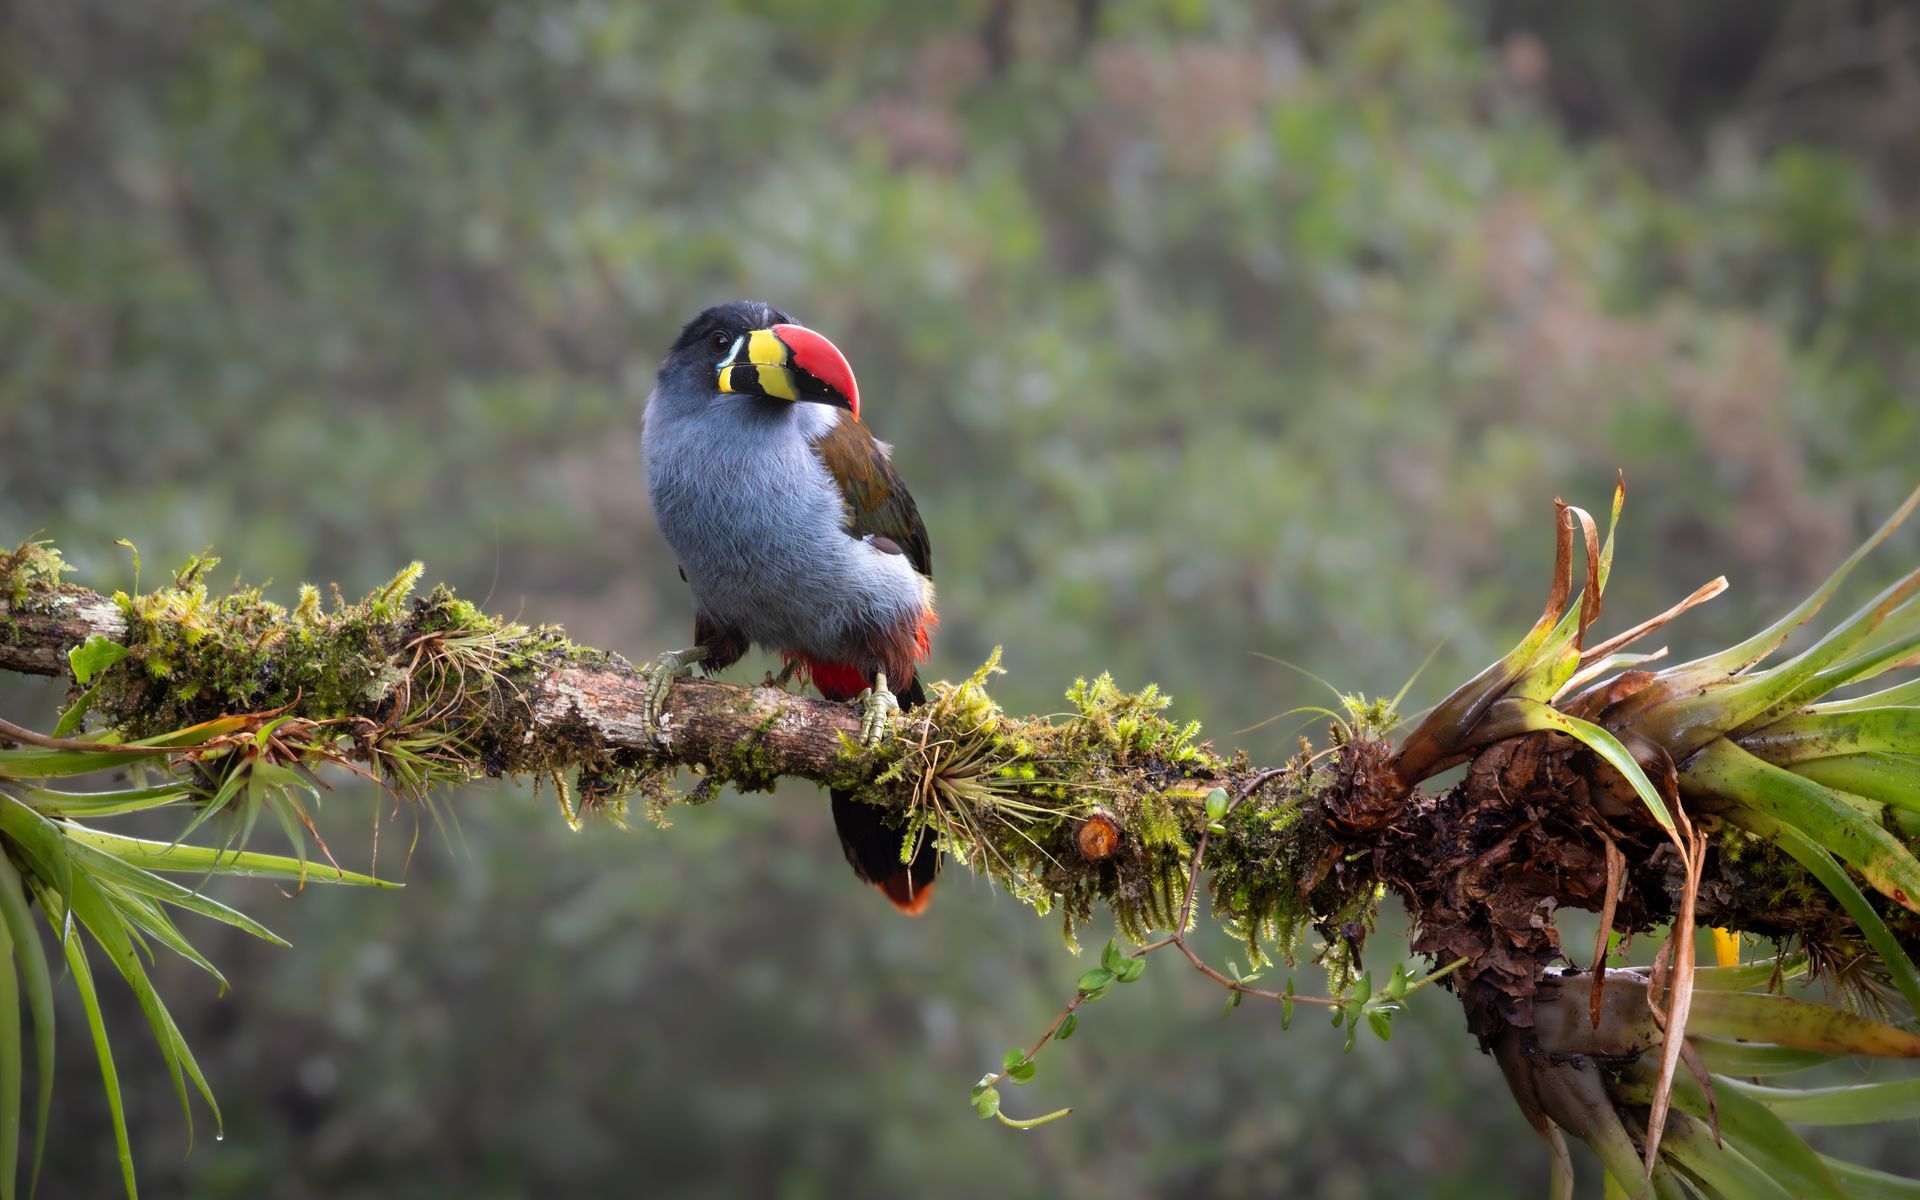
A toucan lands in open view after an hour of rain, or a Harpy Eagle suddenly appears above the canopy. This is not the moment to discover that your front element has fogged or your camera body is wet inside its cover. Rainforest humidity camera management is less about carrying the most expensive weather-sealed gear and more about building calm, repeatable habits that keep your equipment ready when the forest finally gives you the frame.
In Colombia's Amazon, Chocó forests, and humid Andean foothills, moisture is a constant working condition rather than a passing inconvenience. Warm air, sudden downpours, muddy trails, river transport, and air-conditioned rooms can all create problems for cameras and lenses. With sensible preparation, however, humidity does not have to define your photographic results.
Why Humidity Challenges Cameras in the Rainforest
Humidity affects more than the obvious rain on a camera body. The greater threat is condensation: water vapor turning to droplets when a cool lens or camera enters warm, damp air. It can form on the front element, behind filters, inside viewfinders, and in serious cases, within a lens. A lens that looks dry in your room can fog instantly when you step outside before dawn.
Long telephoto lenses deserve particular attention. Their large glass elements, deep lens hoods, and enclosed construction can take longer to equalize with the surrounding temperature. A 500mm or 600mm lens can be difficult to protect under a rain cover while remaining fast to operate, especially when a bird appears briefly in a dark understory opening.
Over repeated days, moisture also creates slower problems: corrosion on contacts, sticky buttons, mildew in bags, and unreliable memory cards or batteries. Weather sealing helps, but it is not a promise that a camera can be left exposed in tropical rain. Think of it as an added margin of protection, not a replacement for field discipline.
Rainforest Humidity Camera Management Starts Before Departure
The most useful gear is often modest and easy to overlook. Bring a properly fitted rain cover for every camera-and-lens combination you intend to use. Test it at home with your tripod collar, lens hood, and flash or microphone if applicable. A cover that takes five minutes to fit is rarely going to be deployed quickly when rain begins during a productive morning.
Carry several clean microfiber cloths in resealable bags. Once a cloth becomes wet, it tends to smear water across glass rather than remove it, so rotating dry cloths matters. A compact absorbent towel is useful for wiping the outside of a cover, tripod legs, and camera body before packing it away.
Silica gel is valuable, but it needs to be used correctly. Keep rechargeable or indicating silica packs in your camera case and in individual lens pouches. They help reduce lingering moisture during storage; they cannot dry a soaked camera in an hour or prevent condensation on a lens in the field. Bring enough to rotate packs through a long expedition, and reactivate them when you have access to a safe heat source.
A dry bag or waterproof backpack liner adds another level of protection during boat travel, heavy rain, and wet vehicle transfers. It should not become a permanently sealed home for damp equipment, though. Trapping wet gear inside a closed bag overnight can encourage mildew and leave everything clammy by morning.
Move Slowly Between Temperature Extremes
The simplest condensation prevention method is allowing your gear to acclimate gradually. Before leaving an air-conditioned lodge for a humid dawn session, place cameras and lenses in their closed bags or dry bags for 20 to 40 minutes. The exact time depends on the temperature difference, but patience is far better than trying to wipe fog from internal glass after it appears.
The same rule applies in reverse. After a humid afternoon in the forest, do not immediately bring an exposed camera into a strongly air-conditioned room. Seal it in its bag first, then let it cool gradually. If your accommodation has only a small temperature difference from outdoors, this process is easier, but it remains a good habit.
Avoid opening lens caps, battery doors, or card slots while condensation is actively forming. If the outside of the gear is wet, dry the exterior carefully before opening anything. A rushed card change in rain can create more risk than finishing a sequence on your backup body.
Use Two Bodies When Your Photography Calls for It
For serious bird photography, two bodies can be more than a convenience. One can carry a long lens for canopy birds, raptors, or distant mammals, while the other holds a shorter zoom for close hummingbirds, frogs, or environmental scenes. This reduces lens changes in wet air and gives you a practical backup if one body needs time to dry.
There is a trade-off. A second body adds weight on steep trails and requires another rain cover, batteries, and carrying solution. For photographers traveling light, a single weather-sealed body with a versatile telephoto zoom may be the better choice. The important point is to decide your working system before you are standing under a dripping palm, not after.
Your Field Routine During Rain and Mist
Keep the rain cover on when conditions look uncertain. In many forests, a bright morning can turn into heavy rain within minutes. You may not need to close every sleeve opening while the weather is dry, but having the cover already mounted means you can protect the camera without losing the subject.
Use a lens hood at all times. It limits direct droplets on the front element, blocks stray light in broken canopy, and gives the glass a little extra physical protection. A hood will not stop wind-driven rain, but it often buys enough time to make a sharp image before you need to wipe the lens.
When a brief shower arrives, keep shooting only if you can see clearly and control the equipment safely. Otherwise, cover the lens, point it slightly downward, and wait. Water collecting in a lens hood can splash onto the front element when you move. Periodically tilt the lens down and gently shake excess water from the hood rather than rubbing the glass every few minutes.
Never use compressed air in the rainforest to clear water or dust. It can push moisture into seams and leave residue. Likewise, avoid aggressive wiping when grit is present. Use a blower only when conditions are relatively dry, then lightly dab or wipe with a clean microfiber cloth.
End Each Day With a Deliberate Drying Routine
At the lodge, begin by removing rain covers and opening camera bags in a dry, ventilated space. Wipe down bodies, lenses, tripods, and straps. Check the lens hood, tripod collar, battery compartment exterior, hot shoe, and the folds of your rain cover, where water often hides.
Do not place equipment directly in front of a heater or blast it with a hair dryer. Excessive heat can damage lubricants, rubber, adhesives, and electronic components. Gentle room-temperature airflow is safer. If the room is humid, store gear in a cabinet, suitcase, or large sealed container with fresh silica packs after the exterior is dry.
Take a few minutes to inspect images at 100 percent. This is not simply for editing pleasure. It can reveal a developing fogging issue, a water spot pattern, or reduced contrast that tells you the front element needs attention before the next morning. Check batteries and cards as well, because humid field days are not the time to discover that a card door was not fully closed.
What to Do if a Lens Fogs Internally
If fog is clearly inside the lens, stop trying to solve it with constant exterior wiping. Keep the lens capped, place it in a dry container with ample silica packs, and allow it to equalize gradually. Avoid opening the lens, applying heat, or leaving it in direct sun.
Minor internal condensation may clear as the lens dries, but repeated fogging or visible moisture should be treated seriously. Use a backup lens or body if possible, and arrange professional inspection after the trip if the problem persists. It is frustrating to set aside a favorite lens, but risking internal fungus or electronic damage is a much more expensive decision.
Protecting Gear Supports Better Wildlife Photography
The goal is not to turn an unforgettable rainforest expedition into a nervous exercise in equipment protection. Good camera care should become quiet background practice: bag gear before temperature changes, mount covers early, minimize lens swaps, dry equipment thoughtfully, and keep a backup plan for wet days.
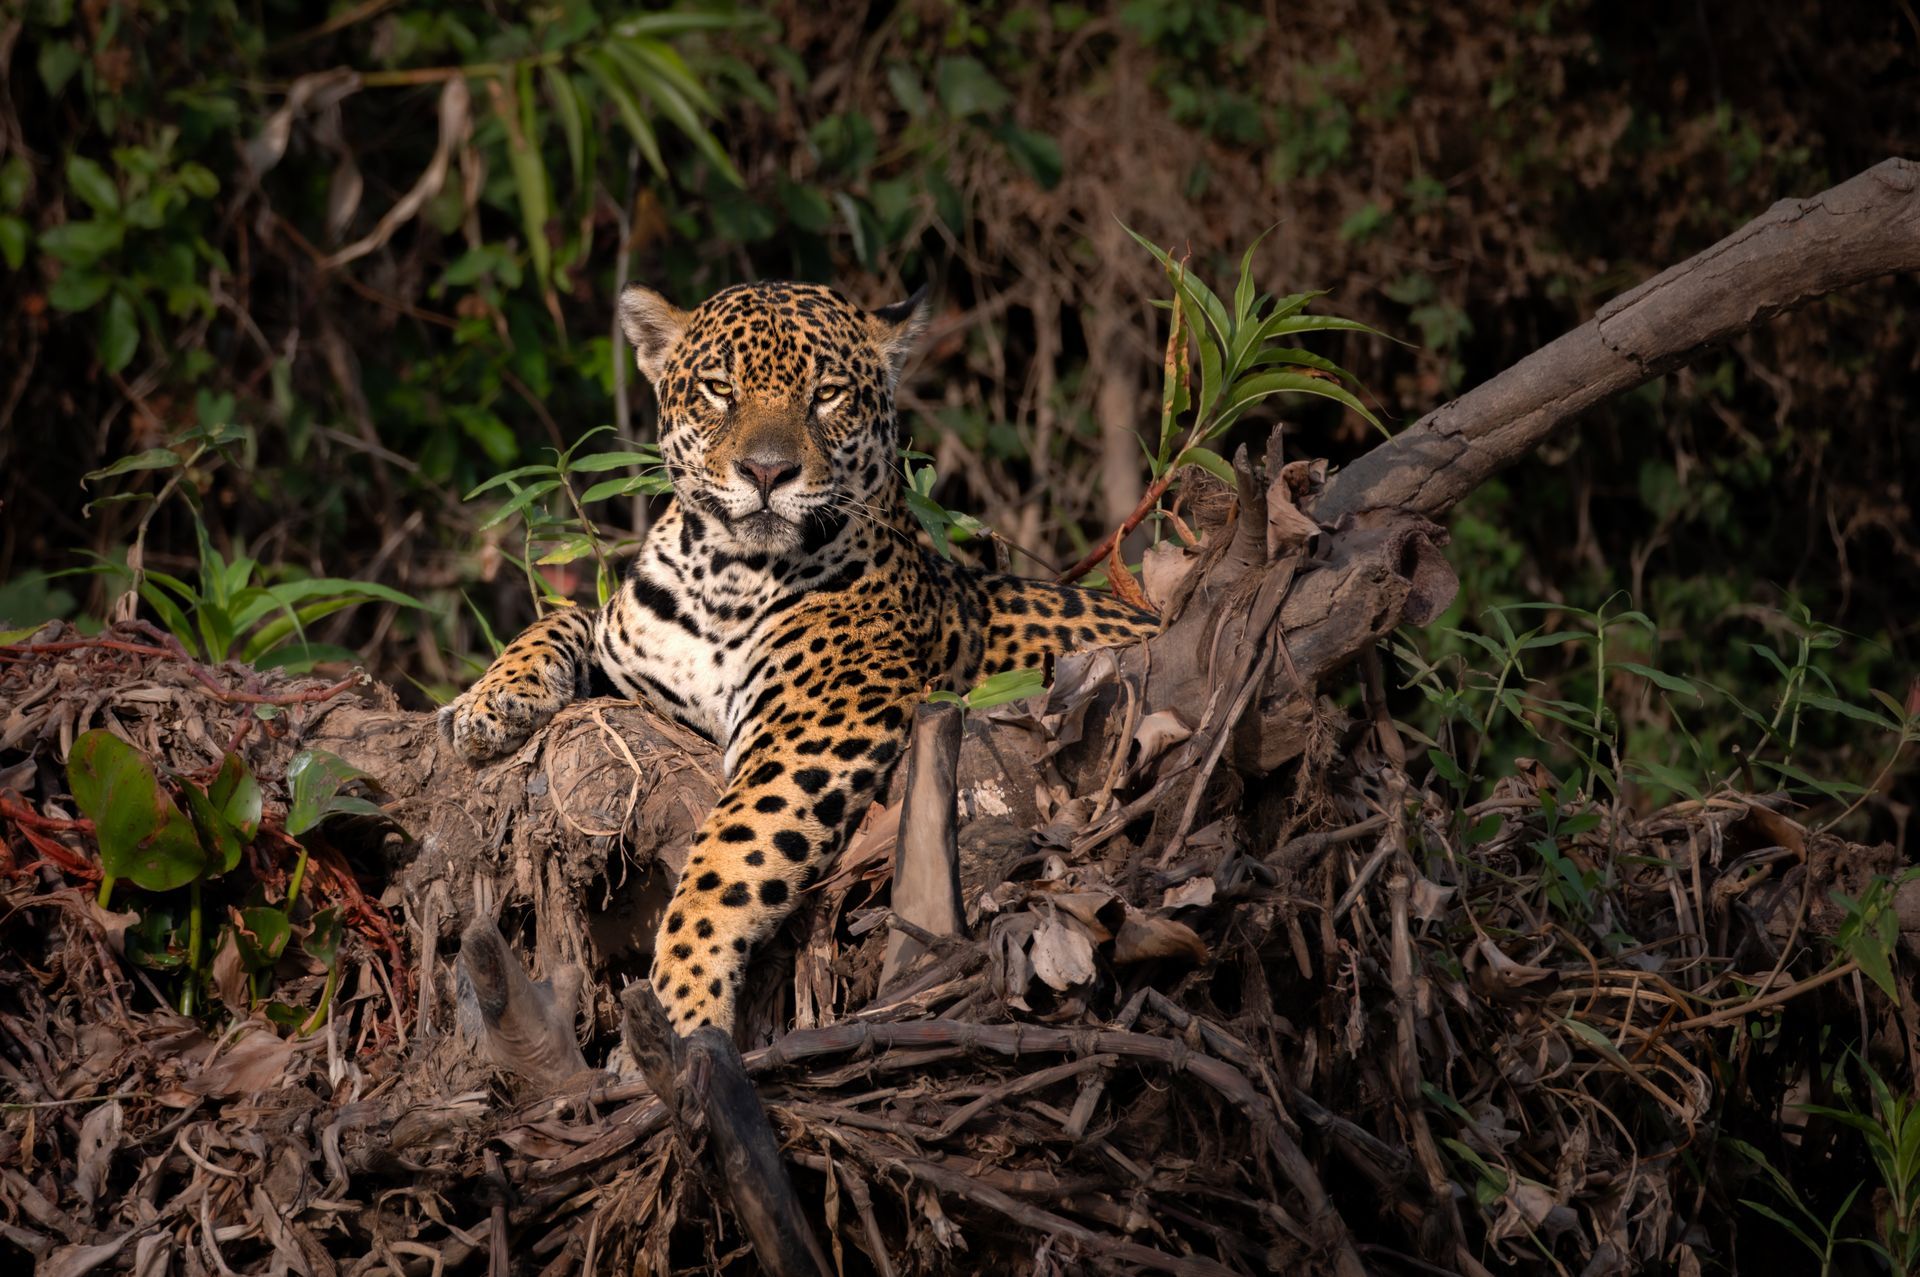
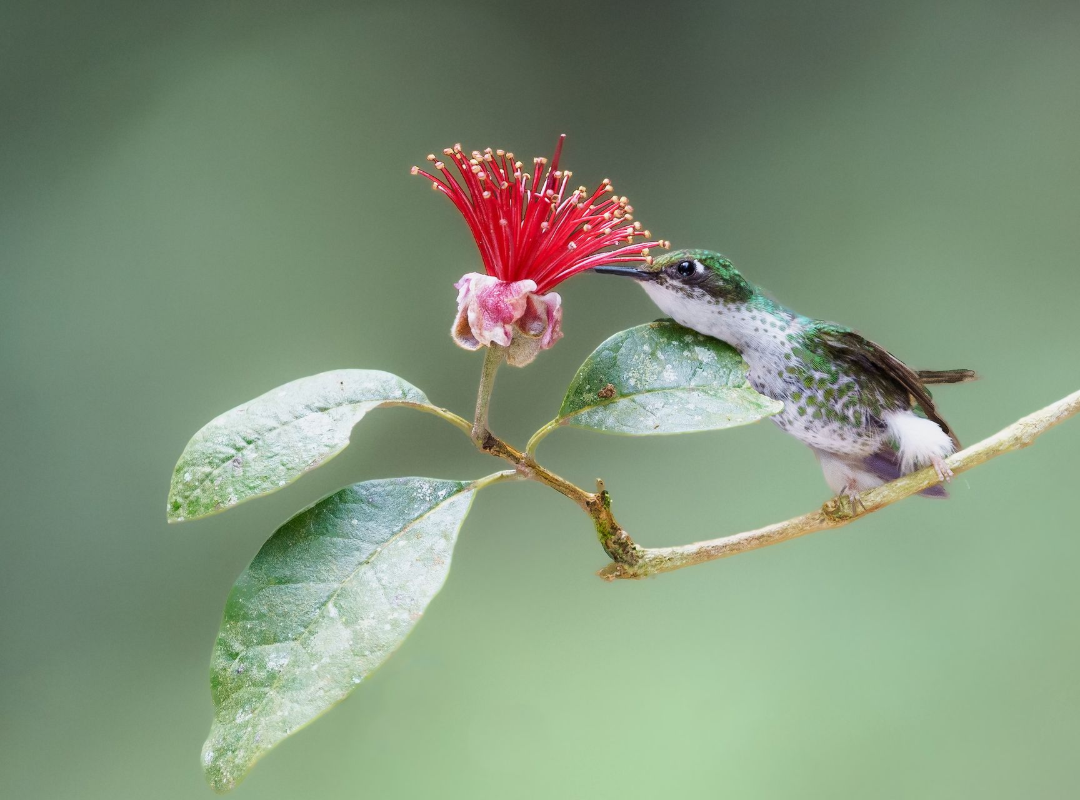
That preparation gives you more freedom to focus on the forest itself: the wingbeat of a hummingbird in a flowering garden, a tanager flashing color through mist, or a monkey crossing a riverbank at first light. In remote places, dependable logistics and respectful local knowledge help create photographic opportunity. Your camera routine should do the same - keeping you present, prepared, and ready when the rainforest offers something extraordinary.