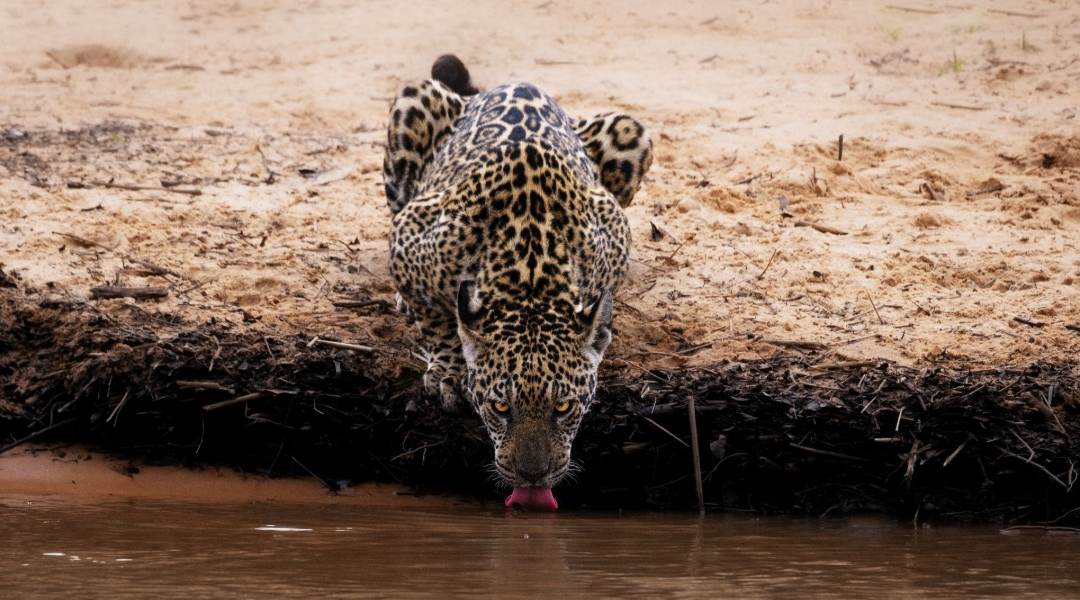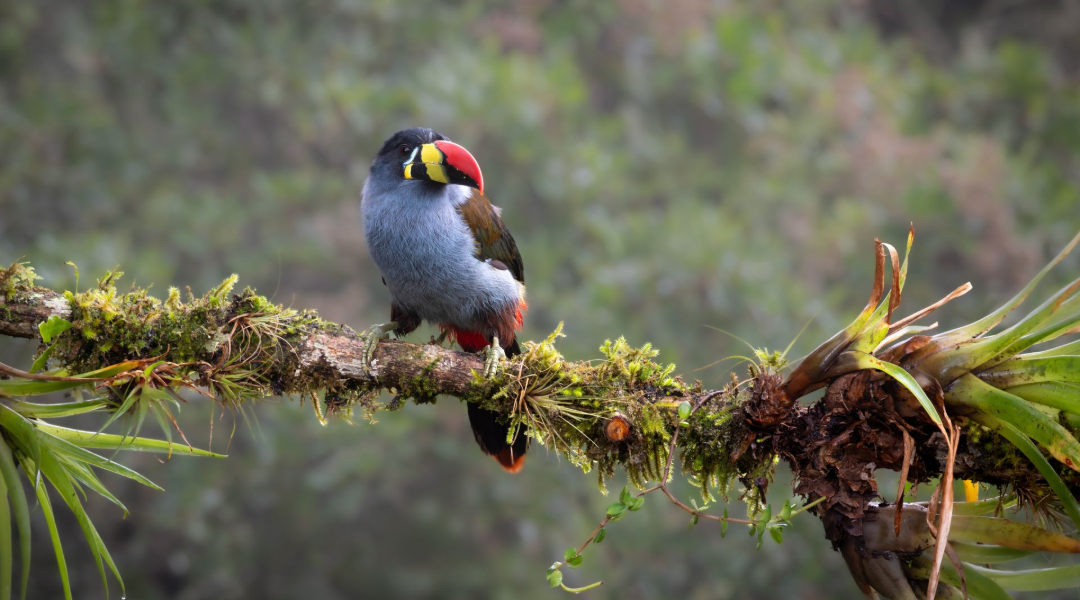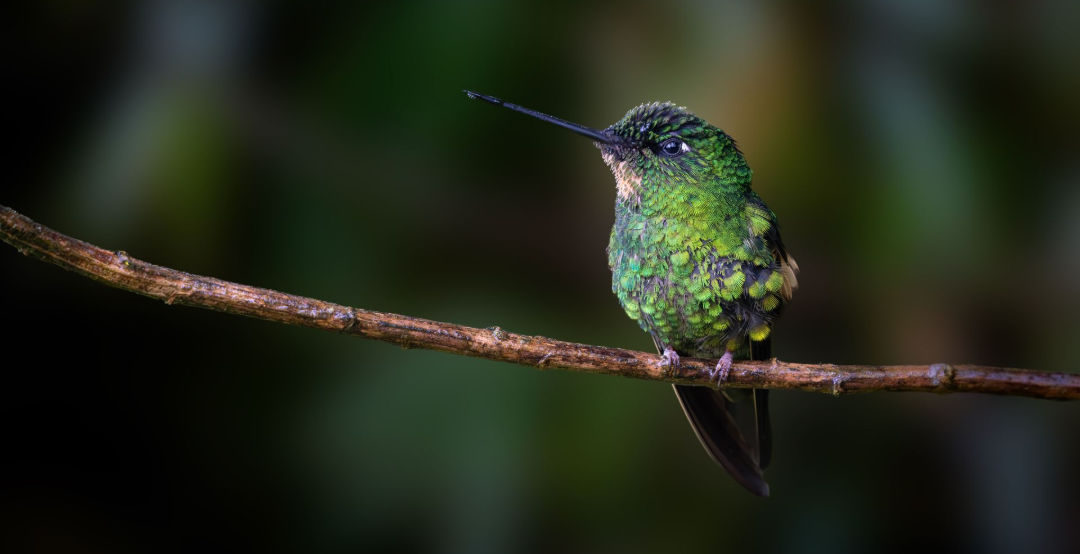

Rainforest Photography Tips for Serious Wildlife Shots
Rainforest Photography Tips Start Before the Trail
The first minute after a rainforest trail comes alive can feel frustrating: a calling bird is high in the canopy, the light is dim, leaves are moving, and humidity has already found your lens. The best rainforest photography tips are not about forcing a perfect studio-like setup. They are about preparing for imperfect conditions, reading the forest quickly, and making strong decisions before the subject disappears.
For serious bird and wildlife photographers, the rainforest rewards patience and fieldcraft more than sheer speed. Colombia’s Amazon, Chocó forests, and Andean foothills can produce extraordinary encounters, from antbirds at ground level to tanagers feeding in fruiting trees. Yet every location asks you to work with moisture, shadow, distance, and dense vegetation rather than against them.
Rainforest Photography Tips Start Before the Trail
A productive morning begins long before the first bird call. Tropical rain often arrives without much warning; trails can be slick, and a viewpoint that looks close on a map may require a steep walk through humid forest. Pack for access and speed, not for carrying every piece of equipment you own.
A weather-sealed camera body and lens offer valuable reassurance, but they are not an excuse to leave equipment exposed. Keep a fitted rain cover ready on the camera, carry a dry bag or waterproof backpack liner, and use a small absorbent cloth for the front element. A rain cover that takes five minutes to deploy is unlikely to help when a sudden shower starts. Practice fitting it at home until it becomes automatic.
Your essential field kit should include:
- A long telephoto lens suited to your strength and shooting style
- A reliable rain cover and several microfiber cloths
- Spare batteries stored in a sealed pouch
- A headlamp for pre-dawn starts and dark forest trails
- Insect protection, hydration, and non-slip footwear
Lens choice depends on the forest and your target species. A 500mm or 600mm lens gives welcome reach for canopy birds, but it can become difficult to handle on narrow, muddy trails. A 100-400mm or 200-600mm zoom may give you a better chance of framing a nearby toucan, monkey, or mixed flock moving quickly through the understory. For small birds at a feeding station or a controlled forest-edge setup, a longer prime can be outstanding. There is no single correct focal length. The best choice is the lens you can carry comfortably and operate confidently for hours.
Acclimate Your Gear Before You Shoot
Condensation is one of the rainforest’s quietest image killers. It happens when cold camera gear enters warm, humid air, coating glass and electronics with moisture just as the morning activity begins. Keep your camera in a sealed bag while it warms gradually after leaving an air-conditioned room or vehicle. Give it time before opening the bag.
At the end of the day, avoid putting wet gear straight into a tightly closed case. Wipe it down, let surface moisture evaporate in a dry, secure space, and use silica gel packets in storage. Do not change lenses in active rain or in a cloud of spray beside a waterfall unless the opportunity is truly exceptional.
Work With Low Light, Not Against It
Rainforest light is rarely generous. Under a closed canopy, even midday can resemble late afternoon, while bright patches of sky push your camera’s meter toward underexposure. The goal is not always a high shutter speed and a perfectly clean background. The goal is a sharp eye, a compelling behavior, and an exposure that protects the important tones.
Start with a shutter speed appropriate to the subject. For perched birds, 1/500 second can work when the bird is still and you have stable support. For active songbirds, 1/1600 second or faster is a more realistic starting point. Hummingbirds, flight shots, and sudden action may demand 1/2500 second or more. In deep shade, you will often need to raise ISO without hesitation.
Modern cameras handle higher ISO settings remarkably well, especially when exposure is accurate. A slightly grainy photograph with a sharp eye is usually far more valuable than a blurred image captured at a lower ISO. Watch your histogram and avoid letting dark plumage become a featureless black mass. If a bird is backlit against a pale opening in the canopy, exposure compensation may be necessary, but protect highlights where possible.
Use continuous autofocus with subject detection when it performs reliably on your camera, then test it before the key moment arrives. Leaves, branches, and foreground vines can confuse even excellent systems. A small, flexible focus point or limited-area mode often gives more control when a bird is partially obscured. For stationary subjects, take a moment to place focus directly on the nearest eye.
Let the Forest Shape the Image
Dense vegetation is not merely an obstacle. A clean green foreground can frame a subject, a soft leaf can add depth, and shafts of filtered light can create a moody portrait that feels true to the rainforest. The trade-off is that you must be selective. If branches cross the bird’s face or a bright leaf pulls attention from the subject, shift your position by a few inches rather than hoping editing will solve the composition.
Look for natural openings before the bird appears. At fruiting trees, flowering shrubs, streams, and forest clearings, choose a line of sight with a distant background and limited visual clutter. Then wait. This approach is especially effective with tanagers, barbets, aracaris, and other species that return repeatedly to a food source.
Read Behavior and Listen for Opportunity
In rainforest photography, your ears often find the subject before your eyes do. Learn the sounds of the species you hope to photograph, but also listen for broader signals: the agitation of a mixed flock, falling fruit, a monkey alarm call, or the wingbeats of large birds moving overhead.
A guide with local ecological knowledge can transform these signals into photographic opportunities. In remote forests, it is not simply a matter of knowing where a species has been recorded. It is knowing which ridge holds flowering plants this month, where a trail crosses a feeding route, and when to pause rather than push farther into the forest.
Once you find a subject, resist the urge to crowd it. Move slowly, keep your profile low, and avoid direct, abrupt approaches. Many rainforest animals accept a quiet observer at a respectful distance, especially when they do not feel surrounded or blocked from their route. A patient position near a perch can yield behavior, interaction, and environmental context that a close but rushed encounter cannot.
Use Support That Fits the Terrain
Tripods are excellent for long waits at feeding stations, forest blinds, and open river edges. They reduce fatigue and help you hold a heavy lens on a small opening in the vegetation. On steep or crowded trails, however, a tripod can slow everyone down and become cumbersome. A monopod, beanbag, or hand-held setup with image stabilization may be the more practical choice.
Before the session begins, set your tripod to a workable height and loosen controls enough for quick adjustments. In a forest, birds rarely land exactly where you expected. If you spend ten seconds raising legs or fighting a locked gimbal head, the moment is gone.
For flash, follow local regulations and guide direction. A carefully controlled flash setup can reveal color and detail in very dark conditions, particularly at established feeding areas, but it must never override animal welfare. Avoid repeated flashes at roosting birds, nesting subjects, nocturnal animals, or visibly stressed wildlife. Natural-light images are often the more honest and atmospheric choice when conditions allow.
Photograph Ethically in Sensitive Habitats
Rare species are not props, and a photograph is never worth disrupting breeding, feeding, or resting behavior. Keep a respectful distance, remain on designated trails where required, and do not pressure wildlife into a better angle. Playback should be used sparingly, if at all, and never around nesting birds or sensitive species.
Ethical photography also includes the people who make access possible. Many of the finest wildlife locations depend on Indigenous, Afro-descendant, and rural communities whose knowledge and stewardship protect the forest. Choosing operators and local partners who invest in fair employment, community relationships, and habitat protection helps ensure that photography supports the landscapes it celebrates.
At Retorno Photo Tours, this local knowledge is central to how field time is planned: with careful logistics, specialist guidance, and respect for the communities and ecosystems that make these encounters possible.
Leave Space for the Unexpected
A rainforest itinerary can be built around a target bird, a rare frog, or an iconic mammal, but the forest does not operate on a schedule. Rain may close a trail. A hoped-for raptor may stay hidden. Then a tiny glass frog appears beside the path, or a troop of monkeys crosses the canopy in perfect morning light.
Keep one camera ready, keep your settings close to useful, and stay curious between the headline moments. The image you remember most may be the one you did not travel expecting to make.