

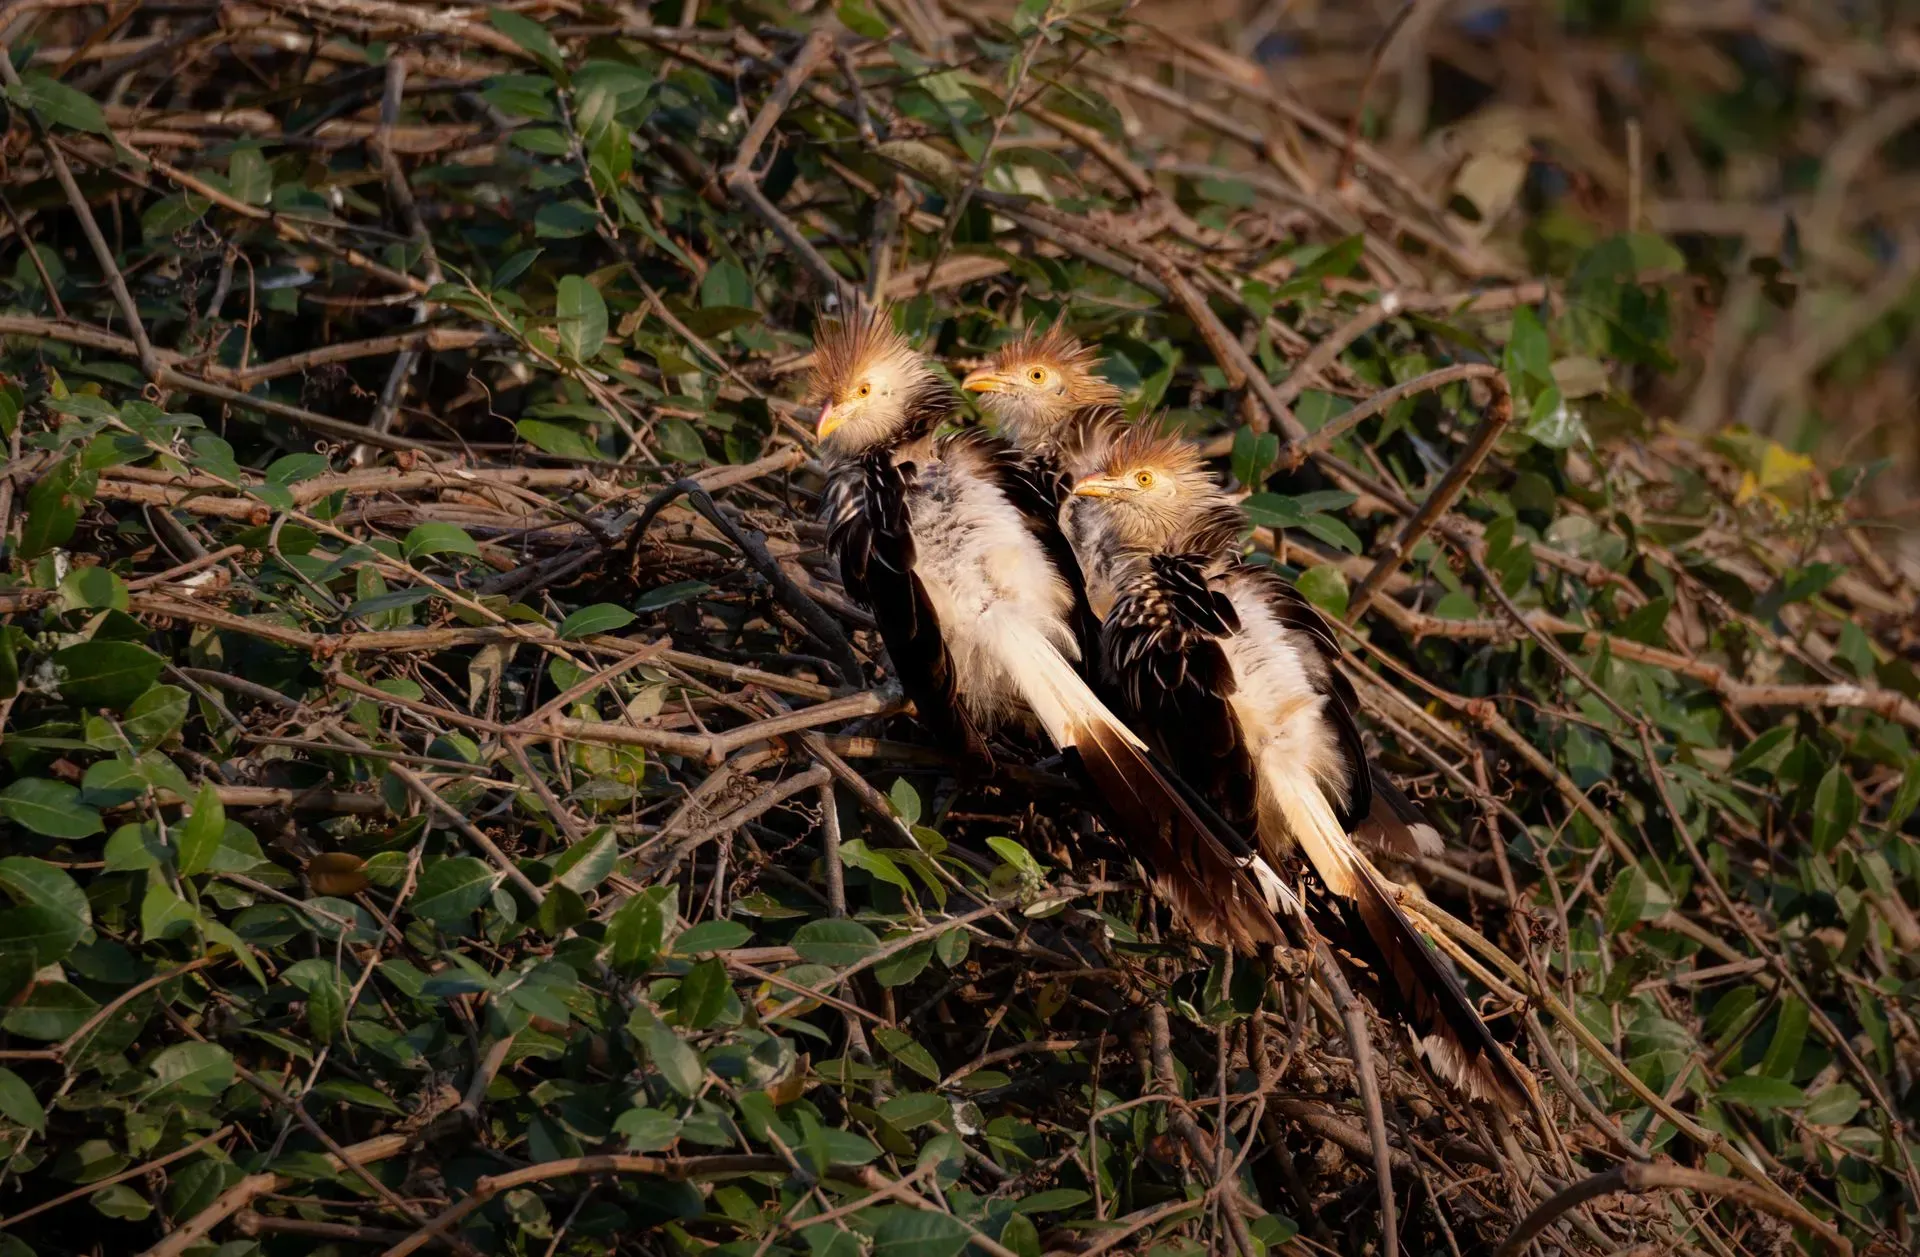
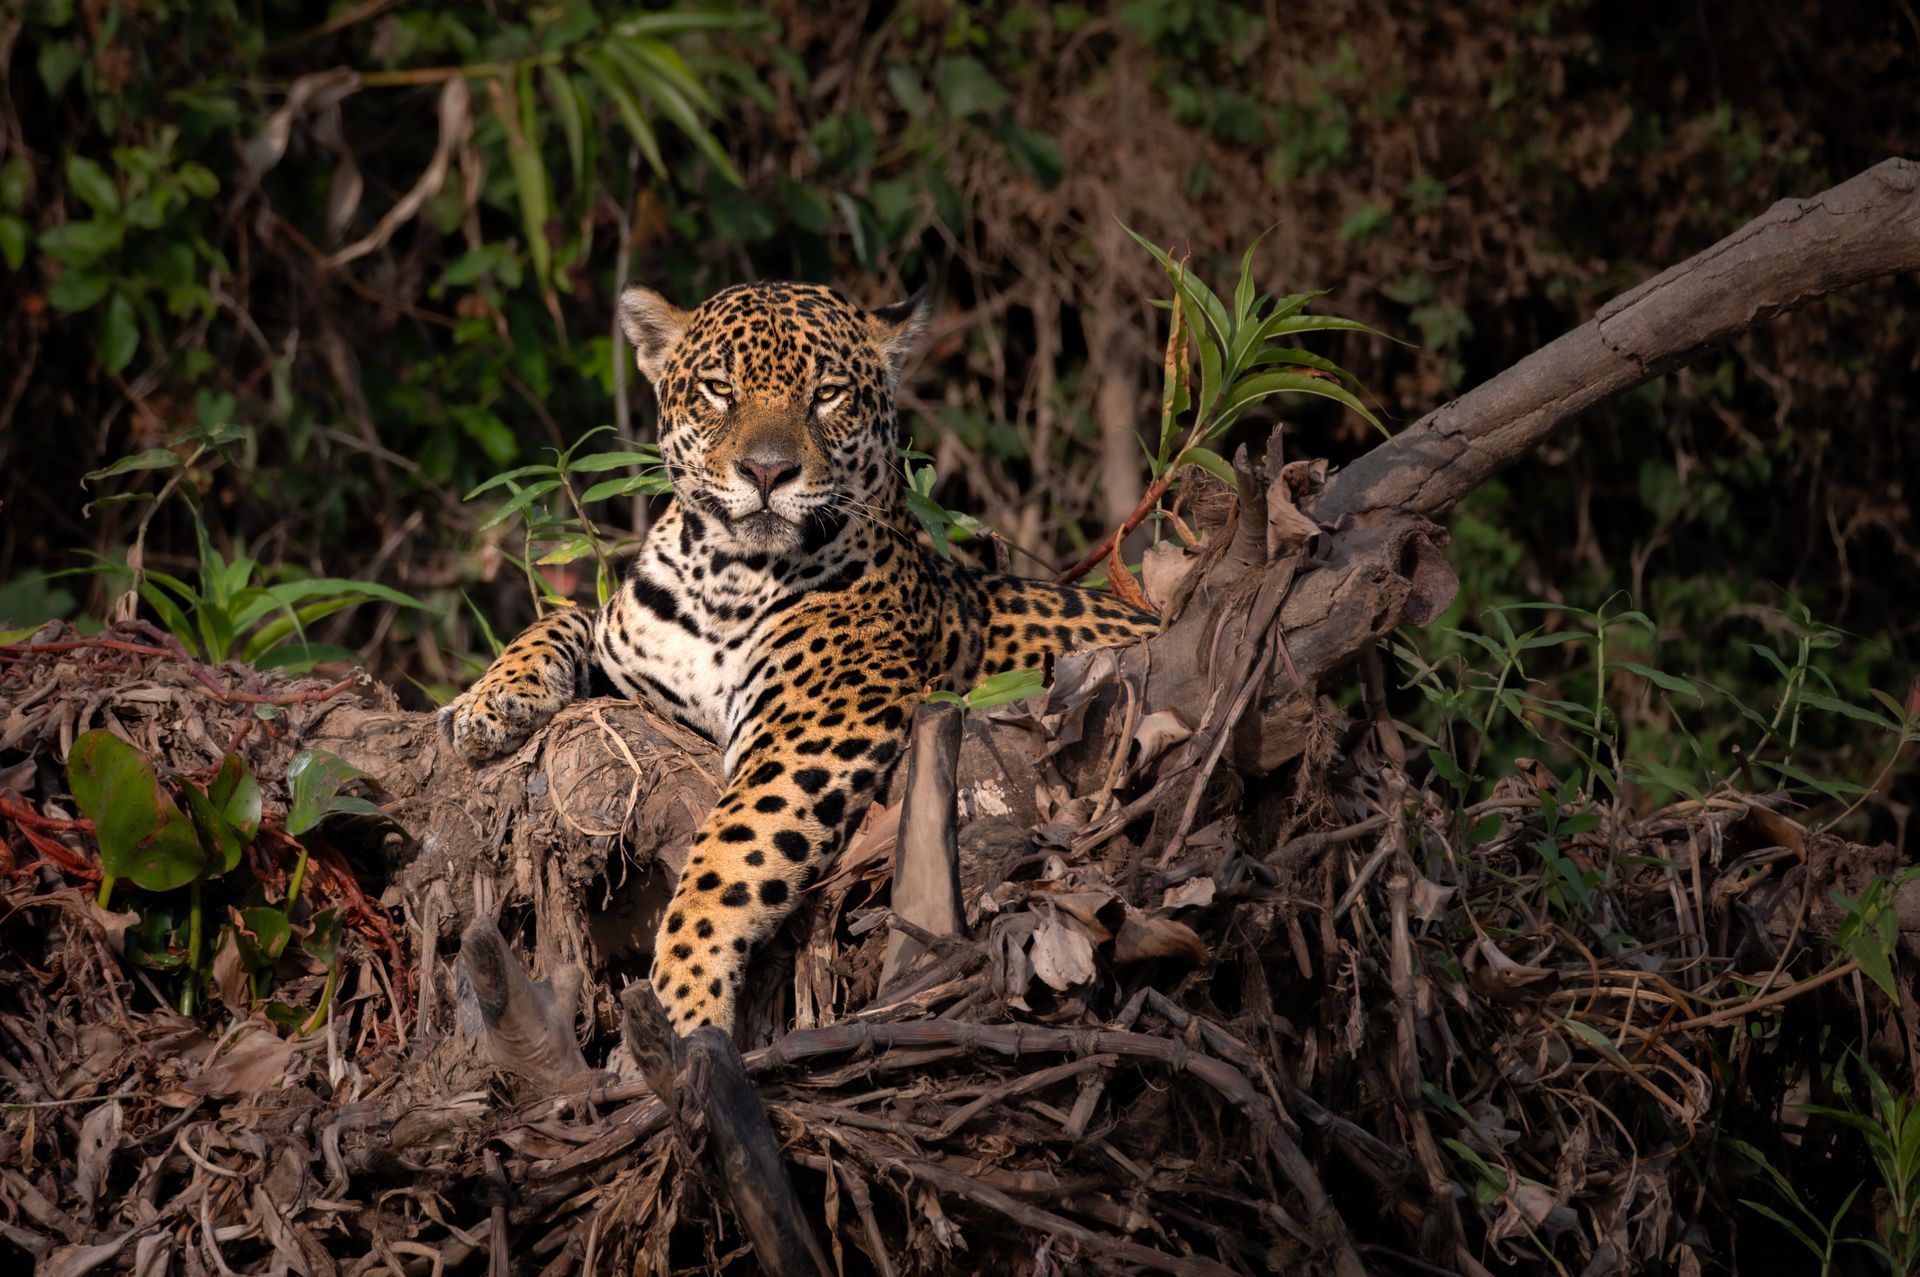
It should focus on time on the water, patient light management, skilled boat positioning, and enough flexibility to follow a cat when its behaviour becomes extraordinary. This custom jaguar itinerary example shows how an eight-day private expedition in Brazil's Pantanal can focus on serious photographic opportunity while leaving room for the wild to set the pace. For photographers carrying 400mm, 500mm, or 600mm lenses, the Pantanal offers a rare combination: high potential for jaguar encounters and a navigable river system that can put you at water level with one of the world's most powerful predators. The right itinerary does more than get you to the right river. It considers seasonal water levels, boat traffic, lodge location, heat, meal timing, charging needs, and the light conditions that make an image feel alive. What a Custom Jaguar Itinerary Should Prioritize A private jaguar expedition works best when photographic field time is the decision-making. That means choosing a productive base near the target waterways, departing before first light, and avoiding fixed activities that pull you away from a promising encounter. Jaguar sightings cannot be guaranteed, and any responsible operator should say so clearly. Conditions change with rainfall, river levels, prey movements, and individual animal behaviour. Yet a carefully designed itinerary can substantially improve your chances by spending days in prime habitat and using experienced local boat drivers who know where jaguars have been moving. In the Pantanal, a typical day may begin with a cool, misty river crossing and end after the golden light disappears behind the gallery forest. In between, you may photograph giant otters hunting, black-collared hawks scanning the banks, capybaras entering the water, and hyacinth macaws flashing blue overhead. Jaguars remain the priority, but the ecosystem rewards photographers who stay alert to every subject. An 8-Day Custom Jaguar Itinerary Example This example is designed for one to four photographers who want extended boat time, private guiding, and a comfortable but field-focused rhythm. It is especially well suited to the drier months, when access and jaguar activity along key river corridors are often favourable. Adjust timing based on current local conditions. Day 1: Arrival in Cuiabá and Expedition Briefing Arrive in Cuiabá and settle into a comfortable airport hotel. This first evening is intentionally easy. Long international flights and the prospect of an early road transfer make rest more valuable than starting photography right away. Your guide reviews the route, weather forecast, safety procedures, luggage limits, and camera plan for the days ahead. This is the moment to discuss your priorities. Do you want tight jaguar portraits, wider habitat compositions, behaviour sequences, or a balance of all three? A custom trip can also account for whether you prefer shooting from a tripod, a gimbal head, or handheld support. Day 2: Into the Transpantaneira and On to Your River Lodge After an early breakfast, travel south toward the Pantanal along the Pantanal. The transfer is part of the experience, not lost time. This road crosses wetlands and seasonal floodplains alive with caimans, capybaras, jabirus, kingfishers, storks, and colourful parakeets. Plan regular photography stops, but keep expectations practical. The priority is reaching your jaguar base with enough daylight to organize equipment, meet the boat team, and, if conditions allow, take a short late-afternoon reconnaissance outing. A lodge located close to productive waterways can save valuable time every morning and evening. Days 3-6: Full Jaguar Photography Days on the River These four days form the heart of the expedition. Depart before sunrise with coffee, water, and a packed breakfast or snacks aboard. Early light can produce calm water, soft reflections, and the best chance to photograph a jaguar walking a quiet bank before heat and boat movement increase. A skilled driver will move slowly along the most active channels, reading tracks, alarm calls, capybara behaviour, and recent river reports. When a jaguar is located, patience matters more than speed. The goal is to position the boat without crowding the animal, preserve a clear line of sight, and wait for natural behaviour rather than pressuring a closer encounter. Midday is often hot, but that shouldn't automatically mean returning to the lodge. Jaguars may rest in shade, drink, swim, scent-mark, or move between cover. If activity is quiet, a flexible schedule can include a shaded break on the river, followed by time to look for giant otters, tapirs, caimans, or raptors. Whether you remain out all day or return for lunch depends on heat tolerance, lodge distance, and current jaguar activity. Afternoon light is frequently exceptional. The low sun warms riverbanks, catches a jaguar's whiskers in profile, and gives the water texture as a cat steps from the forest. If possible, keep a second camera body ready. A longer lens is ideal for portraits and behaviour, while a 100-400mm or 70-200mm lens can be more useful when a jaguar approaches the shoreline or when giant otters surface close to the boat. These days should not be identical. If a female with cubs is being seen regularly, the itinerary may favour longer waits in that territory. If a male has been crossing a distant channel at dawn, we may prioritize earlier departures. A private itinerary earns its value through these kinds of adjustments, not a rigid daily script. Day 7: Final Morning Session and Return Toward Cuiabá Use the last morning for one more focused boat outing. The final session is often emotionally charged, but it is also a chance to slow down. Rather than chasing a last-minute sighting, look for images that complete the trip's story: a jaguar paw print in wet sand, a family of capybaras in soft light, or a wide frame showing the riverbank habitat that supports these animals. After brunch, begin the overland transfer toward Cuiabá. Depending on flight schedules and road conditions, overnight in the city. Back up images in at least two places before packing. Dust, humidity, and long days make a disciplined file routine essential. Day 8: Departure or an Added Wildlife Extension Depart from Cuiabá, or extend the journey with additional Pantanal bird photography, a visit to a different wetland lodge, or a tailored Colombian wildlife expedition at another time of year. For many photographers, the first jaguar trip creates a clear desire to return with a more specific photographic goal. Equipment and Field Choices That Matter The Pantanal is a boat-based destination, so stability and reach matter more than hiking weight. A 500mm or 600mm lens with a sturdy gimbal head is excellent for distant cats and birds, while a 100-400mm zoom gives useful flexibility at close range. Bring rain protection for camera bodies, dry bags for boat travel, extra batteries, multiple memory cards, lens cloths, and a lightweight cover for dust during road transfers. Clothing should protect you from intense sun, insects, and sudden rain without making long boat sessions uncomfortable. Lightweight long sleeves, a brimmed hat, polarized sunglasses, breathable pants, and closed shoes are practical choices. Don't assume a hot destination requires only warm-weather gear: sunrise boat rides can feel surprisingly cool, especially after rain. Ethical Jaguar Photography Is Better Photography The strongest jaguar image is never worth disturbing the animal. Maintain an appropriate distance, avoid blocking a jaguar's route to water or cover, keep voices low, and don't encourage guides to crowd a subject for a closer frame. A calm animal behaves more naturally, and natural behaviour produces more meaningful photographs. Ethical operations also recognize that the Pantanal is home to people as well as wildlife. Experienced local drivers, lodge staff, and community partners carry deep knowledge of the rivers and their seasons. Choosing an expedition that respects that knowledge directs tourism income to the landscapes and communities that make jaguar conservation possible. At Retorno Photo Tours, custom planning begins with your target images, available dates, preferred comfort level, and willingness to stay patient when the river asks for it. Bring the long lens, protect the habitat, and leave enough space in the schedule for the moment a jaguar steps silently from the forest.
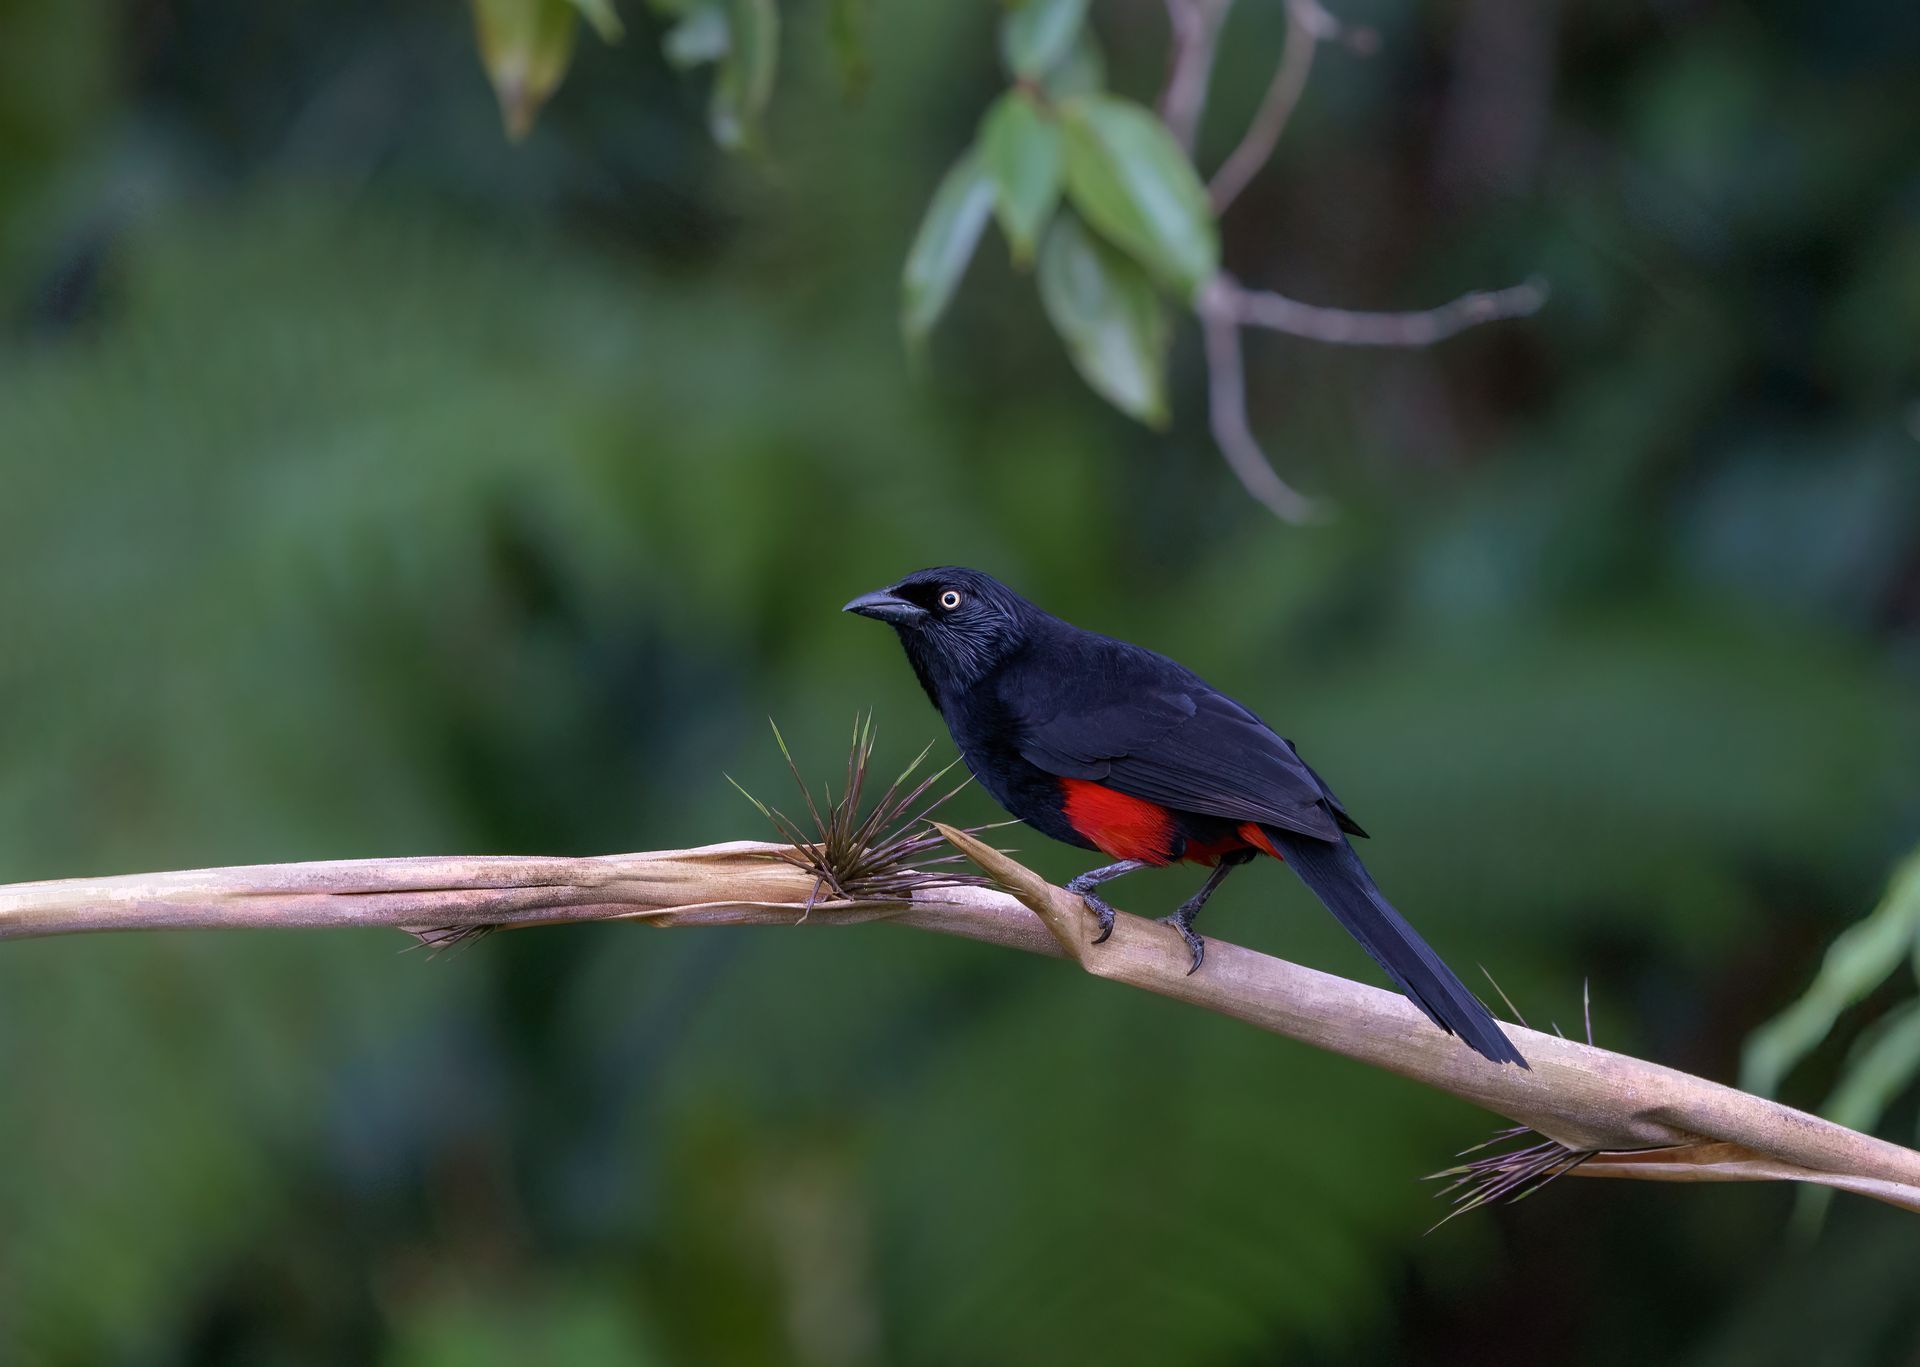
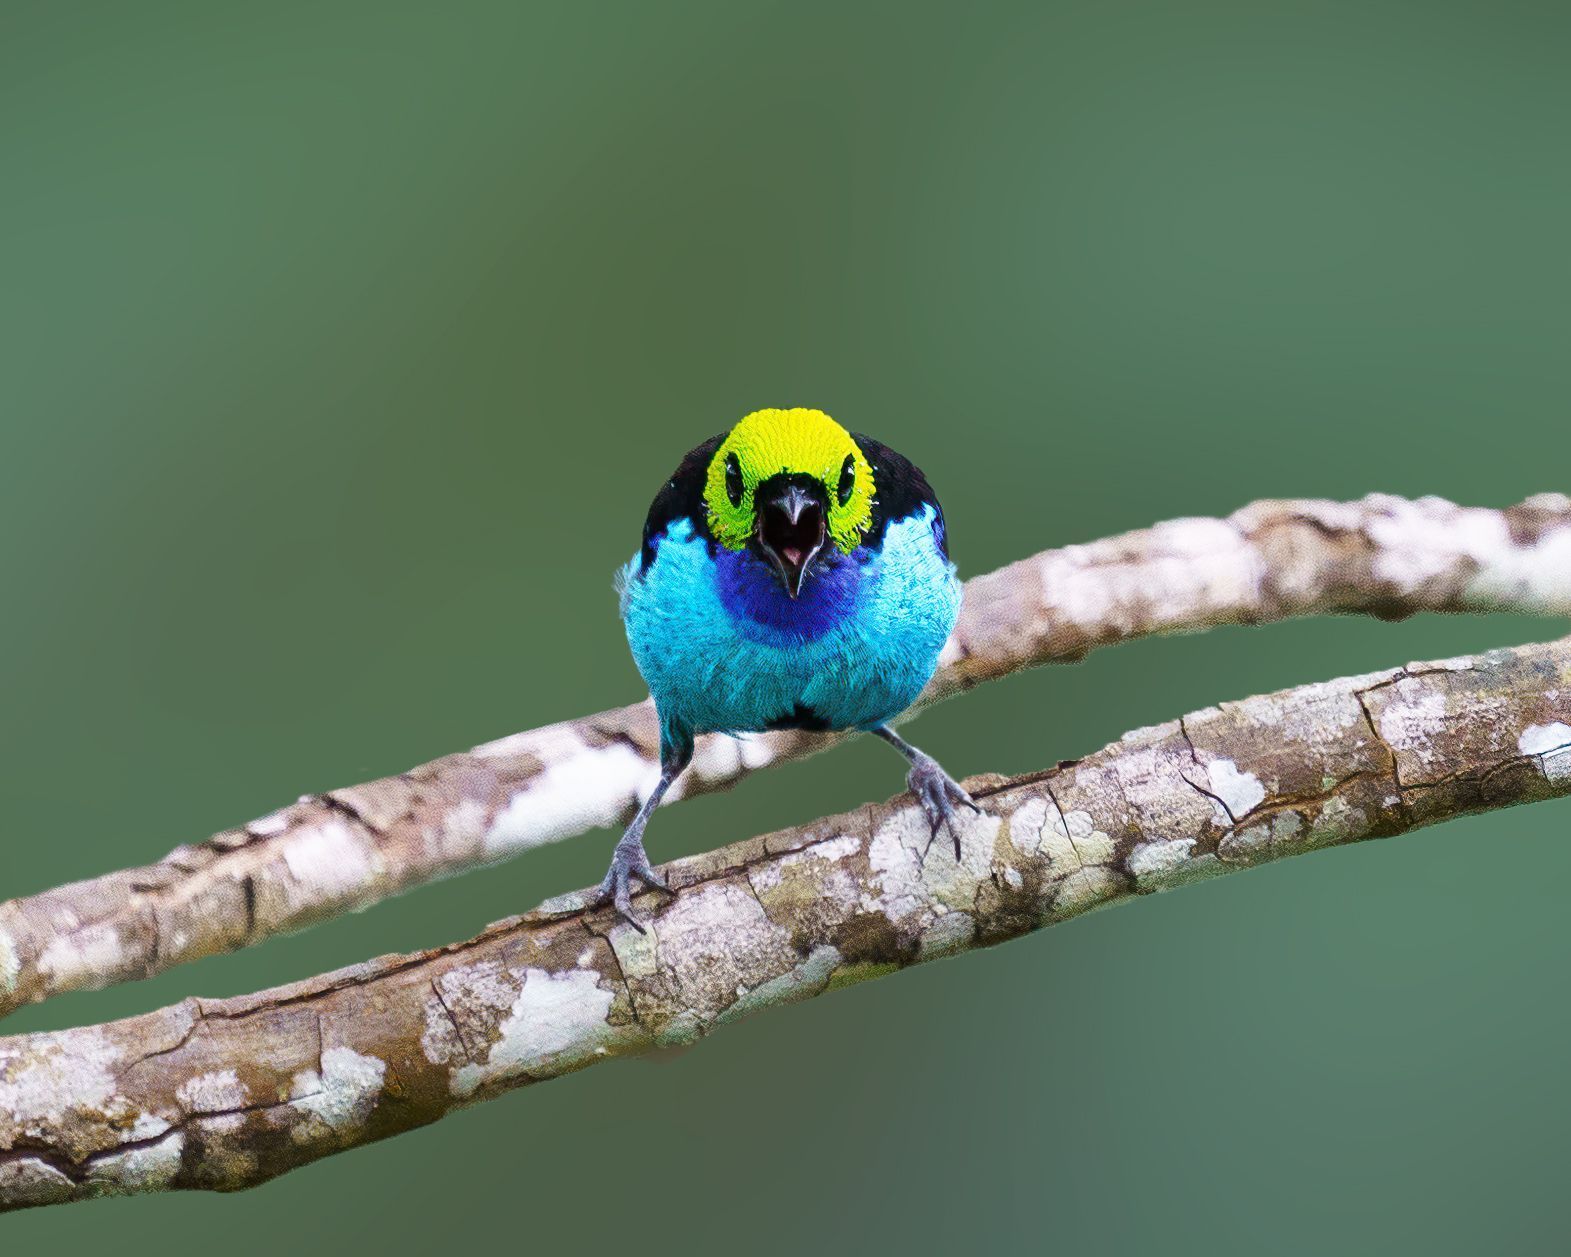
Learn how to protect cameras from humidity on bird and wildlife photo trips, with condensation control and dry storage habits in tropical field conditions.
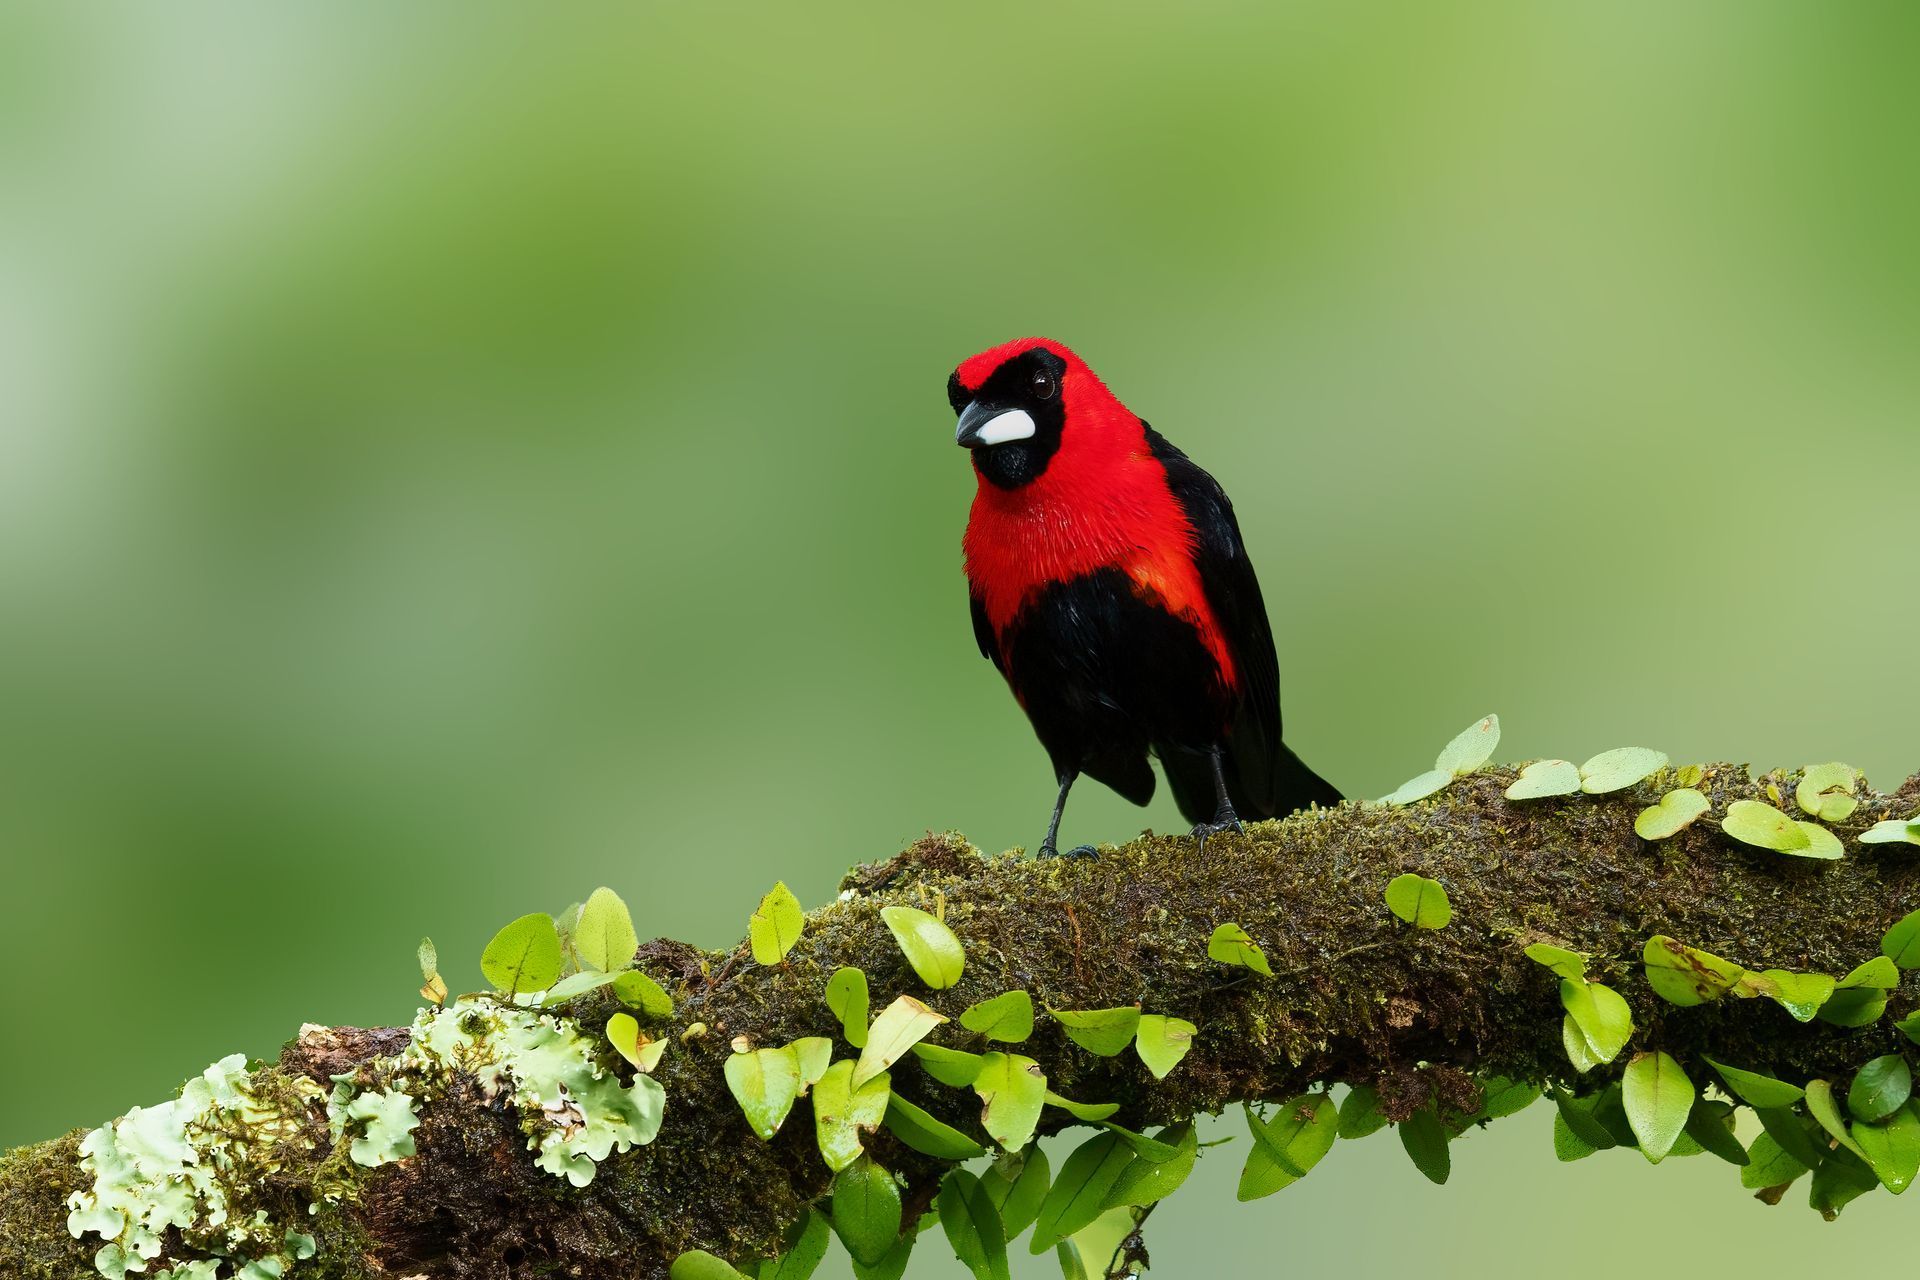
Plan for specialized bird photography hides in Colombia, with field insight on light, lenses, ethical access, target species, and local weather conditions.
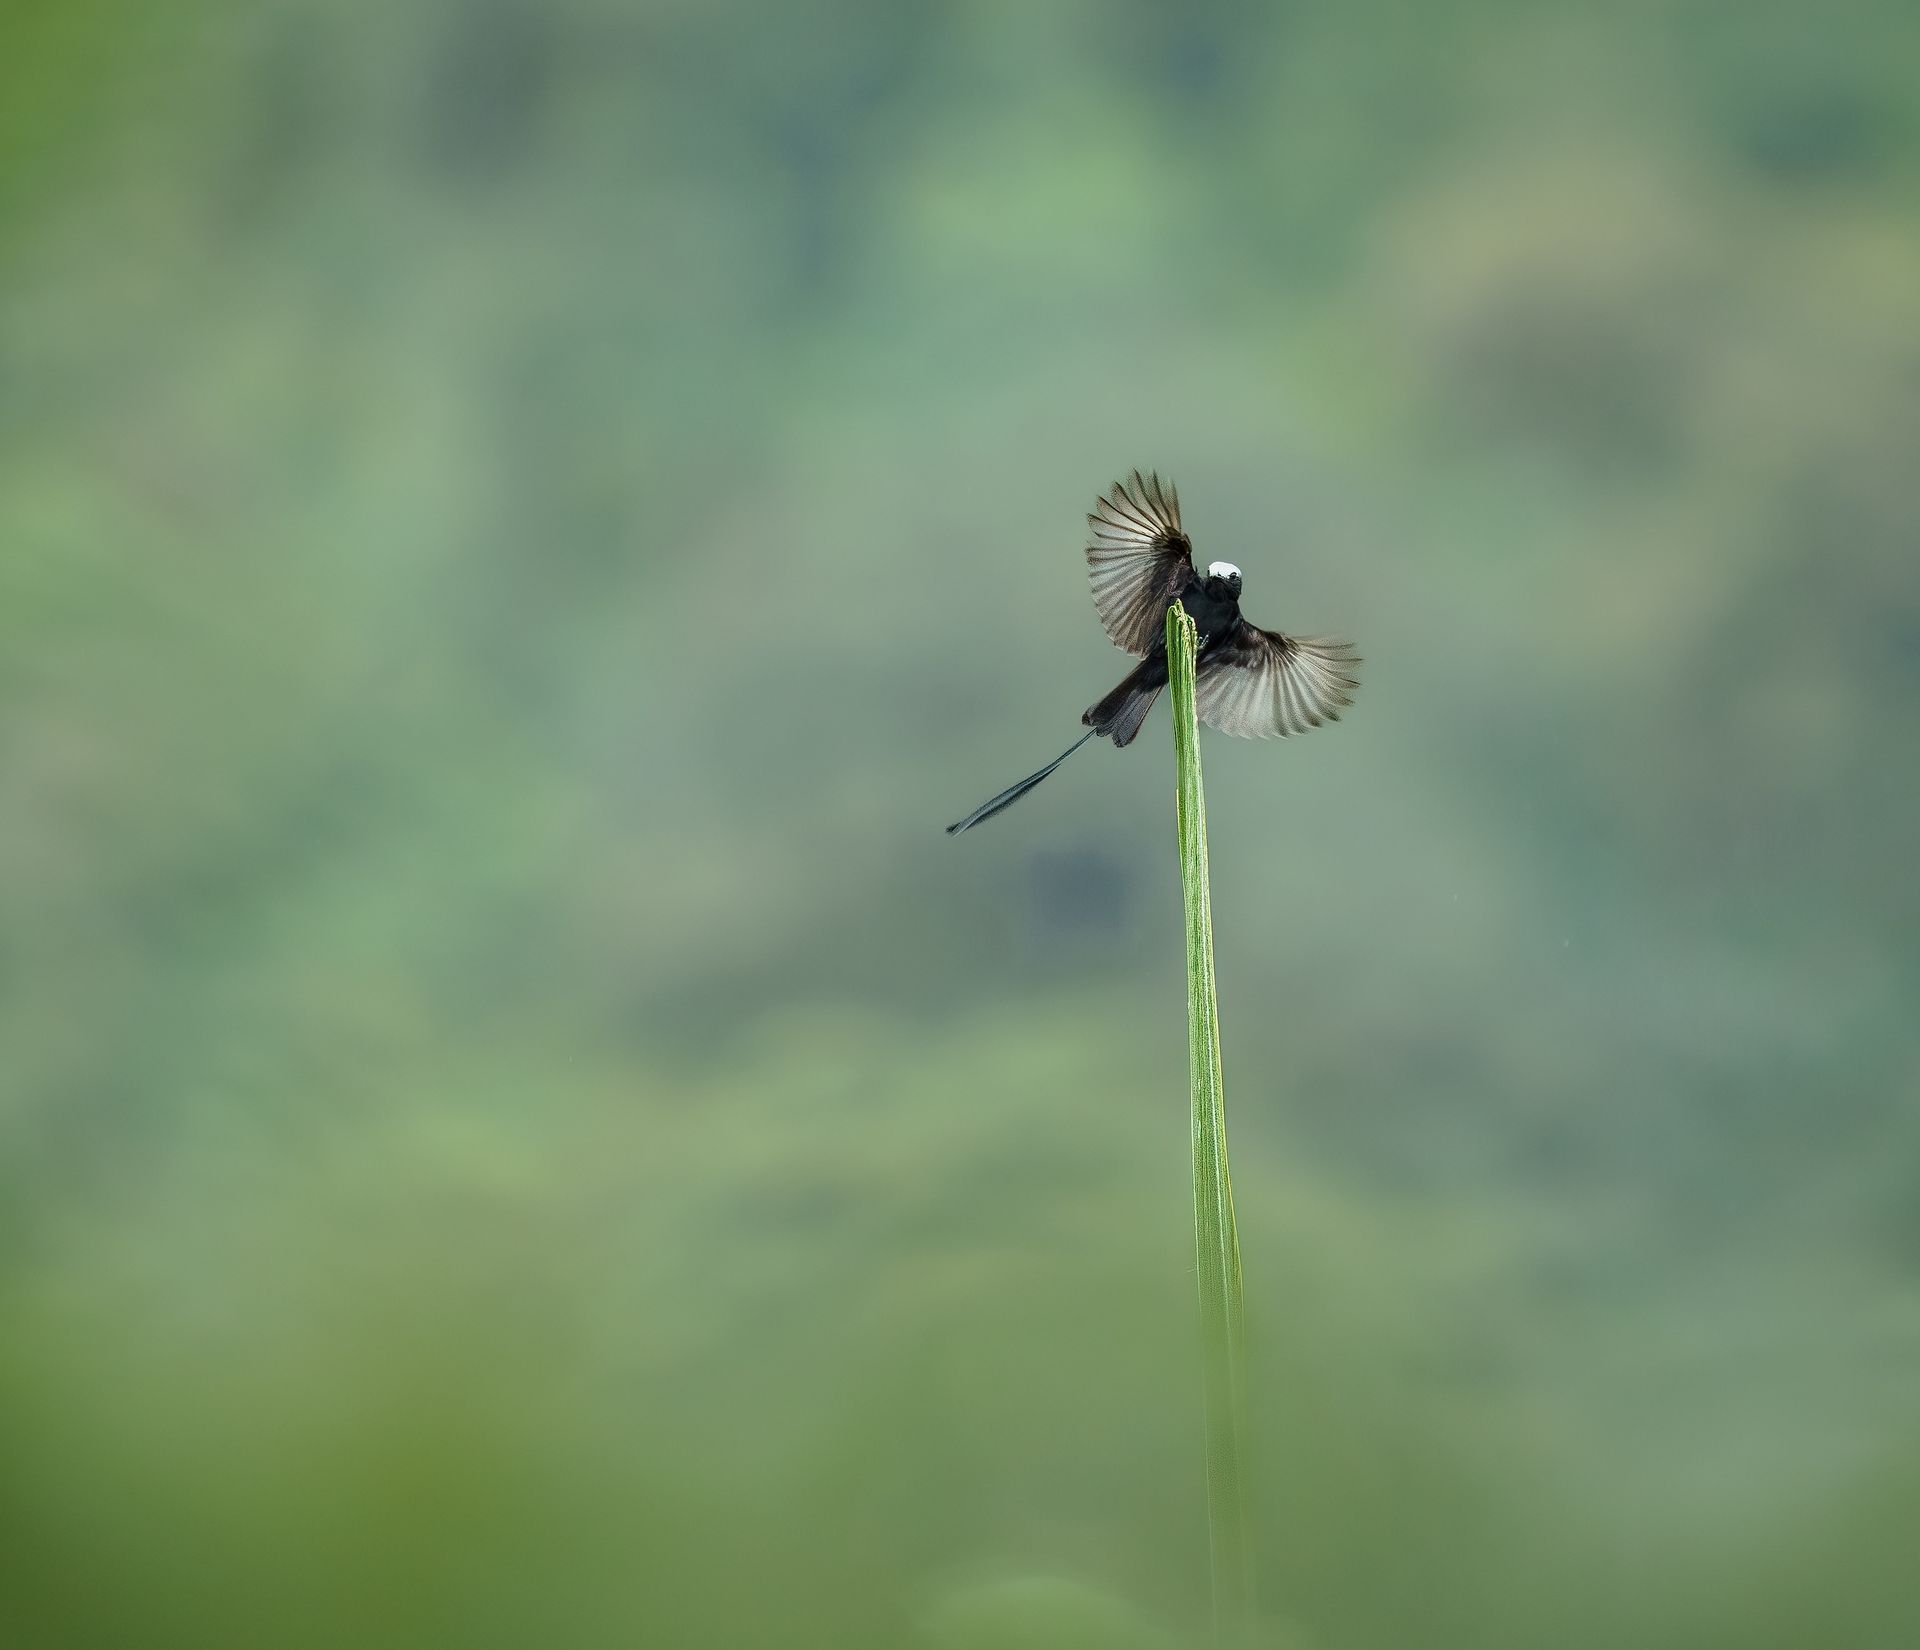
Can I bring telephoto lenses on a flight? Learn how to pack long lenses safely, get through security, and protect camera gear on wildlife photo trips abroad.
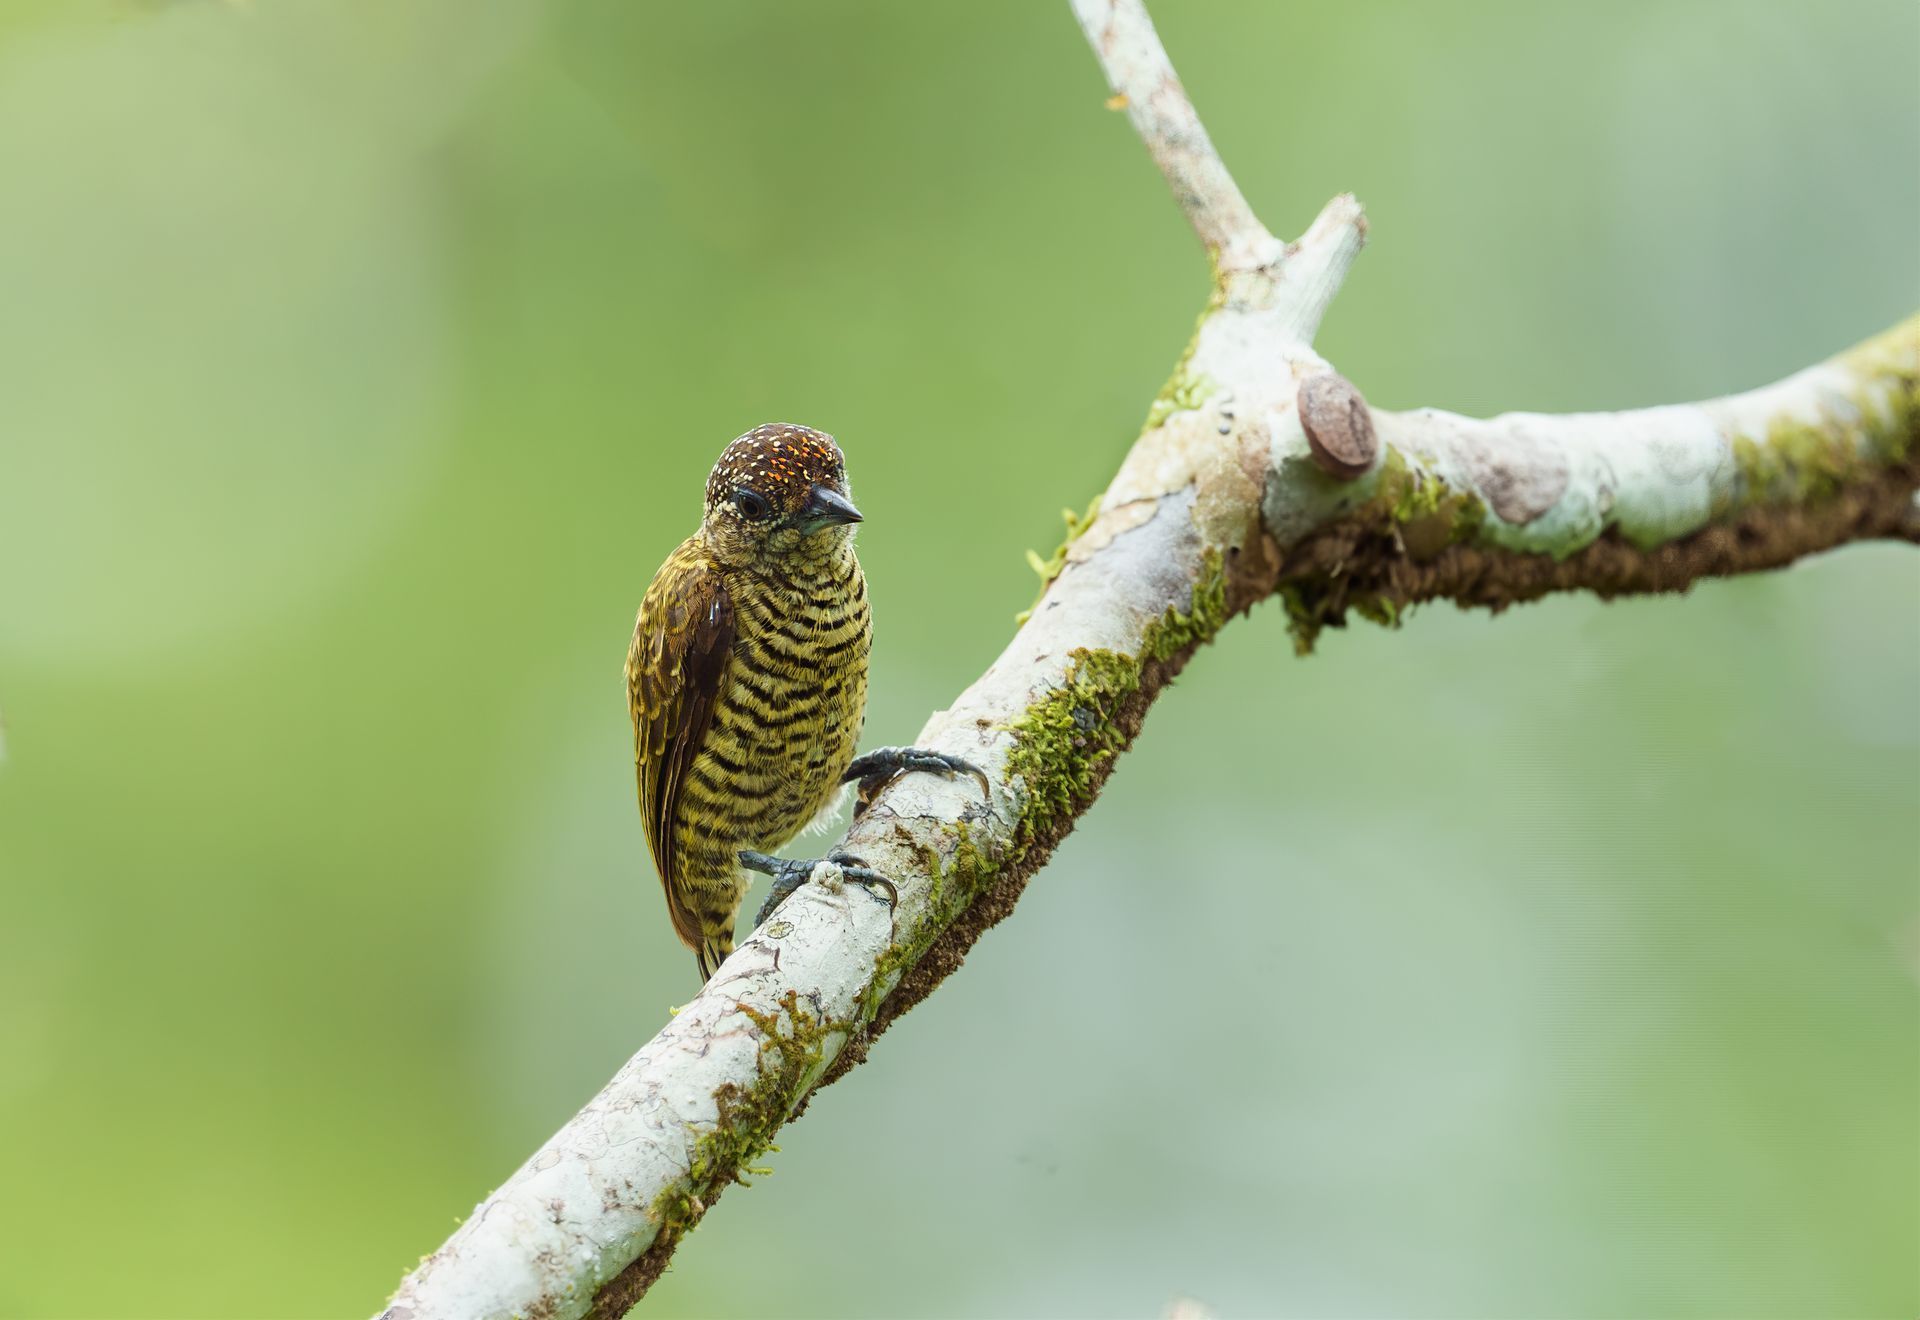
Find the best camera beanbags for wildlife photography, from compact travel supports to heavy-duty options for long lenses in demanding field conditions.
Wildlife tourism trends are redefining photo expeditions, emphasizing smaller groups, ethical access, more patient time in the field, and conservation-minded travel.
It should focus on time on the water, patient light management, skilled boat positioning, and enough flexibility to follow a cat when its behaviour becomes extraordinary. This custom jaguar itinerary example shows how an eight-day private expedition in Brazil's Pantanal can focus on serious photographic opportunity while leaving room for the wild to set the pace. For photographers carrying 400mm, 500mm, or 600mm lenses, the Pantanal offers a rare combination: high potential for jaguar encounters and a navigable river system that can put you at water level with one of the world's most powerful predators. The right itinerary does more than get you to the right river. It considers seasonal water levels, boat traffic, lodge location, heat, meal timing, charging needs, and the light conditions that make an image feel alive. What a Custom Jaguar Itinerary Should Prioritize A private jaguar expedition works best when photographic field time is the decision-making. That means choosing a productive base near the target waterways, departing before first light, and avoiding fixed activities that pull you away from a promising encounter. Jaguar sightings cannot be guaranteed, and any responsible operator should say so clearly. Conditions change with rainfall, river levels, prey movements, and individual animal behaviour. Yet a carefully designed itinerary can substantially improve your chances by spending days in prime habitat and using experienced local boat drivers who know where jaguars have been moving. In the Pantanal, a typical day may begin with a cool, misty river crossing and end after the golden light disappears behind the gallery forest. In between, you may photograph giant otters hunting, black-collared hawks scanning the banks, capybaras entering the water, and hyacinth macaws flashing blue overhead. Jaguars remain the priority, but the ecosystem rewards photographers who stay alert to every subject. An 8-Day Custom Jaguar Itinerary Example This example is designed for one to four photographers who want extended boat time, private guiding, and a comfortable but field-focused rhythm. It is especially well suited to the drier months, when access and jaguar activity along key river corridors are often favourable. Adjust timing based on current local conditions. Day 1: Arrival in Cuiabá and Expedition Briefing Arrive in Cuiabá and settle into a comfortable airport hotel. This first evening is intentionally easy. Long international flights and the prospect of an early road transfer make rest more valuable than starting photography right away. Your guide reviews the route, weather forecast, safety procedures, luggage limits, and camera plan for the days ahead. This is the moment to discuss your priorities. Do you want tight jaguar portraits, wider habitat compositions, behaviour sequences, or a balance of all three? A custom trip can also account for whether you prefer shooting from a tripod, a gimbal head, or handheld support. Day 2: Into the Transpantaneira and On to Your River Lodge After an early breakfast, travel south toward the Pantanal along the Pantanal. The transfer is part of the experience, not lost time. This road crosses wetlands and seasonal floodplains alive with caimans, capybaras, jabirus, kingfishers, storks, and colourful parakeets. Plan regular photography stops, but keep expectations practical. The priority is reaching your jaguar base with enough daylight to organize equipment, meet the boat team, and, if conditions allow, take a short late-afternoon reconnaissance outing. A lodge located close to productive waterways can save valuable time every morning and evening. Days 3-6: Full Jaguar Photography Days on the River These four days form the heart of the expedition. Depart before sunrise with coffee, water, and a packed breakfast or snacks aboard. Early light can produce calm water, soft reflections, and the best chance to photograph a jaguar walking a quiet bank before heat and boat movement increase. A skilled driver will move slowly along the most active channels, reading tracks, alarm calls, capybara behaviour, and recent river reports. When a jaguar is located, patience matters more than speed. The goal is to position the boat without crowding the animal, preserve a clear line of sight, and wait for natural behaviour rather than pressuring a closer encounter. Midday is often hot, but that shouldn't automatically mean returning to the lodge. Jaguars may rest in shade, drink, swim, scent-mark, or move between cover. If activity is quiet, a flexible schedule can include a shaded break on the river, followed by time to look for giant otters, tapirs, caimans, or raptors. Whether you remain out all day or return for lunch depends on heat tolerance, lodge distance, and current jaguar activity. Afternoon light is frequently exceptional. The low sun warms riverbanks, catches a jaguar's whiskers in profile, and gives the water texture as a cat steps from the forest. If possible, keep a second camera body ready. A longer lens is ideal for portraits and behaviour, while a 100-400mm or 70-200mm lens can be more useful when a jaguar approaches the shoreline or when giant otters surface close to the boat. These days should not be identical. If a female with cubs is being seen regularly, the itinerary may favour longer waits in that territory. If a male has been crossing a distant channel at dawn, we may prioritize earlier departures. A private itinerary earns its value through these kinds of adjustments, not a rigid daily script. Day 7: Final Morning Session and Return Toward Cuiabá Use the last morning for one more focused boat outing. The final session is often emotionally charged, but it is also a chance to slow down. Rather than chasing a last-minute sighting, look for images that complete the trip's story: a jaguar paw print in wet sand, a family of capybaras in soft light, or a wide frame showing the riverbank habitat that supports these animals. After brunch, begin the overland transfer toward Cuiabá. Depending on flight schedules and road conditions, overnight in the city. Back up images in at least two places before packing. Dust, humidity, and long days make a disciplined file routine essential. Day 8: Departure or an Added Wildlife Extension Depart from Cuiabá, or extend the journey with additional Pantanal bird photography, a visit to a different wetland lodge, or a tailored Colombian wildlife expedition at another time of year. For many photographers, the first jaguar trip creates a clear desire to return with a more specific photographic goal. Equipment and Field Choices That Matter The Pantanal is a boat-based destination, so stability and reach matter more than hiking weight. A 500mm or 600mm lens with a sturdy gimbal head is excellent for distant cats and birds, while a 100-400mm zoom gives useful flexibility at close range. Bring rain protection for camera bodies, dry bags for boat travel, extra batteries, multiple memory cards, lens cloths, and a lightweight cover for dust during road transfers. Clothing should protect you from intense sun, insects, and sudden rain without making long boat sessions uncomfortable. Lightweight long sleeves, a brimmed hat, polarized sunglasses, breathable pants, and closed shoes are practical choices. Don't assume a hot destination requires only warm-weather gear: sunrise boat rides can feel surprisingly cool, especially after rain. Ethical Jaguar Photography Is Better Photography The strongest jaguar image is never worth disturbing the animal. Maintain an appropriate distance, avoid blocking a jaguar's route to water or cover, keep voices low, and don't encourage guides to crowd a subject for a closer frame. A calm animal behaves more naturally, and natural behaviour produces more meaningful photographs. Ethical operations also recognize that the Pantanal is home to people as well as wildlife. Experienced local drivers, lodge staff, and community partners carry deep knowledge of the rivers and their seasons. Choosing an expedition that respects that knowledge directs tourism income to the landscapes and communities that make jaguar conservation possible. At Retorno Photo Tours, custom planning begins with your target images, available dates, preferred comfort level, and willingness to stay patient when the river asks for it. Bring the long lens, protect the habitat, and leave enough space in the schedule for the moment a jaguar steps silently from the forest.
Learn how to protect cameras from humidity on bird and wildlife photo trips, with condensation control and dry storage habits in tropical field conditions.
Plan for specialized bird photography hides in Colombia, with field insight on light, lenses, ethical access, target species, and local weather conditions.