Best Camera Settings for Bird Photography in the Wild
Best Camera Settings for Bird Photography in the Wild
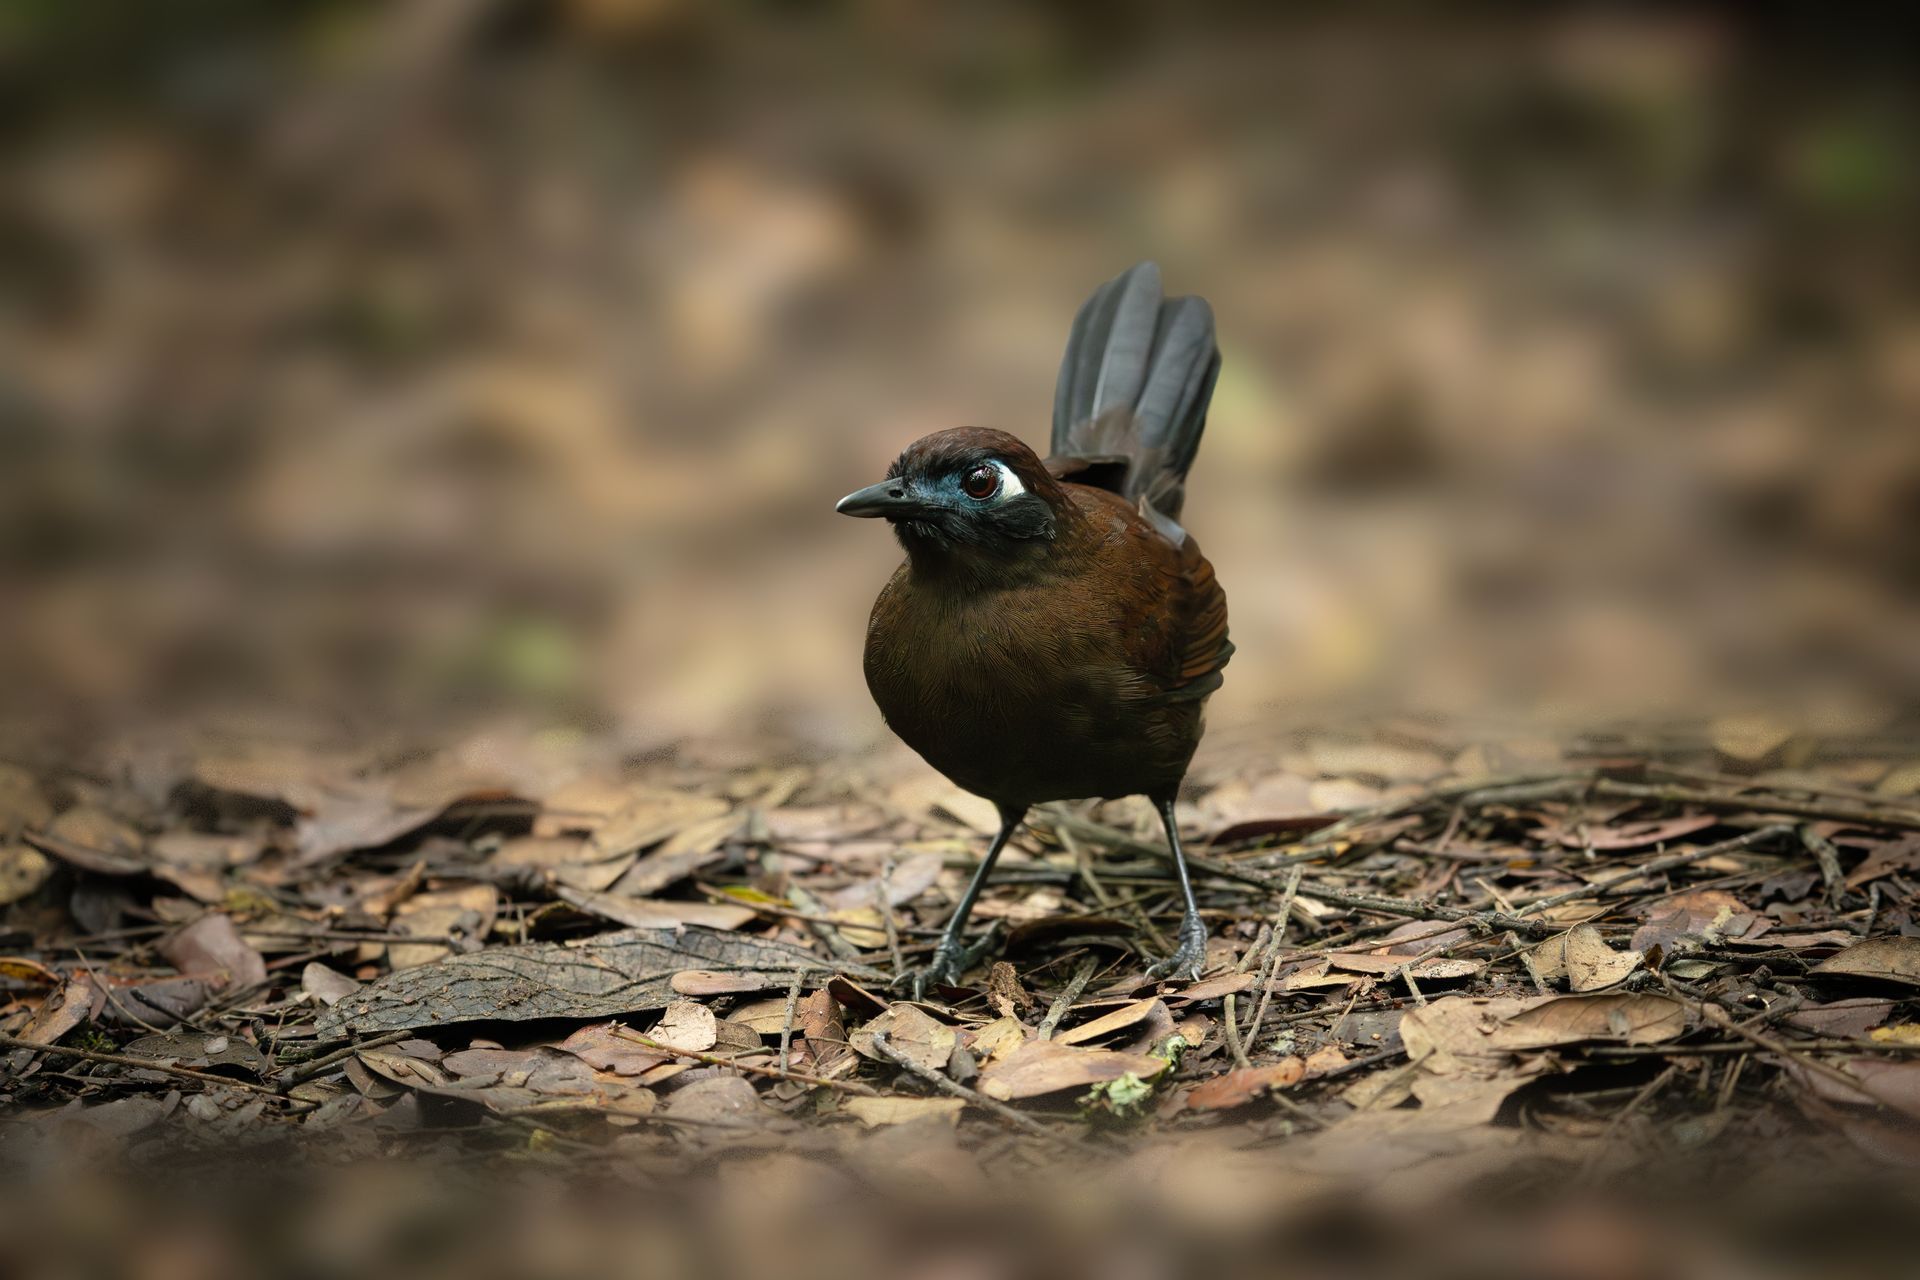
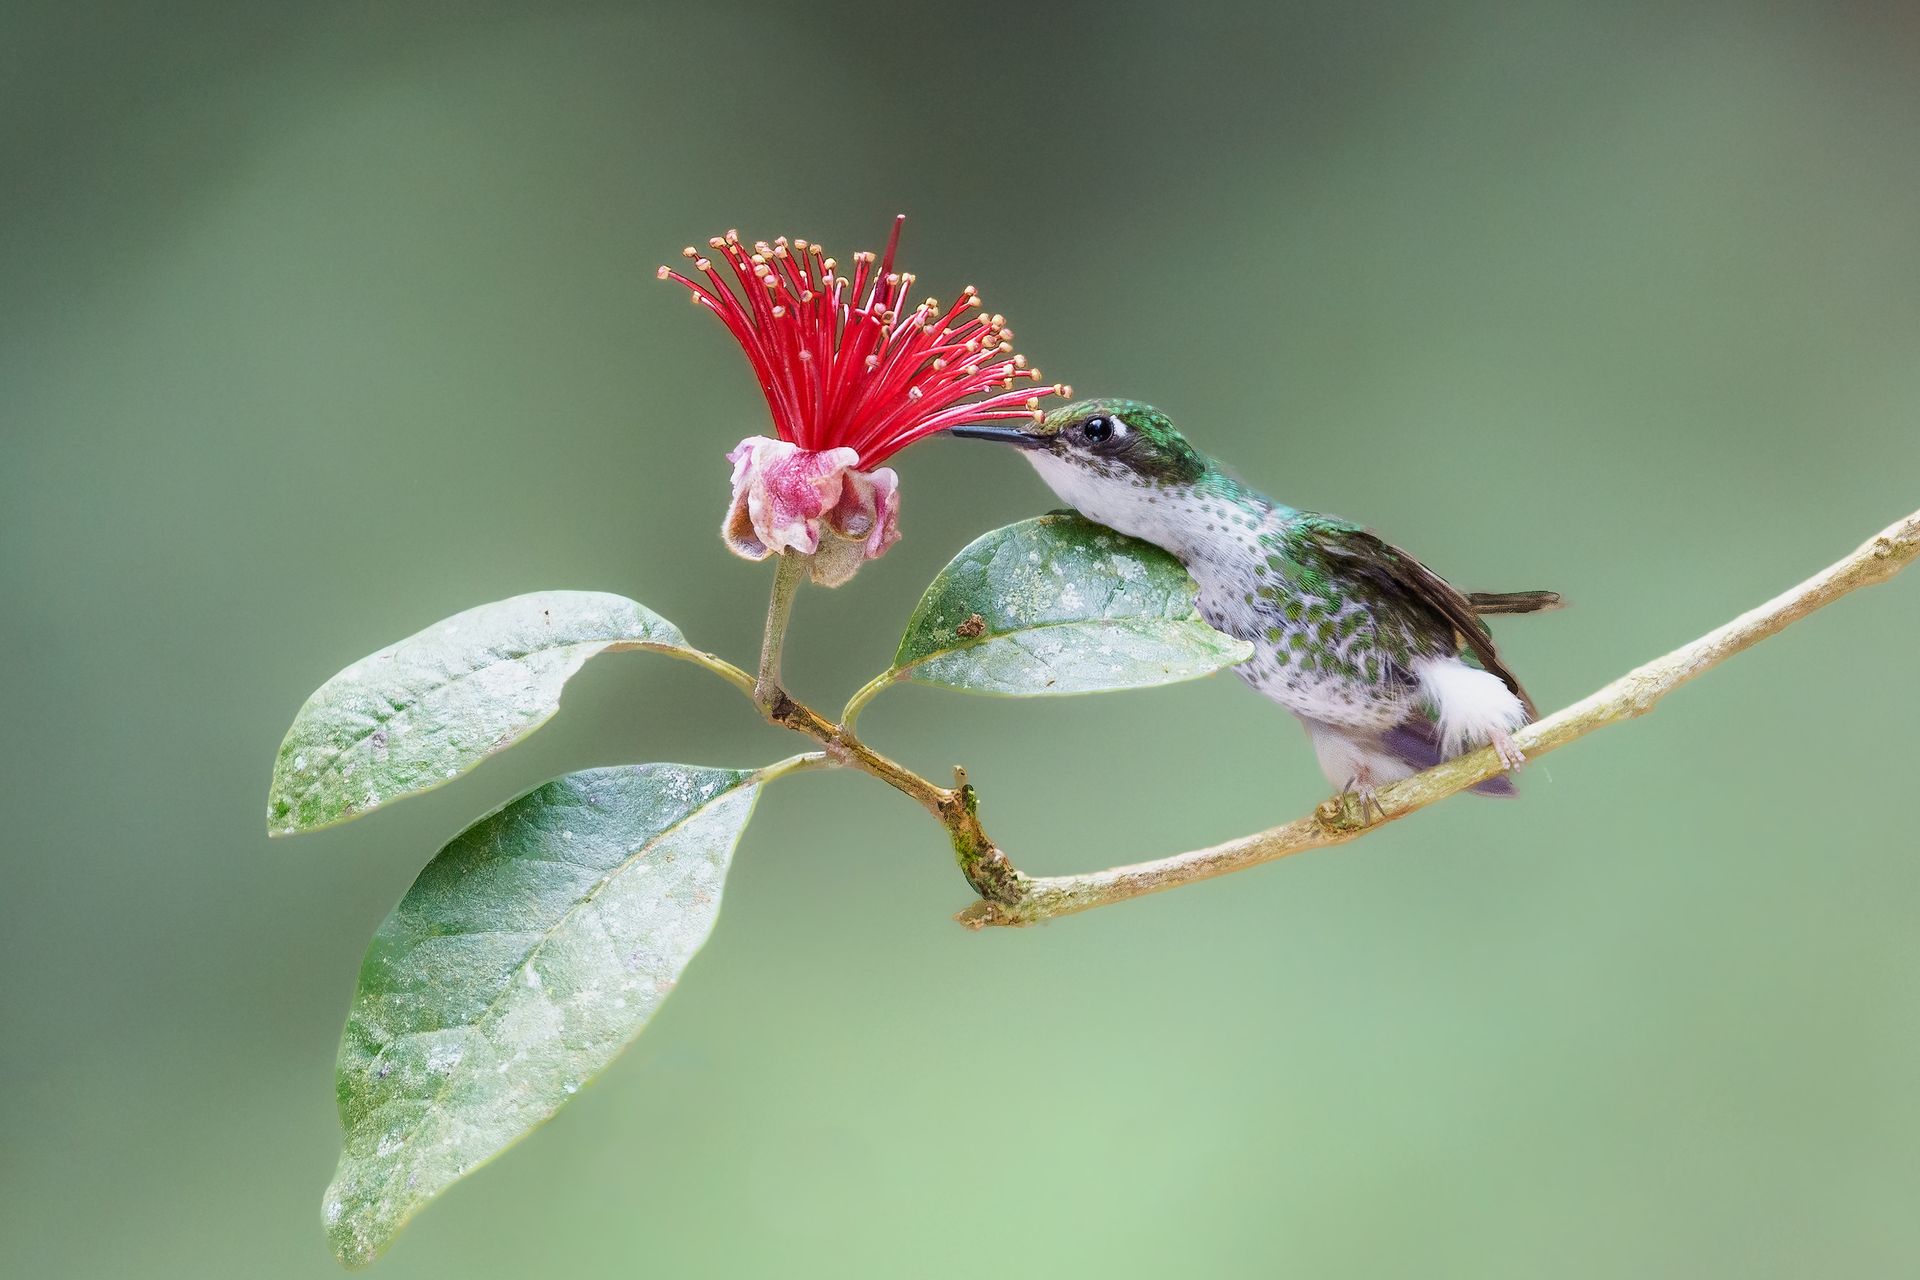
Photographing birds in their natural habitats is one of the most rewarding — and challenging — experiences in wildlife photography. Every moment counts: a hummingbird hovers for a second, a toucan flashes its colors in the canopy, or an eagle spreads its wings across the sky.
To capture these incredible moments, your camera settings need to work as fast and precisely as you do. Bird photography is about mastering light, motion, and focus in unpredictable conditions. Whether you’re in the misty Andean cloud forests or the bright wetlands of Colombia, understanding how to balance shutter speed, aperture, ISO, and focus will make or break your images.
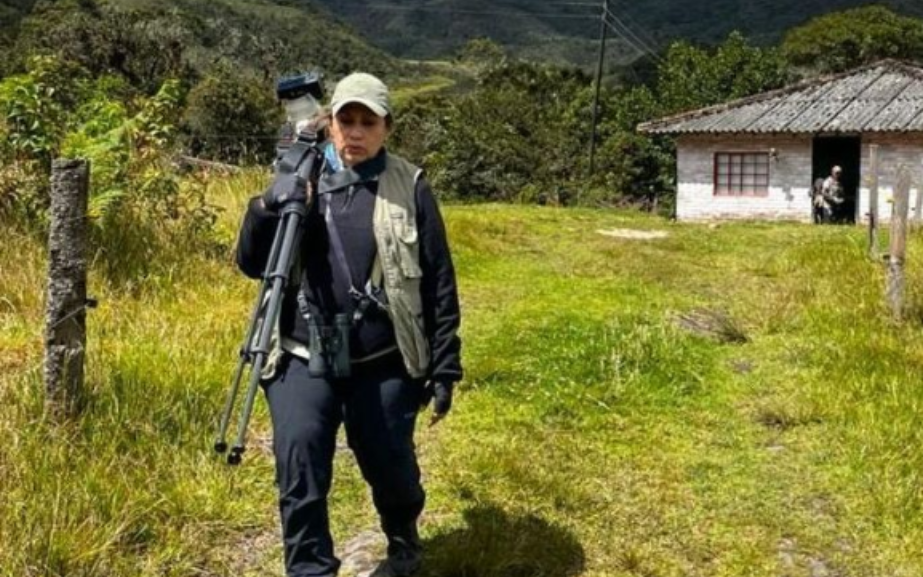
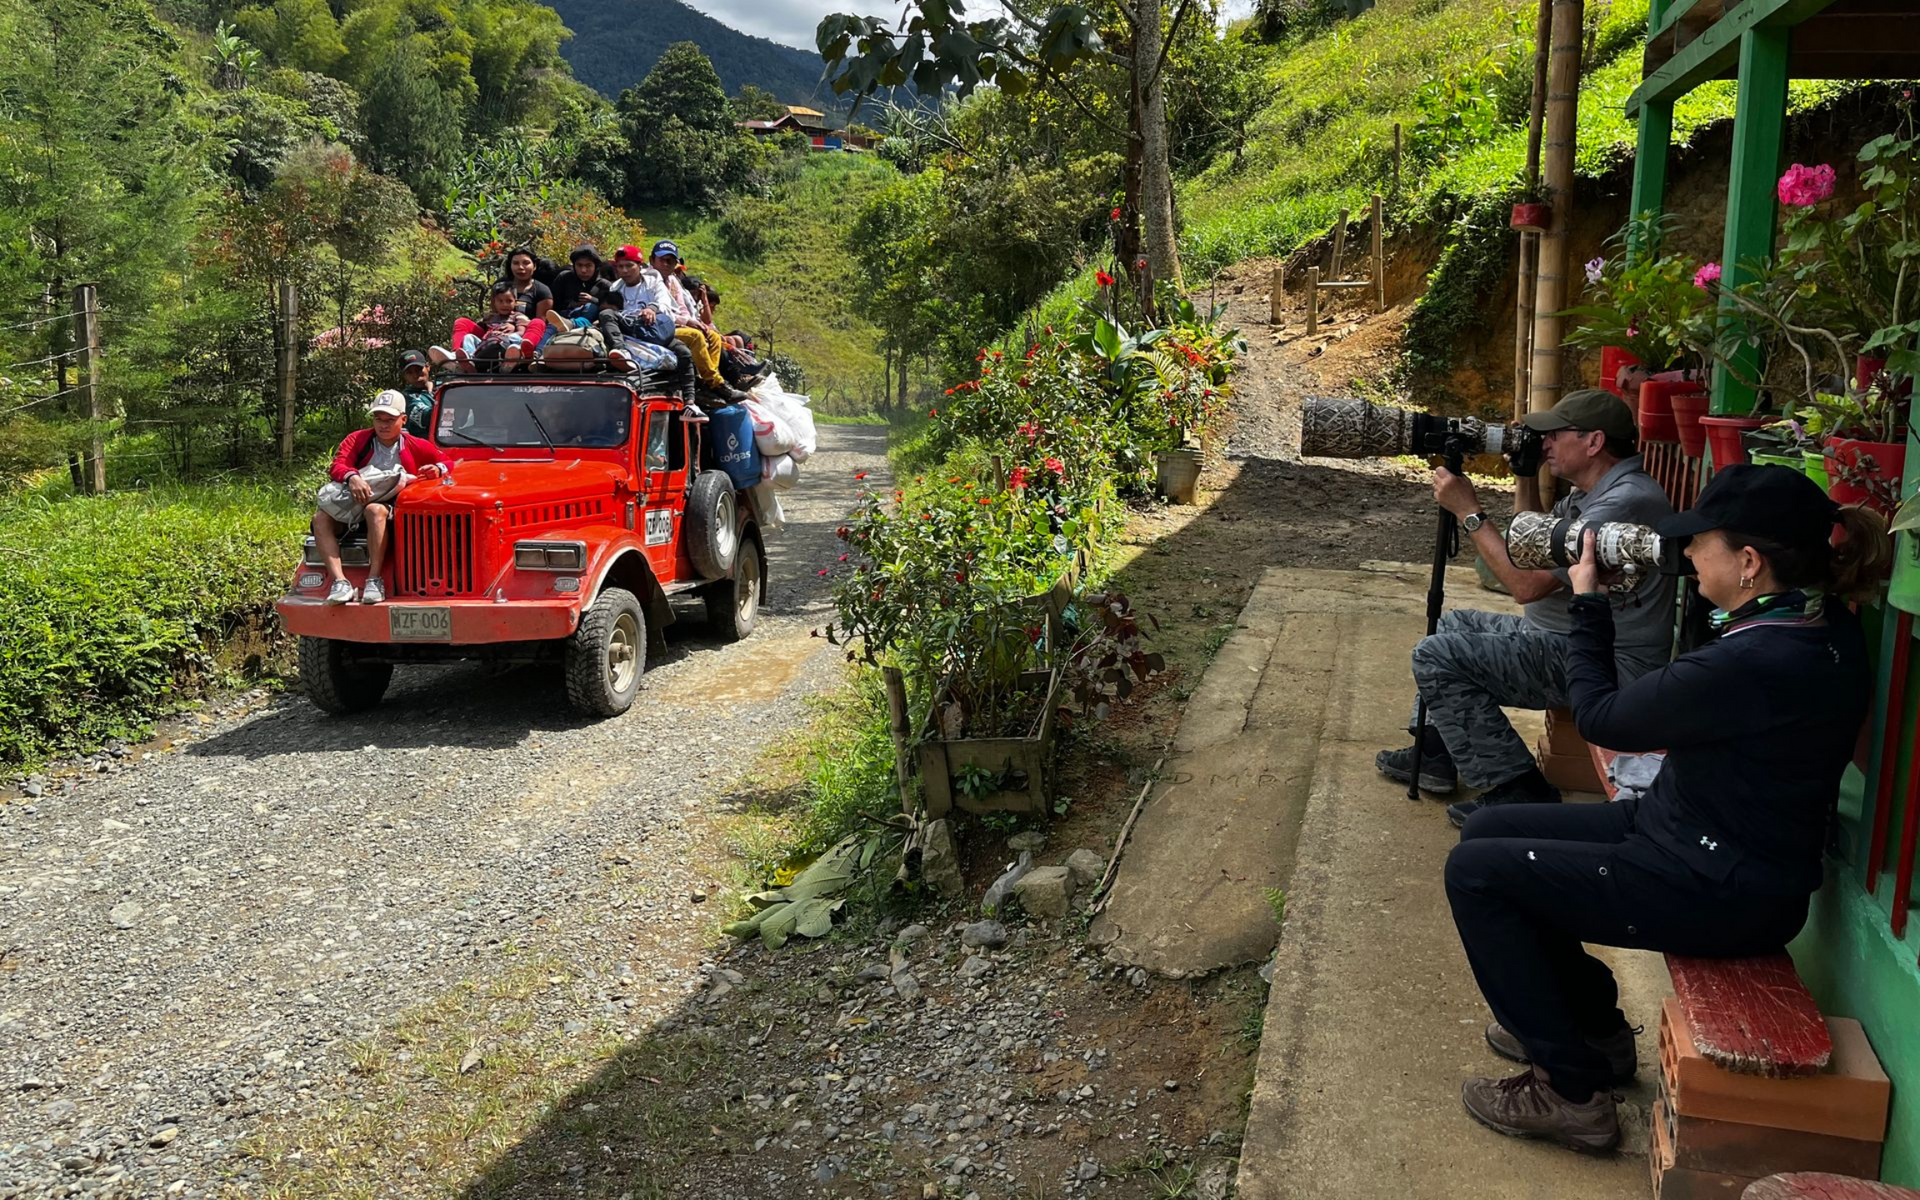
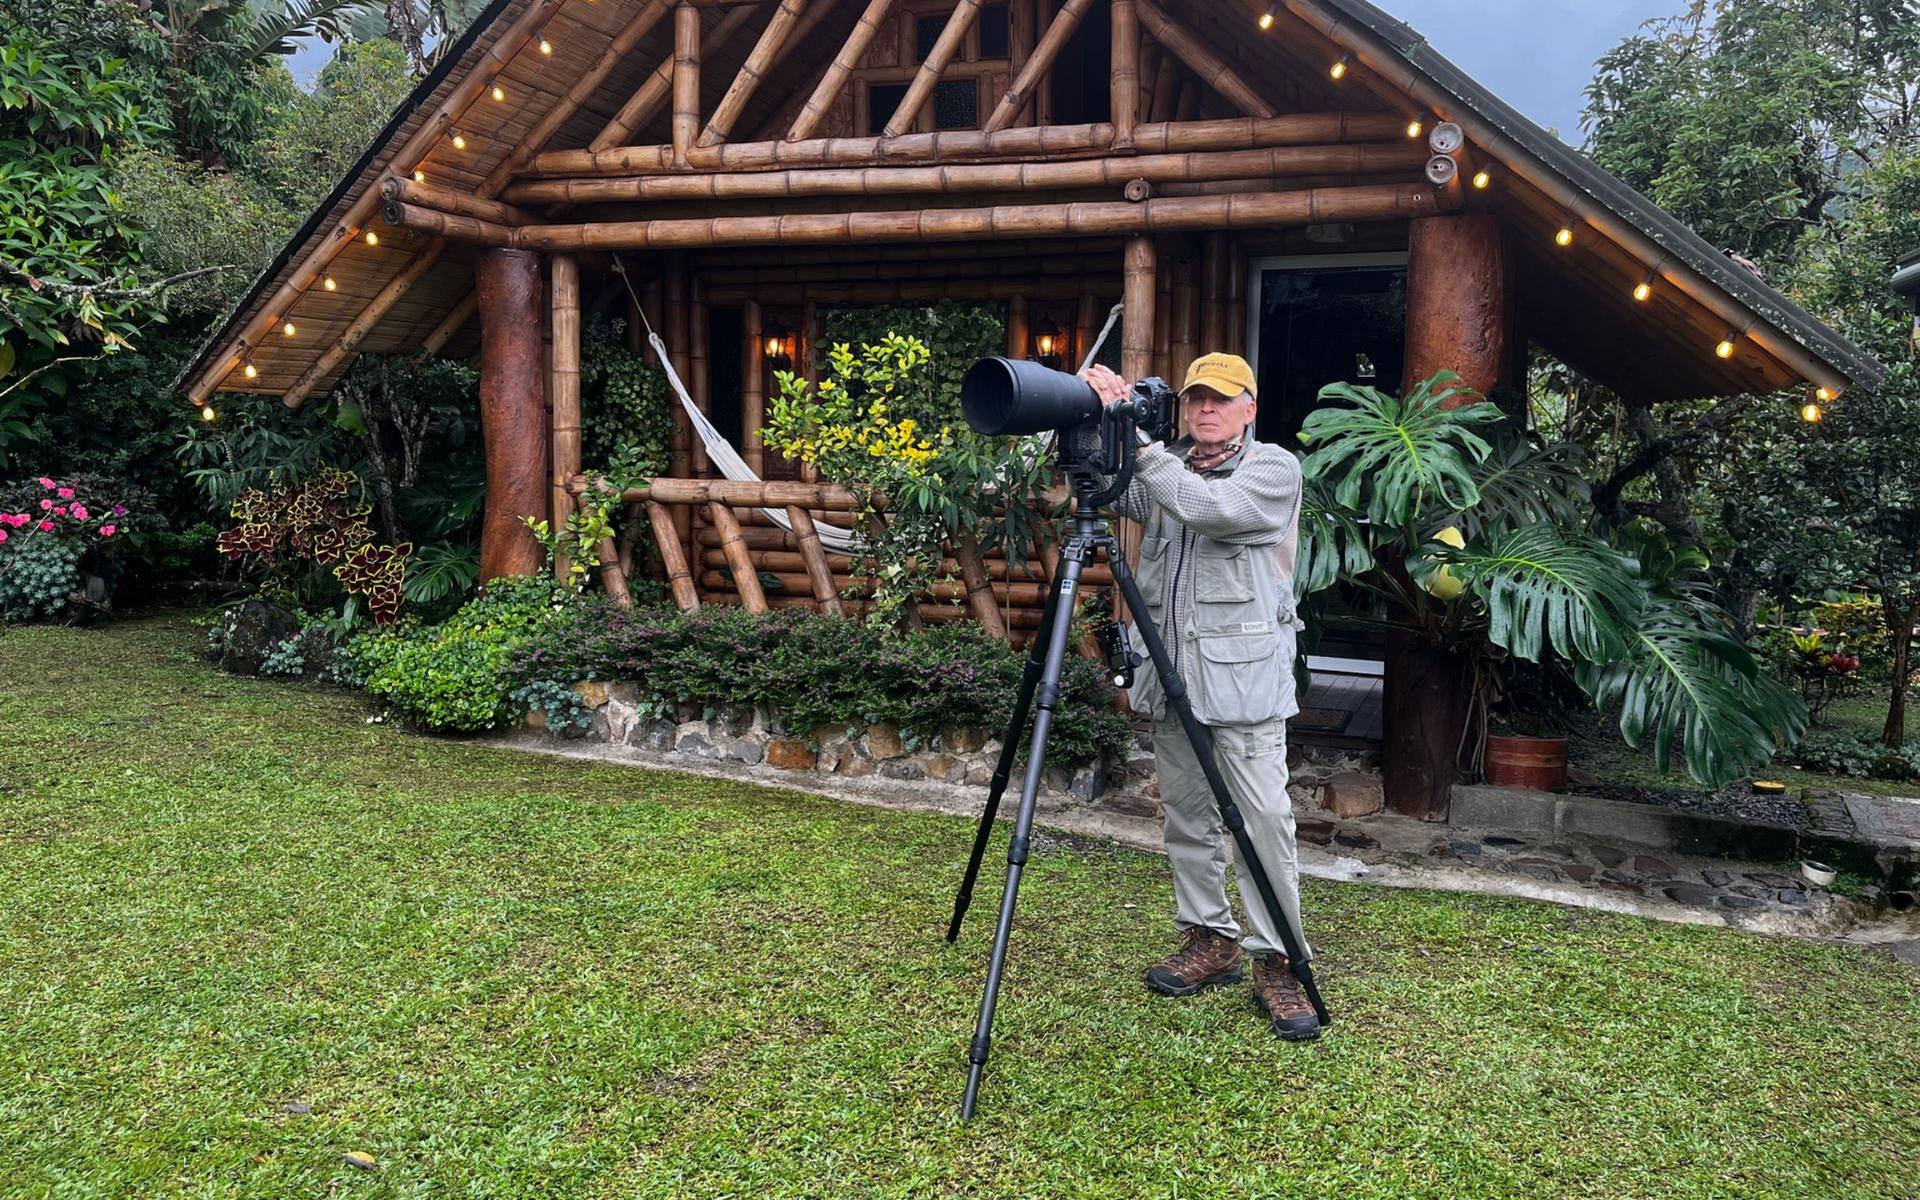
At Retorno Photo Tours, we guide photographers through some of South America’s richest birding landscapes — and these settings come directly from field-tested experience in real-world conditions.
Let’s dive into the best camera settings for bird photography in the wild, from the basics to advanced pro tips.
1. Understanding the Essentials: The Exposure Triangle
Before getting into specifics, let’s revisit the foundation of all photography — the exposure triangle:
- Shutter Speed: Controls how motion is captured (freeze or blur).
- Aperture (f-stop): Determines depth of field (sharpness and background blur).
- ISO: Controls brightness and noise level.
Bird photography requires balancing all three for dynamic subjects and shifting light conditions.
2. Shutter Speed: Freeze the Action
The most critical setting for bird photography is shutter speed. Birds are constantly in motion — hopping, fluttering, diving, or flying. A slow shutter can ruin even a perfect composition with motion blur.
Recommended Shutter Speeds
Bird TypeSituationSuggested Shutter SpeedSmall birds (warblers, tanagers)Perched1/1000 – 1/2000 secBirds in flight (hawks, parrots, hummingbirds)Action1/2500 – 1/4000 secLarge birds (herons, condors)Soaring or gliding1/1600 – 1/2500 secLow light (forest shade)Perched1/800 sec (with IS/VR lens)
Pro Tip:
Use your camera’s Auto ISO with a minimum shutter speed lock. For instance, set:
Shutter speed: 1/2000s
Aperture: f/5.6
ISO: Auto (max 6400)
That way, your camera automatically raises ISO only when light drops — ensuring sharp, noise-controlled results.
3. Aperture: Depth and Bokeh
Your aperture (f-stop) decides how much of the scene remains in focus and how creamy your background appears.
- Wide aperture (f/4 – f/5.6): Perfect for isolating birds against soft backgrounds.
- Narrower aperture (f/7.1 – f/8): Useful when multiple subjects (like flocks) or branch clutter needs more detail in focus.
Pro Tip:
If you’re using telephoto lenses like a 500mm f/4 or 600mm f/4, staying at wide apertures helps achieve the dreamy background separation known as “bokeh”, making your subject pop beautifully.
4. ISO: Managing Light and Noise
In bird photography, light changes quickly — from open savanna to shaded forest. Setting ISO manually can cost you shots.
Best Practice:
Use Auto ISO with a capped maximum ISO level depending on your camera:
- Full-frame cameras: up to ISO 6400 or 8000
- APS-C cameras: up to ISO 3200 or 4000
Higher ISO adds grain, but with modern cameras, it’s better to have a sharp, noisy photo than a blurred one.
Pro Tip:
Expose slightly to the right (ETTR) on your histogram. Slightly brighter images retain more detail in shadows and are easier to clean up in post-processing.
5. Focus Mode: Stay Locked on Your Subject
Autofocus (AF) is your best friend — or your biggest frustration — in bird photography.
AF Mode Recommendations:
- Continuous AF (AI Servo on Canon / AF-C on Nikon & Sony): Keeps focus tracking as the bird moves.
- Single AF (AF-S): For stationary birds or perched shots.
AF Area Mode:
- Single Point AF: For precise focusing on a perched bird’s eye.
- Dynamic / Zone AF: For birds in flight — allows flexibility if the subject moves across the frame.
- Wide Tracking / Bird Eye AF (on mirrorless): Perfect for flight shots or unpredictable movement.
Pro Tip:
When photographing birds in flight, use back-button focus (BBF) to control AF independently from the shutter. This prevents accidental refocusing between shots.
6. Burst Mode and Frame Rate
Birds move unpredictably, and the best wing position often lasts a fraction of a second. Shooting in burst mode increases your odds of capturing the perfect moment.
Recommended:
- Set Drive Mode: High-speed Continuous
- Aim for at least 10 frames per second (fps); professional mirrorless cameras reach up to 30 fps.
Pro Tip:
Anticipate the action — for example, when a hummingbird approaches a feeder, pre-focus slightly ahead and begin shooting just before it enters the frame.
7. Exposure Compensation and Metering
Birds’ plumage often contains bright whites or deep blacks that can confuse your camera’s meter.
Metering Modes:
- Evaluative / Matrix Metering: Best general choice; balances exposure across the frame.
- Spot Metering: For small birds against bright or dark backgrounds (e.g., a white egret against dark water).
Exposure Compensation Settings:
- +0.3 to +1.0 EV: For dark birds against bright backgrounds (to preserve detail).
- –0.3 to –1.0 EV: For bright birds (to avoid blown highlights).
Pro Tip:
Always check your histogram and blinkies (highlight warning). In tropical sunlight, it’s easy to overexpose bright plumage like gulls or egrets.
8. Shooting Mode: Manual vs Semi-Auto
Many bird photographers prefer Manual Mode with Auto ISO — it offers creative control with flexibility.
- Manual Mode (M): Control shutter and aperture, let ISO float automatically.
- Shutter Priority (S/Tv): Useful for beginners focusing on freezing motion.
- Aperture Priority (A/Av): For perched birds, where depth of field matters more than motion.
Pro Tip:
For fast-moving conditions — like rainforest canopy photography — use Manual + Auto ISO with exposure compensation enabled. This keeps consistency across changing light.
9. White Balance and Color
While you can always adjust white balance in post-processing, setting it correctly in-camera helps ensure natural colors and consistent results.
Recommended Settings:
- Daylight (5200K) for open habitats.
- Cloudy (6000–6500K) for forests or overcast days.
- Auto White Balance (AWB) for mixed light situations.
Pro Tip:
If shooting in RAW (and you should), white balance adjustments don’t affect image quality — but getting it close in-camera saves editing time.
10. Image Stabilization (IS/VR/IBIS)
Modern lenses and cameras often include image stabilization. It’s useful for handheld shooting or slower shutter speeds — but not always beneficial.
When to Use:
✅ Handheld or monopod shooting
✅ Low light conditions
✅ Perched birds
When to Turn Off:
❌ Using a tripod or gimbal head (stabilization can cause micro-vibrations)
Pro Tip:
Some mirrorless cameras like Canon R5 or Sony A1 combine in-body and lens stabilization — giving up to 7–8 stops of shake reduction.
11. RAW vs JPEG: Always Shoot RAW
RAW format retains more color, detail, and dynamic range — crucial when adjusting shadows, highlights, or white balance in post.
JPEGs are fine for fast sharing, but for serious wildlife photography, RAW is non-negotiable.
Pro Tip:
If your camera supports RAW+JPEG, it’s a good compromise — JPEGs for quick previews, RAWs for editing.
12. Custom Settings and Field Workflow
When photographing wildlife, you rarely have time to tweak menus. Create custom presets on your camera for quick adaptability.
Example Setup (for Canon / Nikon / Sony):
- C1: Perched birds (1/1000s, f/5.6, Auto ISO, AF-S)
- C2: Birds in flight (1/3200s, f/5.6, Auto ISO, AF-C)
- C3: Low light forest (1/800s, f/4, ISO 6400, silent shutter)
Switch between them instantly as conditions change.
13. Practical Shooting Scenarios
a. Birds in Flight
- Shutter: 1/2500–1/4000s
- Aperture: f/5.6
- ISO: Auto
- Focus: AF-C, Zone or Bird Eye Tracking
- Burst Mode: High-speed
- Pro Tip: Pan smoothly and fill the frame — avoid cropping later.
b. Perched Birds
- Shutter: 1/1000s
- Aperture: f/4–f/6.3
- ISO: Auto (cap 3200)
- Focus: Single-point AF
- Pro Tip: Focus precisely on the bird’s eye — it’s the soul of the photo.
c. Low-Light Forest Scenes
- Shutter: 1/800s
- Aperture: f/4
- ISO: 6400–8000
- Focus: AF-C or manual fine-tune
- Pro Tip: Use a tripod or monopod; prioritize exposure over ISO noise.
14. Extra Camera Settings to Check Before You Travel
- Silent Shutter (Electronic): Essential for shy birds or quiet moments.
- High-Speed Memory Cards: UHS-II or CFexpress for sustained bursts.
- Dual Card Slots: Redundant backup during long tours.
- Lens Focus Limiter: Speeds up autofocus in known ranges.
- Custom Buttons: Assign AF-On, tracking, or ISO adjustment for quick access.
15. Practice Before the Tour
The best camera settings are useless if you’re not comfortable adjusting them quickly.
Practice at home:
- Photograph birds at local parks.
- Learn to switch between perched and flight modes instantly.
- Study how your camera behaves in different light levels.
Familiarity ensures that when you’re in the field — perhaps photographing a Blue-bearded Helmetcrest at 3,800 meters — your reflexes are ready.
16. Bonus: Recommended Starting Settings (Quick Reference)
SituationShutterApertureISOFocus ModeBurstMeteringPerched Birds1/1000f/5.6Auto (max 3200)AF-SHighEvaluativeBirds in Flight1/3200f/5.6Auto (max 6400)AF-CHighMatrixForest / Low Light1/800f/4Auto (max 8000)AF-CMediumSpotBright Open Areas1/2000f/7.1Auto (max 1600)AF-CHighEvaluative
17. Final Thoughts
Mastering the best camera settings for bird photography isn’t about memorizing numbers — it’s about understanding light, motion, and your subject’s behavior.
Your camera is a tool; your instinct is the artist. With the right balance of speed, precision, and patience, every click can reveal the soul of a bird in its natural world.
At Retorno Photo Tours, we’ve seen how the right settings turn ordinary moments into unforgettable images — from a hummingbird frozen mid-hover to a condor gliding across the Andean sky.
So pack your gear, fine-tune your setup, and get ready to experience bird photography in South America the way it was meant to be — wild, alive, and perfectly exposed.