How to Travel Light and Still Shoot Like a Pro on Birding Tours
How to Travel Light and Still Shoot Like a Pro on Birding Tours
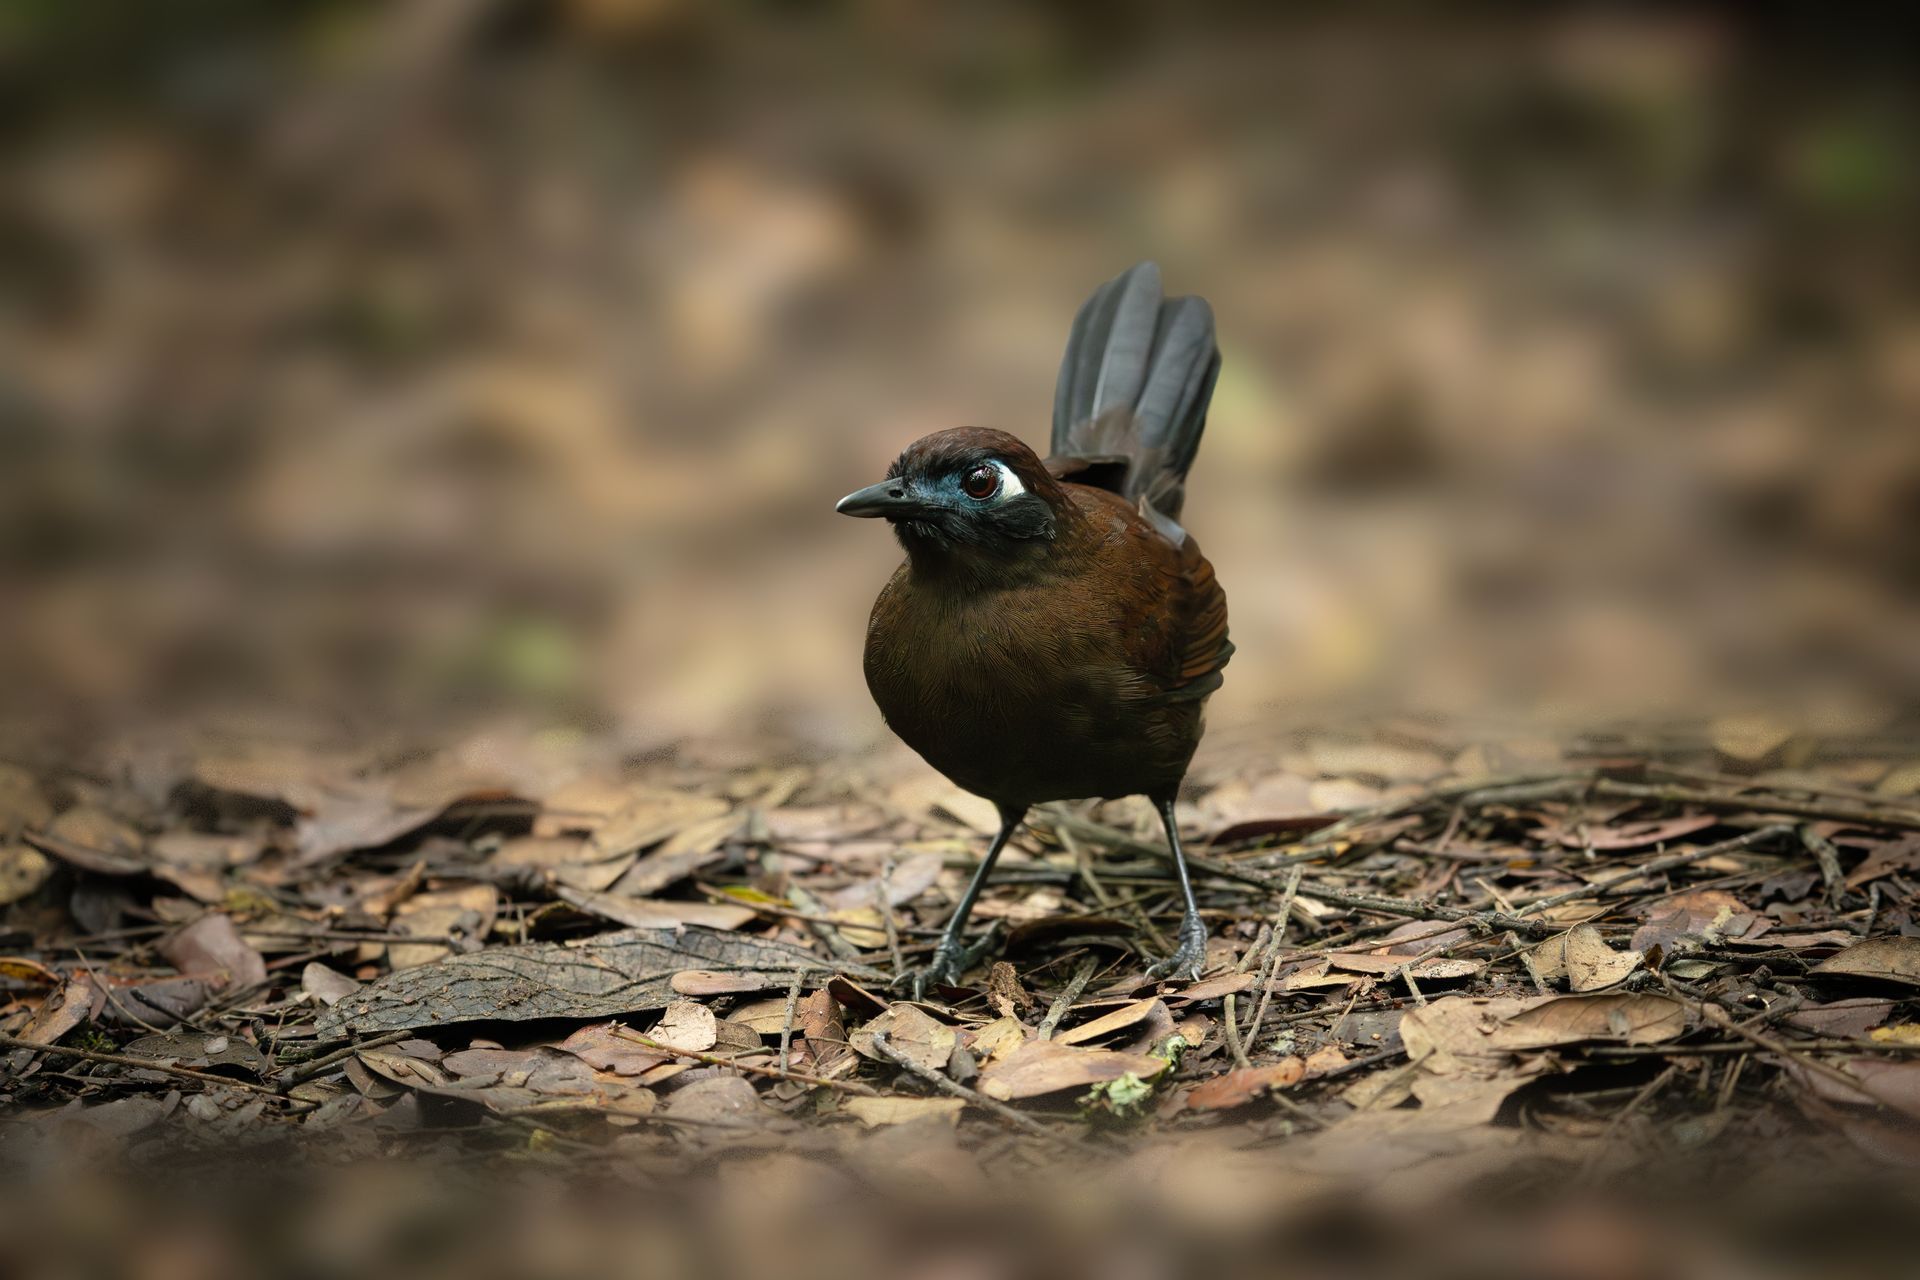
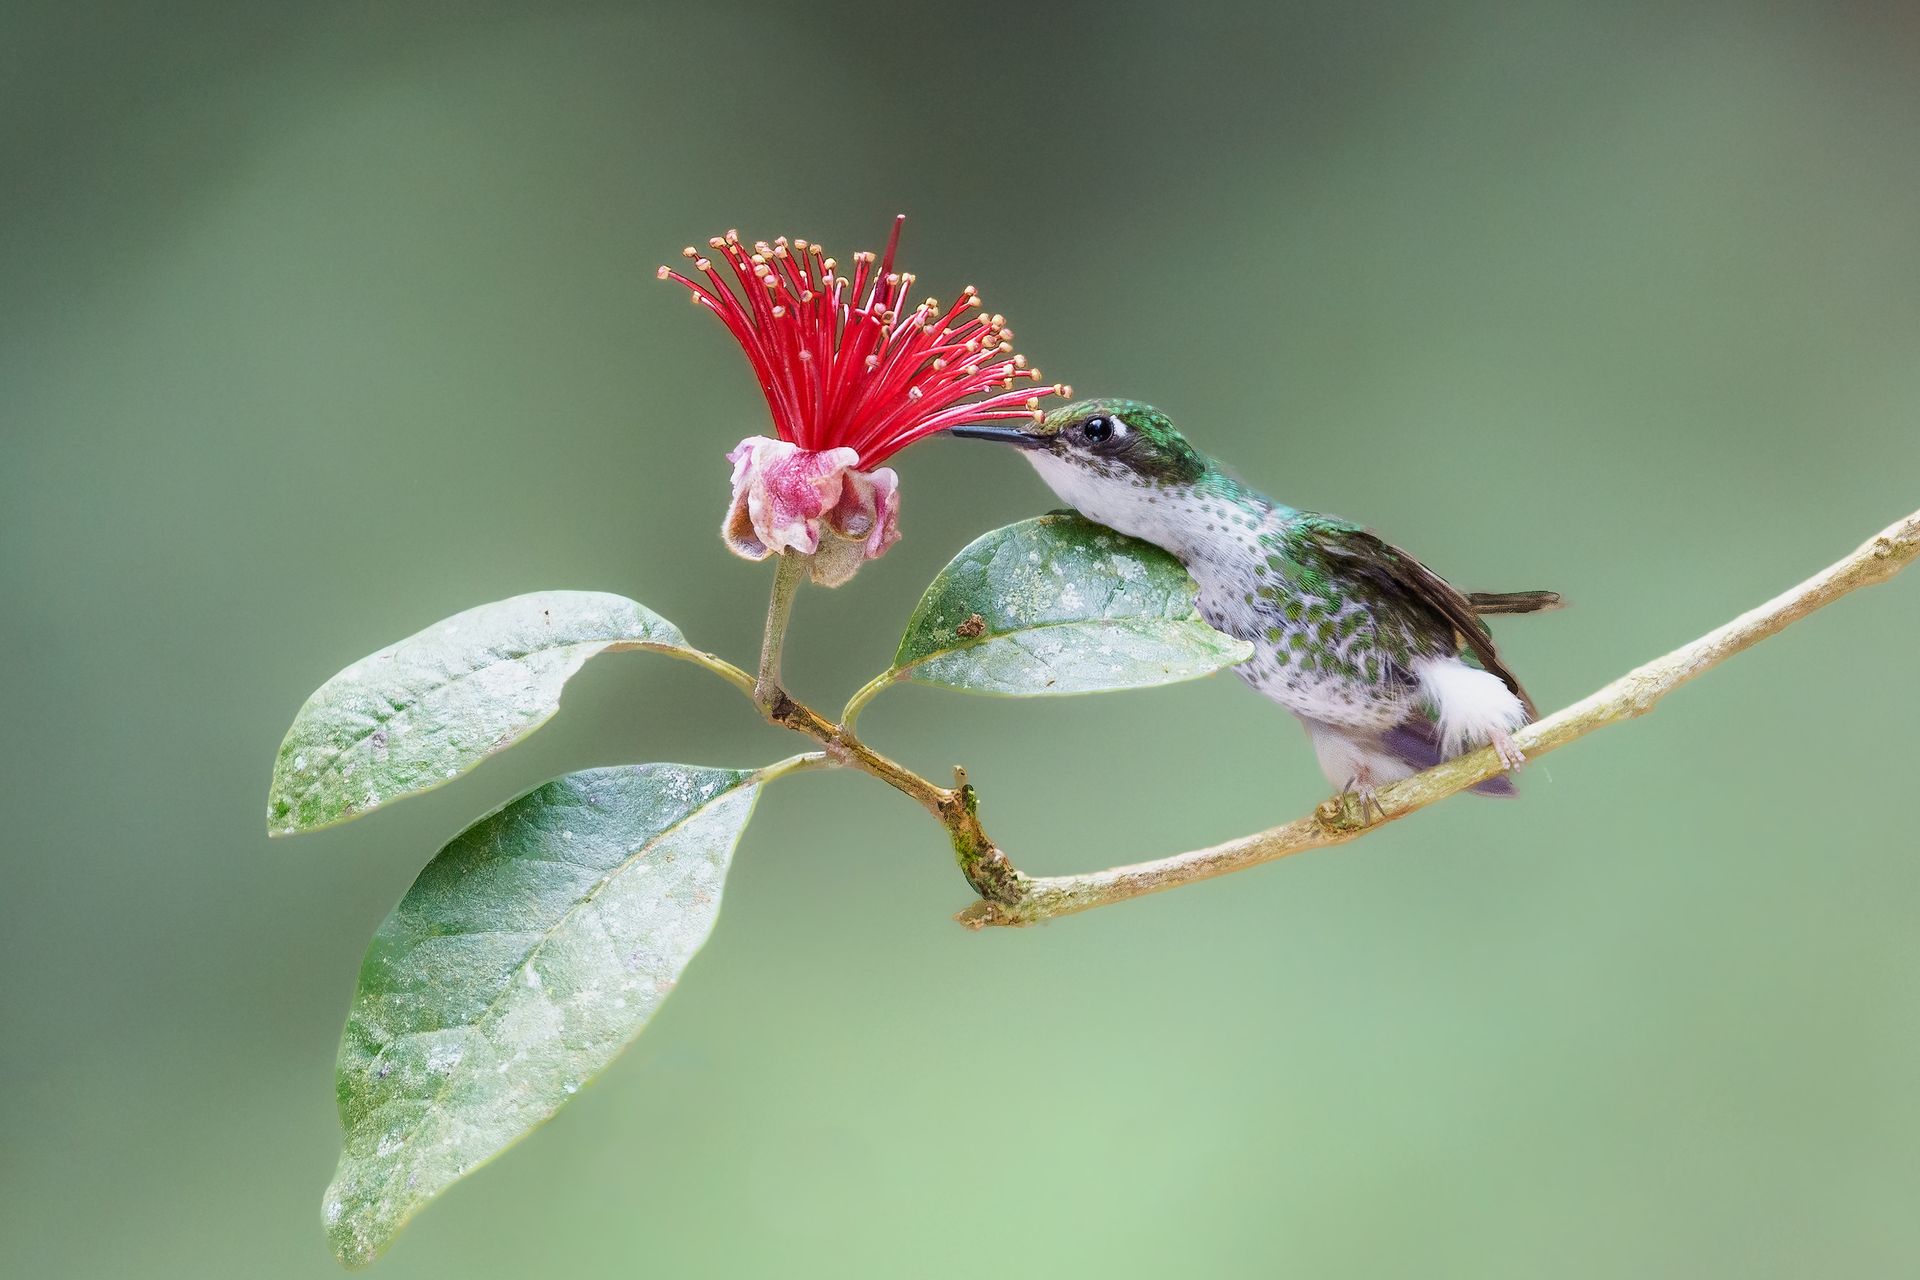
Bird photography in South America offers some of the most exhilarating and challenging wildlife experiences in the world. From the vibrant tanagers of the Amazon to high-altitude Andean hummingbirds, each location presents opportunities for breathtaking photographs.
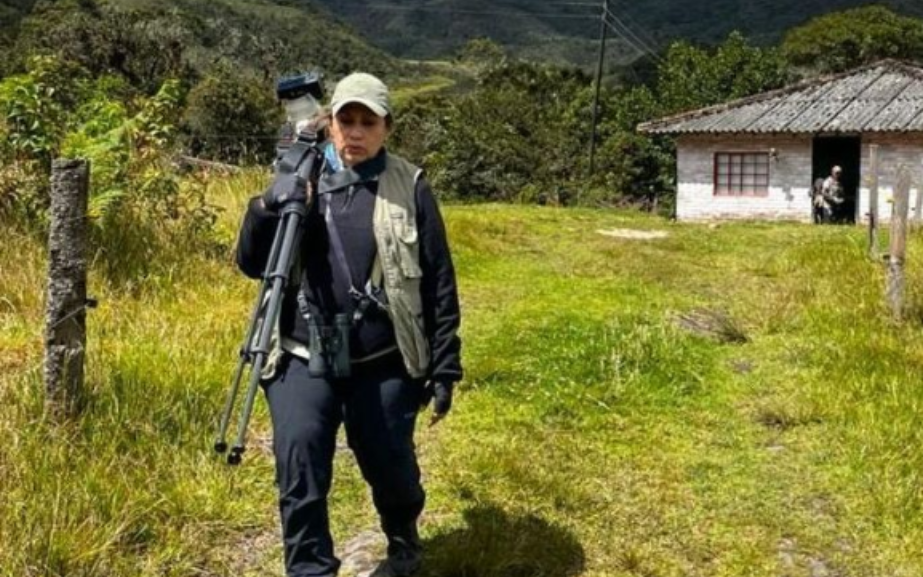
But let’s face it: bird photography gear can be heavy. Telephoto lenses, tripods, monopods, extra batteries, rain covers — before you know it, you’re carrying 30 pounds or more. The weight and bulk can slow you down, tire you out on long hikes, and even make it harder to capture fleeting bird moments.
At Retorno Photo Tours, we specialize in helping photographers maximize image quality while traveling light. In this guide, we’ll cover tips, strategies, and gear recommendations so you can travel efficiently without sacrificing professionalism.
1. Prioritize Your Essential Gear
The first step to traveling light is choosing what truly matters.
Must-Have Items
- Camera Body: One reliable camera is usually enough. Modern mirrorless cameras offer compact bodies and excellent performance; DSLRs work too if you already own them.
- Primary Lens: A telephoto lens (400mm–600mm) is essential for distant birds. Consider a zoom (100–500mm) for versatility.
- Backup Lens (Optional): A wide-angle or short telephoto for environmental shots. Only bring if you expect varied compositions.
- Tripod or Monopod: Lightweight carbon fiber models reduce fatigue and stabilize long lenses.
- Extra Batteries & Memory Cards: Never risk running out of power or storage in remote areas.
- Protective Gear: Rain covers, lens cleaning kits, and weatherproof camera bags.
Pro Tip:
Every extra lens or accessory adds weight. Ask yourself: Will I really use this on this tour? Only pack items you know you will need.
2. Choose Lightweight, Multi-Functional Gear
Modern bird photography equipment is designed for portability:
- Mirrorless Cameras: Smaller bodies, excellent autofocus, and high-speed shooting.
- Telephoto Zoom Lenses: Replace multiple prime lenses with one versatile zoom.
- Compact Tripods / Monopods: Carbon fiber options provide stability without the bulk.
Pro Tip:
Many professional bird photographers combine one mirrorless body + a single 100–500mm zoom. This setup captures almost every shot they need while keeping weight manageable.
3. Pack Strategically with a Modular System
Organization matters as much as gear selection. A well-organized, modular system lets you carry only what you need for each shoot.
Bag Organization Tips
- Use pouches or dividers for batteries, memory cards, and filters.
- Keep lens caps, cleaning cloths, and remote shutter releases in easy-access compartments.
- Pack gear from heaviest to lightest, balancing weight on your back.
Pro Tip: Carry only one bag for photography gear and a small daypack for water, snacks, and personal items. This reduces fatigue and keeps you nimble on trails.
4. Minimize Lenses Without Sacrificing Versatility
Many beginners carry multiple telephoto and prime lenses “just in case,” but every additional lens adds weight and complexity.
- Solution: Choose a versatile zoom lens (100–500mm or 150–600mm).
- Optional: A short telephoto (70–200mm) or wide-angle lens for environmental shots.
Pro Tip:
Rent specialty lenses only for tours that require them. For example, if photographing elusive hummingbirds, a 600mm f/4 may be worth renting for a week instead of traveling with it long-term.
5. Optimize Camera Settings for Efficiency
Shooting like a pro doesn’t mean packing more gear — it means knowing your camera inside and out.
- Pre-set custom shooting modes: one for perched birds, one for birds in flight, one for low-light forest scenes.
- Use Auto ISO with capped limits to balance noise and exposure.
- Enable silent shutter for shy species.
Pro Tip:
A properly pre-configured camera reduces the need for extra accessories like flash, multiple filters, or complex setups — saving both weight and time.
6. Use Portable Support Systems
Tripods and monopods are necessary for long lenses but can be heavy.
Travel Light Solutions
- Carbon Fiber Monopods: Offer stability with minimal weight.
- Small Carbon Fiber Tripods: Useful for birdwatching blinds or landscapes.
- Bean Bags: Lightweight option for low-angle or resting shots.
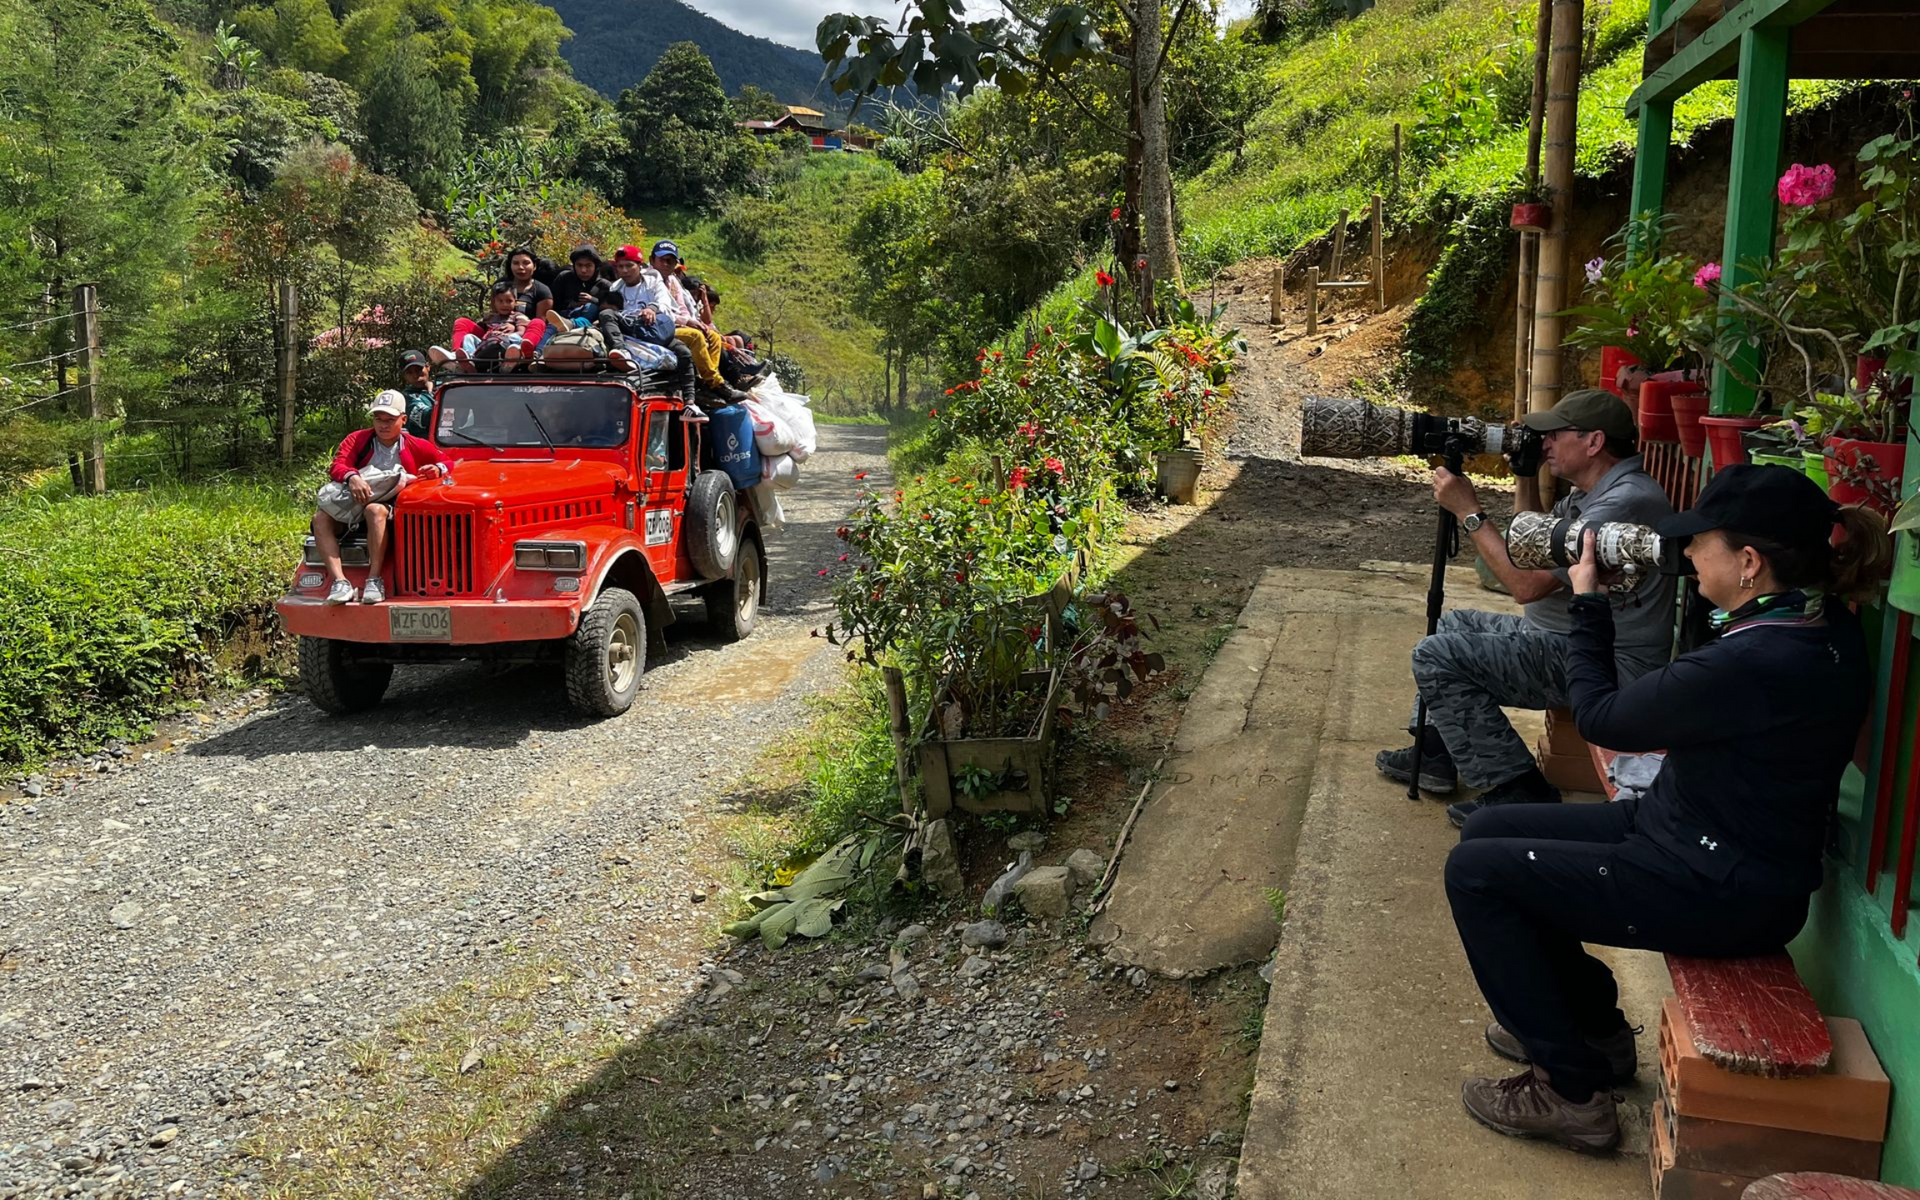
Pro Tip: On Retorno Photo Tours, many of our participants use monopods with gimbal heads, which allow smoother tracking of fast-moving birds while being lighter than traditional tripods.
7. Clothing and Personal Items Matter Too
Traveling light isn’t just about camera gear — your clothing and personal items impact mobility:
- Quick-Dry Clothing: Keeps you comfortable and reduces weight.
- Neutral Colors: Blend with the environment and avoid startling birds.
- Waterproof Jacket: Lightweight but durable for rainforest conditions.
- Sturdy Footwear: Comfortable hiking shoes or boots reduce fatigue.
Pro Tip: Pack multipurpose clothing layers instead of multiple jackets; lightweight and versatile clothing reduces backpack weight.
8. Limit Accessories Without Losing Capability
Some accessories are essential, others are optional:
- Essential: Extra batteries, memory cards, lens cloth, rain cover.
- Optional: Multiple filters, multiple cameras, heavy gimbal heads, external flash.
Pro Tip:
Ask yourself: Will this accessory significantly improve my shots? If not, leave it behind. Less is more.
9. Plan Your Shots to Reduce Gear Load
Planning your day reduces the need to carry multiple lenses or support systems:
- Scout locations before shooting to know which lens you’ll need.
- Focus on species likely to appear in each location.
- Limit lens swaps by planning sequences of shots (e.g., start with wide shots, move to telephoto for action).
Pro Tip: At Retorno Photo Tours, guides help participants pre-scout prime locations, which minimizes unnecessary gear swaps and weight.
10. Travel Light with Confidence
Many photographers worry that reducing gear will limit their creativity. In reality, mastering a single versatile setup often improves skill and efficiency:
- Fewer lenses = faster decisions.
- Lighter gear = less fatigue, more mobility.
- Simplified setup = focus on composition and behavior.
Pro Tip: Confidence comes from practice. Test your travel-light setup before the tour. Familiarity with your gear ensures you’re ready for unexpected birding opportunities.
11. Recommended Travel-Light Setup for Birding Tours
Here’s a practical setup used by many professional bird photographers on Retorno Photo Tours:
- Camera Body: Mirrorless full-frame (Sony A1, Canon R5, Nikon Z9) or DSLR if preferred.
- Primary Lens: 100–500mm or 150–600mm telephoto zoom.
- Optional Lens: 24–70mm or 70–200mm for environmental or landscape shots.
- Support: Carbon fiber monopod with gimbal head or small tripod.
- Accessories: 3–4 spare batteries, memory cards, rain cover, lens cleaning kit.
Estimated weight: 8–12 kg (including camera bag and support). Much lighter than carrying multiple prime lenses and heavy tripods.
12. Mental Preparation and Efficiency
Traveling light isn’t only physical — it’s mental.
- Focus on quality over quantity — better a few perfect shots than hundreds of mediocre ones.
- Learn to anticipate bird behavior, reducing frantic lens changes.
- Embrace minimalism — your creativity isn’t in the weight of your gear, it’s in your vision and patience.
Pro Tip: Enjoy the journey. Traveling light allows you to move silently and blend with the environment, increasing your chances of capturing shy or rare species.
13. Case Study: South America Birding Tour Success
On a typical Retorno Photo Tours itinerary:
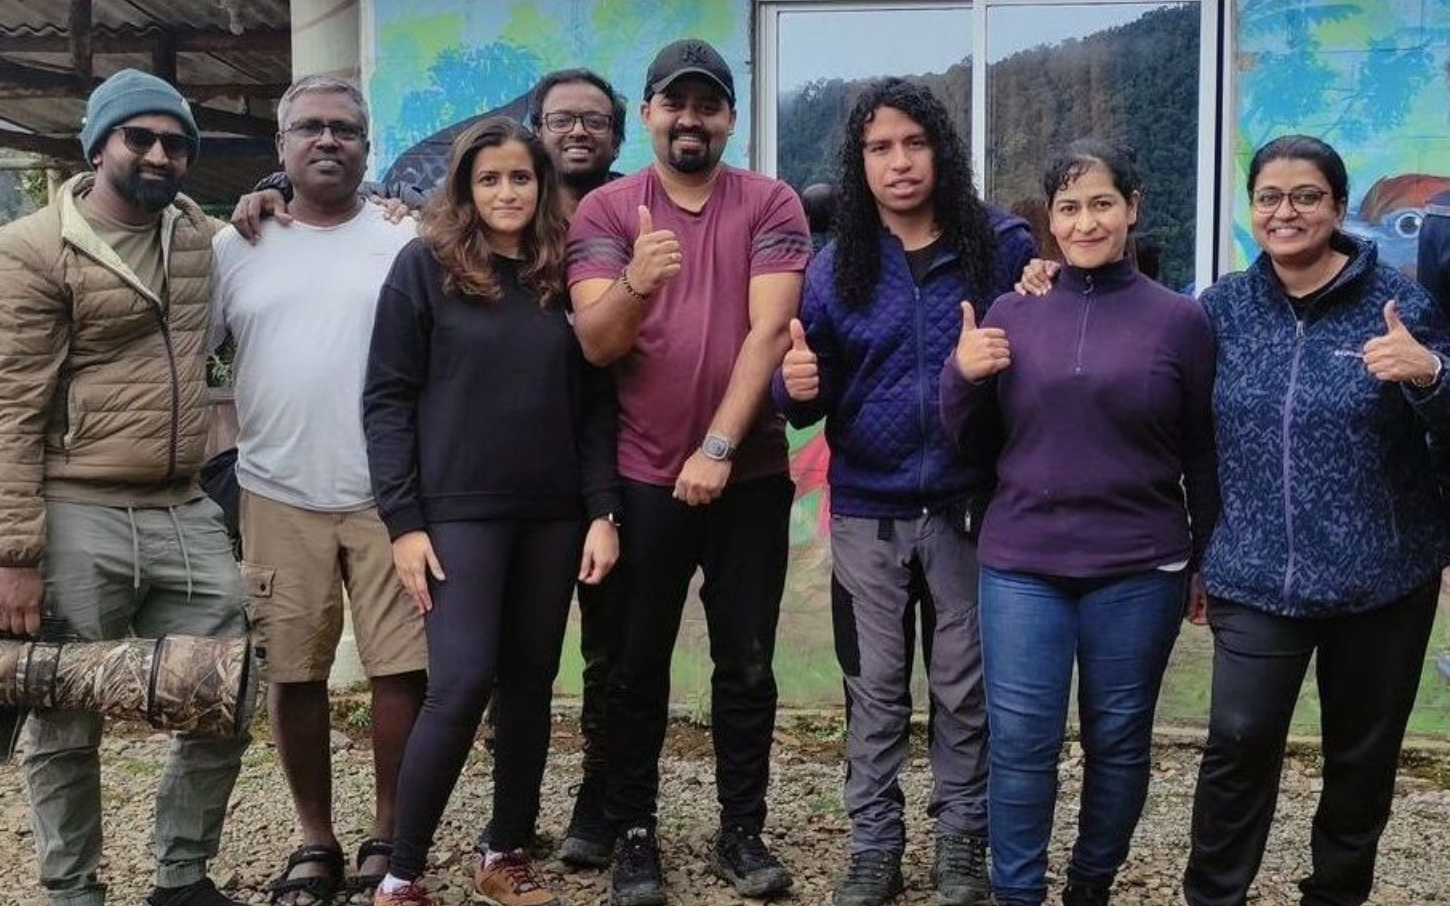
- Participants carrying lightweight mirrorless cameras with 100–500mm zooms captured hundreds of high-quality images without fatigue.
- Those carrying multiple heavy lenses often struggled on long treks or missed shots due to slow lens changes.
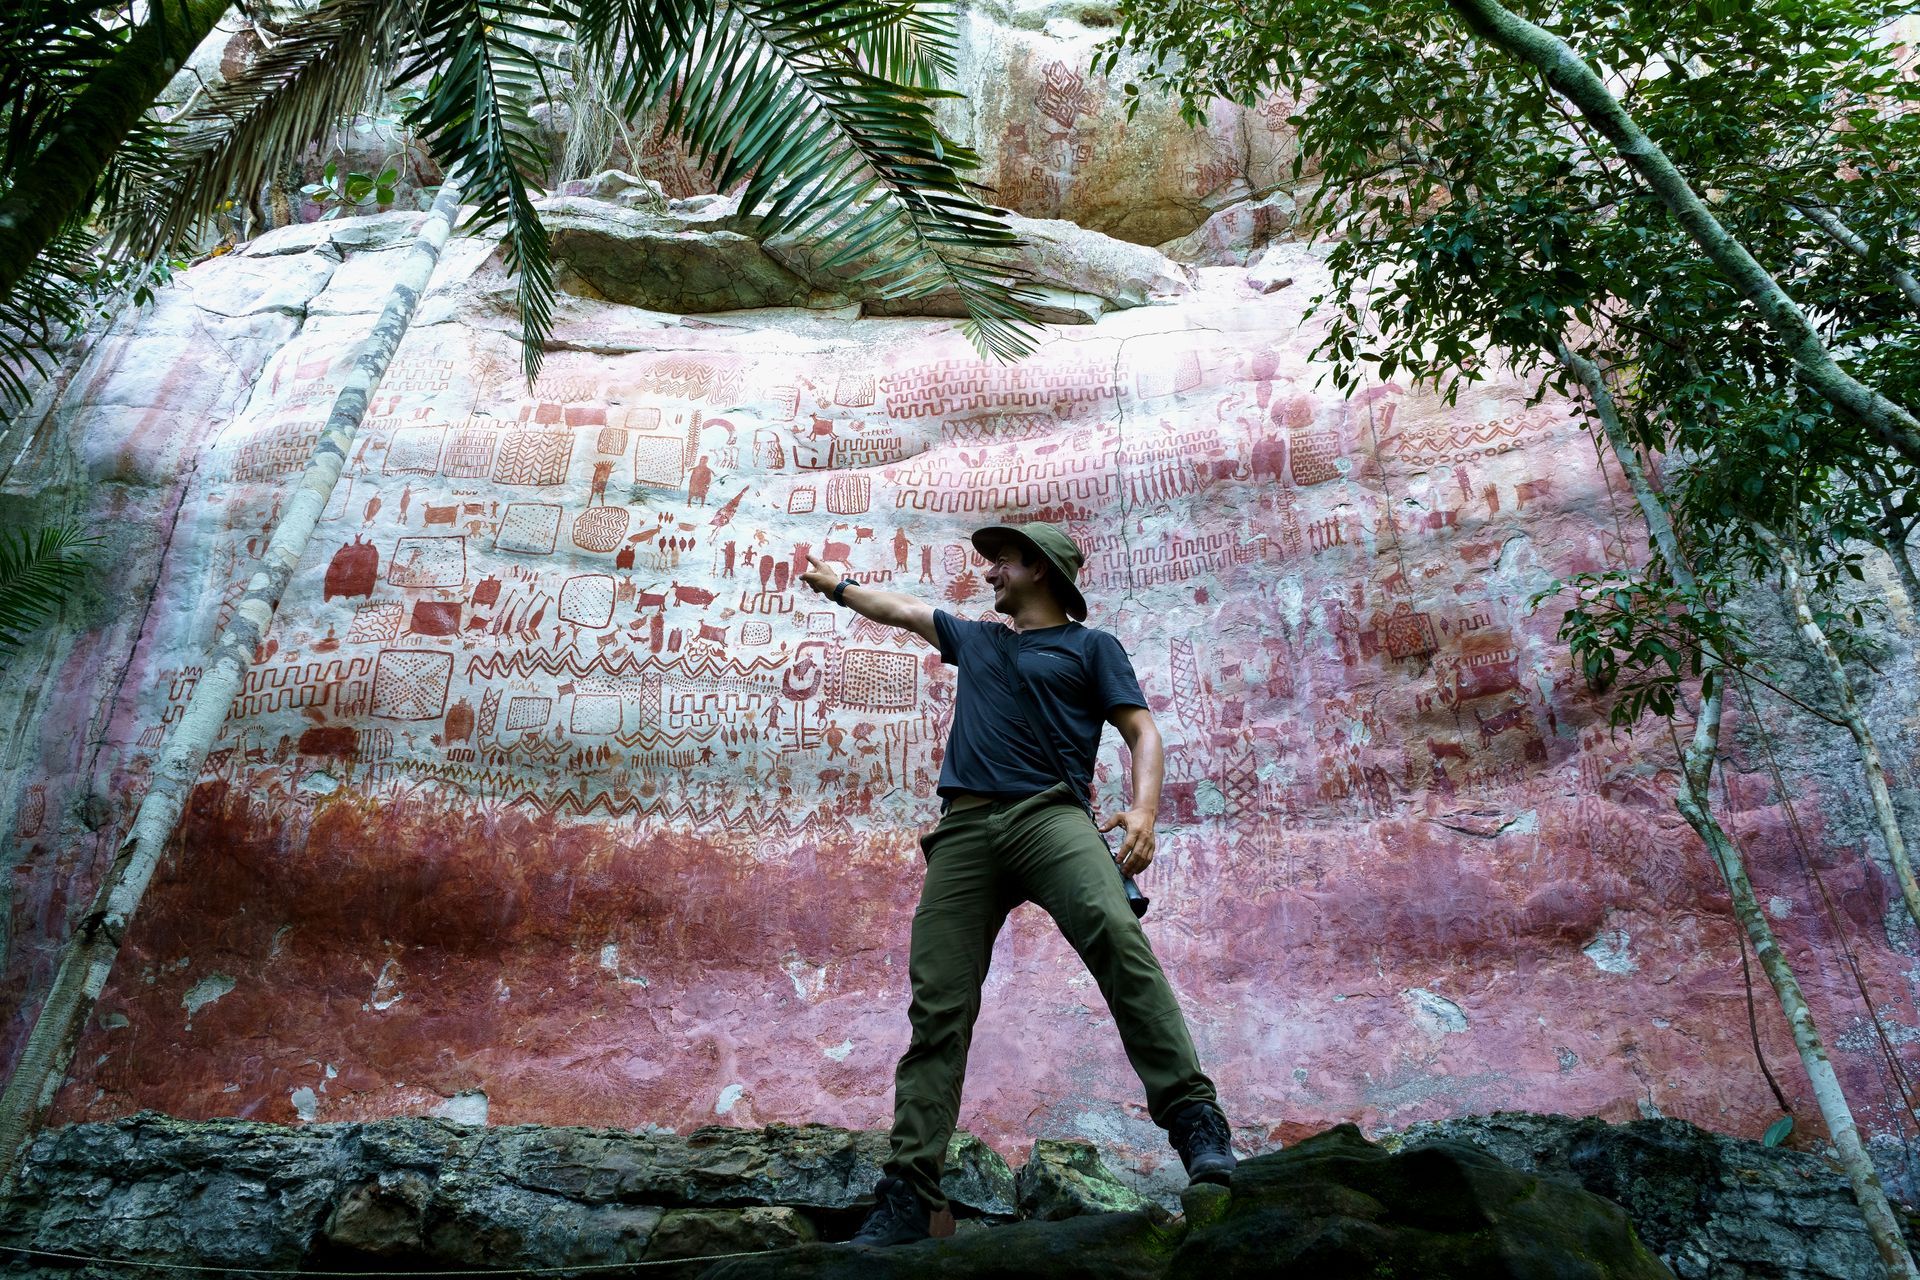
- Light travel also allowed participants to access difficult spots, like riverbanks, canopy hides, and cloud forest trails.
The takeaway? Smart gear choices + efficient packing = professional-quality results + enjoyable experience.
14. Conclusion
Bird photography doesn’t require the heaviest camera bag — it requires knowledge, preparation, and thoughtful gear selection.
Traveling light allows you to:
- Move quietly and observe bird behavior.
- Reduce fatigue on long hikes.
- Focus on composition, light, and timing instead of gear management.
- Capture professional-quality images with a simplified setup.
At Retorno Photo Tours, we help photographers achieve incredible results while staying light and mobile. With the right mindset, gear, and preparation, you can enjoy South America’s extraordinary bird life and return with stunning images without the burden of heavy equipment.