Mastering Natural Light in Bird Photography Tours
Mastering Natural Light in Bird Photography Tours
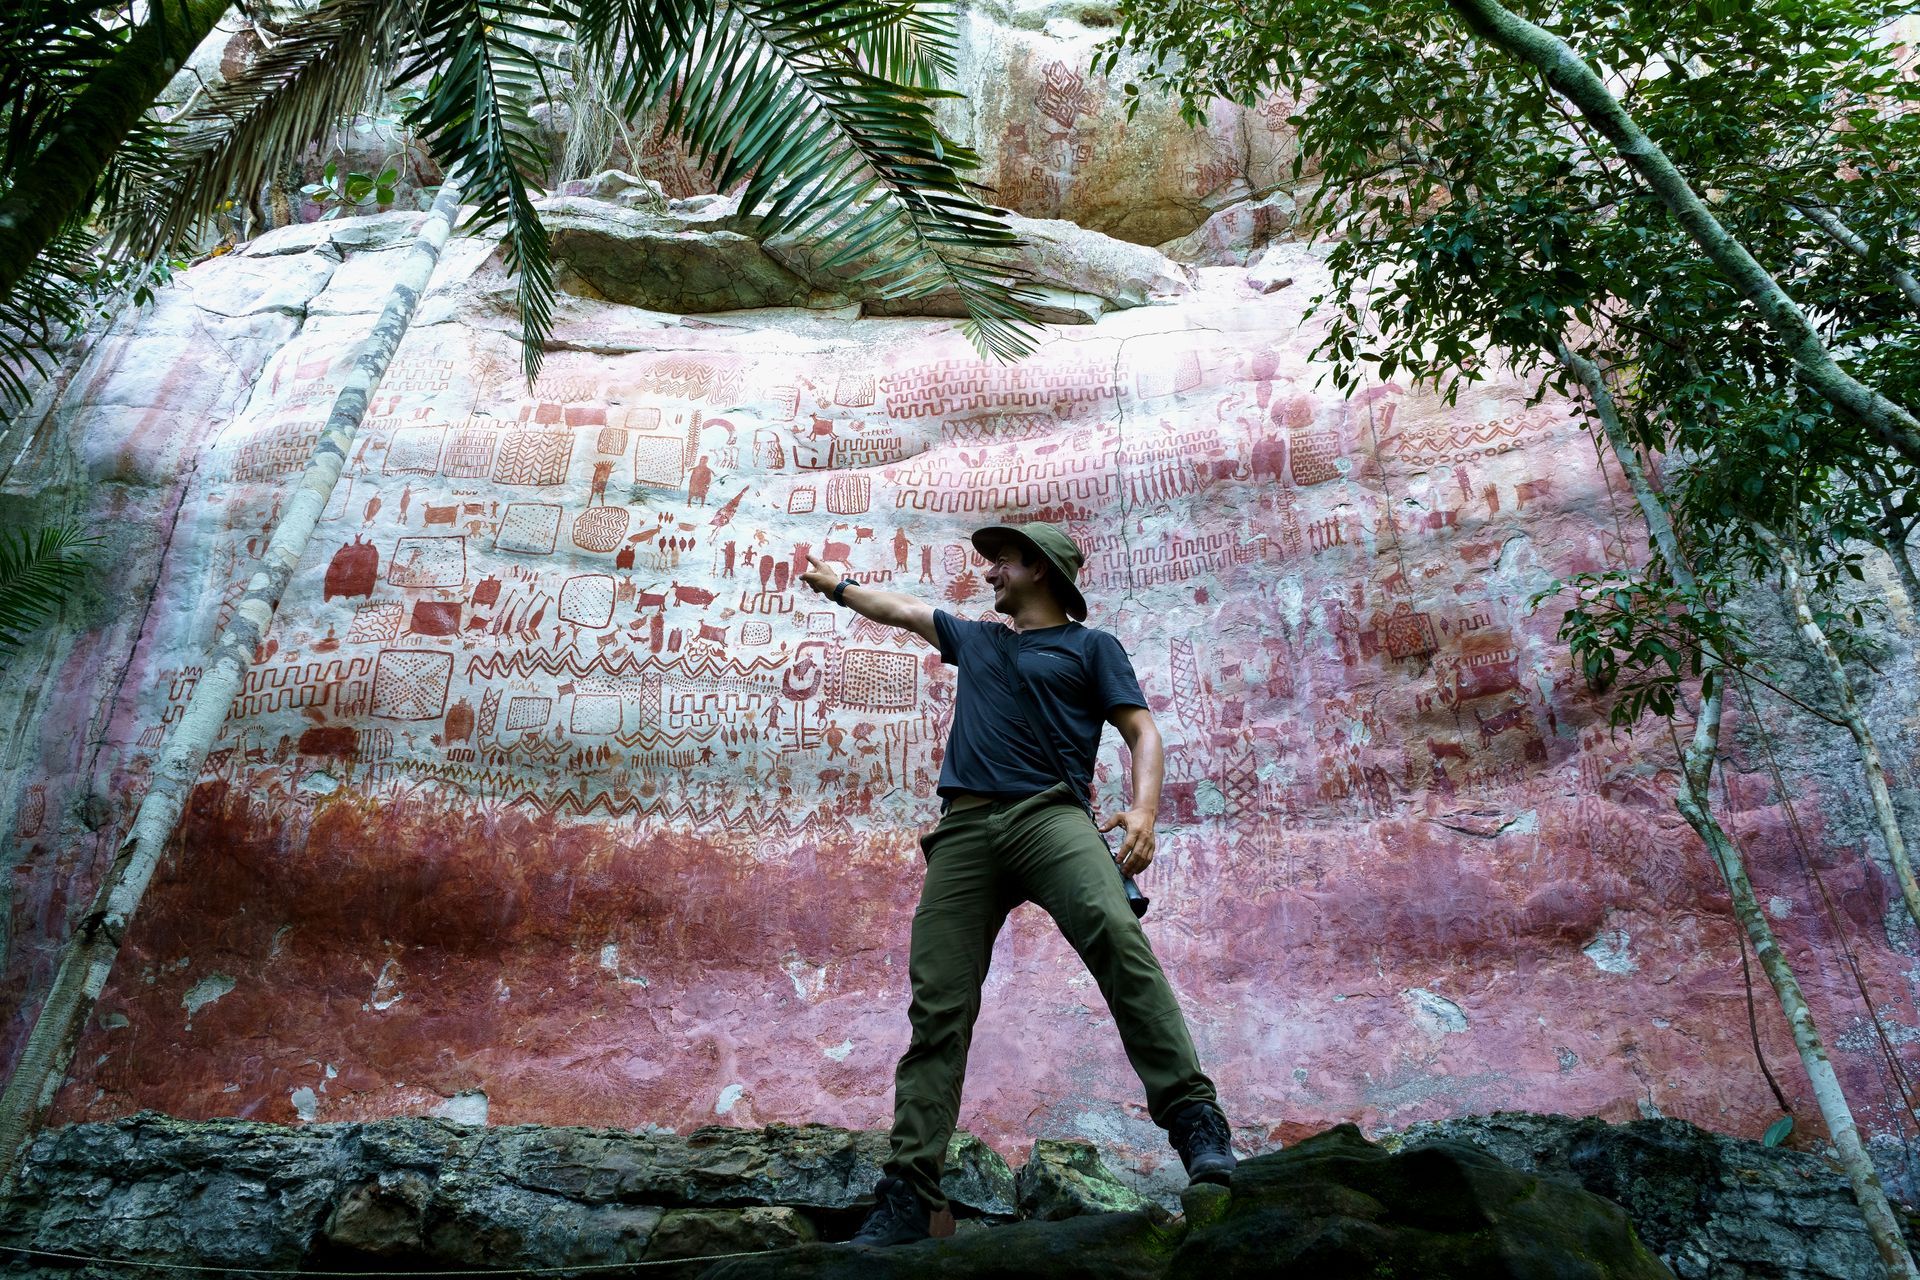
Bird photography is as much about light as it is about birds. The colors, details, and drama of your shots depend heavily on how you use natural light. On bird photography tours in South America, photographers encounter dense rainforests, high-altitude cloud forests, open wetlands, and sun-drenched savannas. Each environment presents unique lighting challenges — and opportunities.
At Retorno Photo Tours, we guide photographers through Colombia’s richest birding habitats. From novices to seasoned pros, everyone benefits from understanding and mastering natural light. Here’s a detailed guide to help you capture stunning bird images using only available light.
1. Understanding Natural Light
Natural light is the foundation of wildlife photography. It varies throughout the day, across seasons, and with weather conditions. Understanding how light interacts with your subjects is key to capturing vivid colors, sharp details, and compelling compositions.
Quality of Light
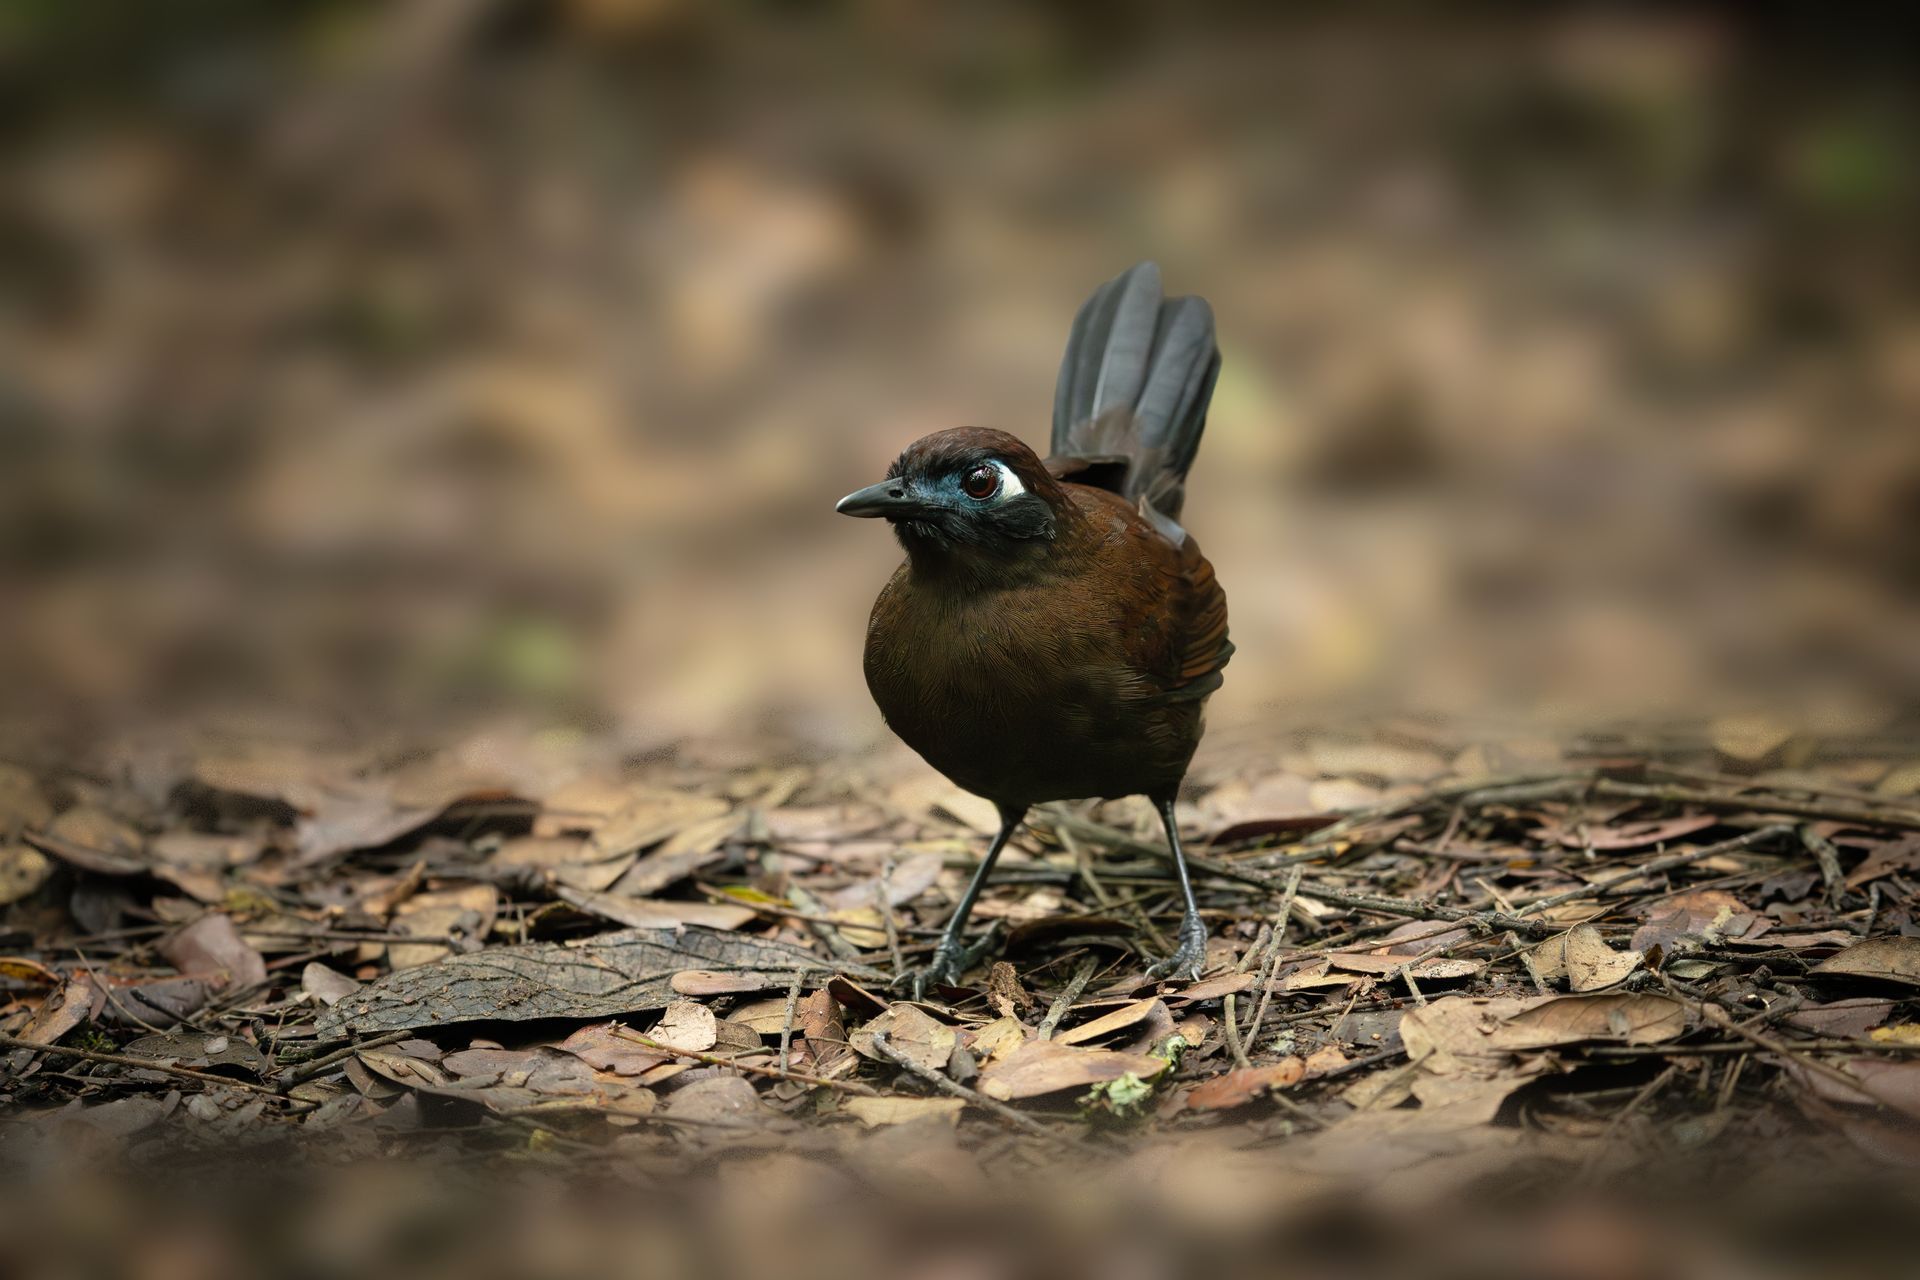
Soft, diffused light from an overcast sky often produces even exposure and reduces harsh shadows, ideal for photographing small birds in dense forests. Conversely, early morning and late afternoon light — known as golden hours — creates warm tones, long shadows, and adds depth to your images.
Direction of Light
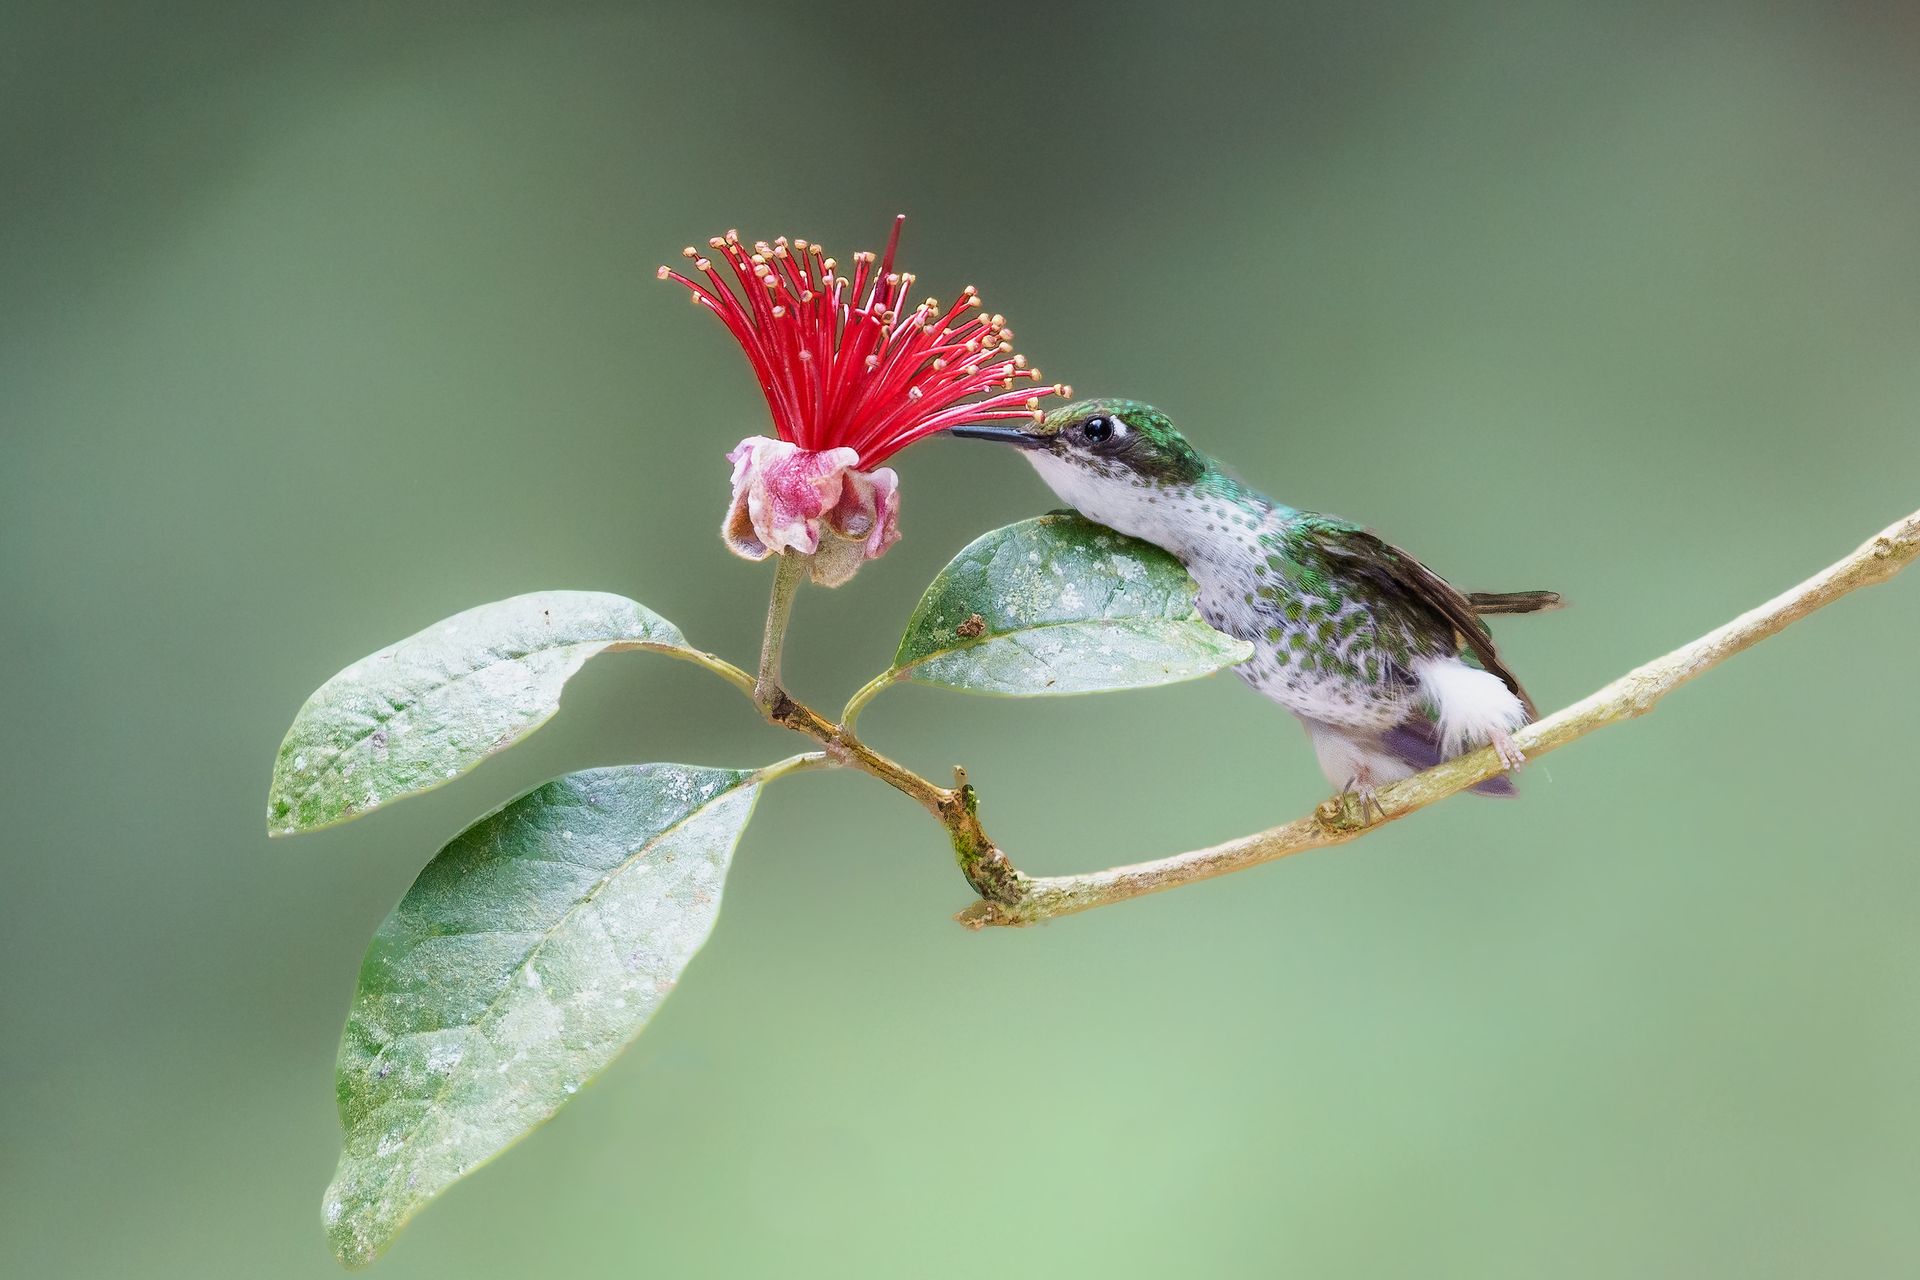
Side-lighting enhances texture and feathers, while backlighting can create dramatic silhouettes or highlight fine feather details. Front lighting ensures even exposure but may flatten your subject. Always observe how light falls on birds before pressing the shutter.
2. Best Times for Bird Photography
The timing of your shoot significantly affects natural light quality. Birds are most active during dawn and dusk, coinciding with soft, golden light. Midday sun can be harsh, especially in open areas, creating blown-out highlights and deep shadows.
On Retorno Photo Tours, guides often schedule photography sessions during early mornings or late afternoons to maximize light quality and bird activity.
3. Working in Forested or Shaded Areas
Rainforests and cloud forests are challenging due to uneven light and dark shadows. Techniques to master light in these areas include:
- Using a **fast lens** (f/2.8–f/5.6) to allow more light in.
- Increasing ISO to maintain sharp shutter speeds without introducing too much noise.
- Finding small sun shafts or clearing patches that illuminate your subject naturally.
4. Using Backlighting Creatively
Backlighting can enhance bird feathers, creating a rim of light that separates your subject from the background. To capture backlit images:
- Expose for the bird’s body to prevent overexposing highlights.
- Consider using spot metering to ensure proper exposure on your subject.
- Experiment with different angles to maximize light effects.
5. Adjusting White Balance
Natural light varies in color temperature. In dense forests, light may appear greenish, while golden hour light is warm and orange. Adjusting white balance manually or using RAW format ensures accurate colors during post-processing.
6. Utilizing Reflective Surfaces
Water, wet leaves, or light-colored backgrounds can reflect sunlight onto your subject, providing natural fill light. Use these reflections to illuminate shadowed areas without artificial flash.
7. Avoiding Harsh Midday Light
Direct overhead sunlight often creates harsh shadows and blown-out highlights. Strategies to counter this include:
- Shooting in shaded areas like tree canopies or near water bodies.
- Using shorter exposures or neutral density filters to manage light intensity.
- Embracing silhouettes creatively when proper exposure is impossible.
8. Composition Tips for Light
Natural light can guide your composition. Position birds with light hitting them from the side or slightly behind to add dimension. Use contrast between lit subjects and darker backgrounds to make birds stand out.
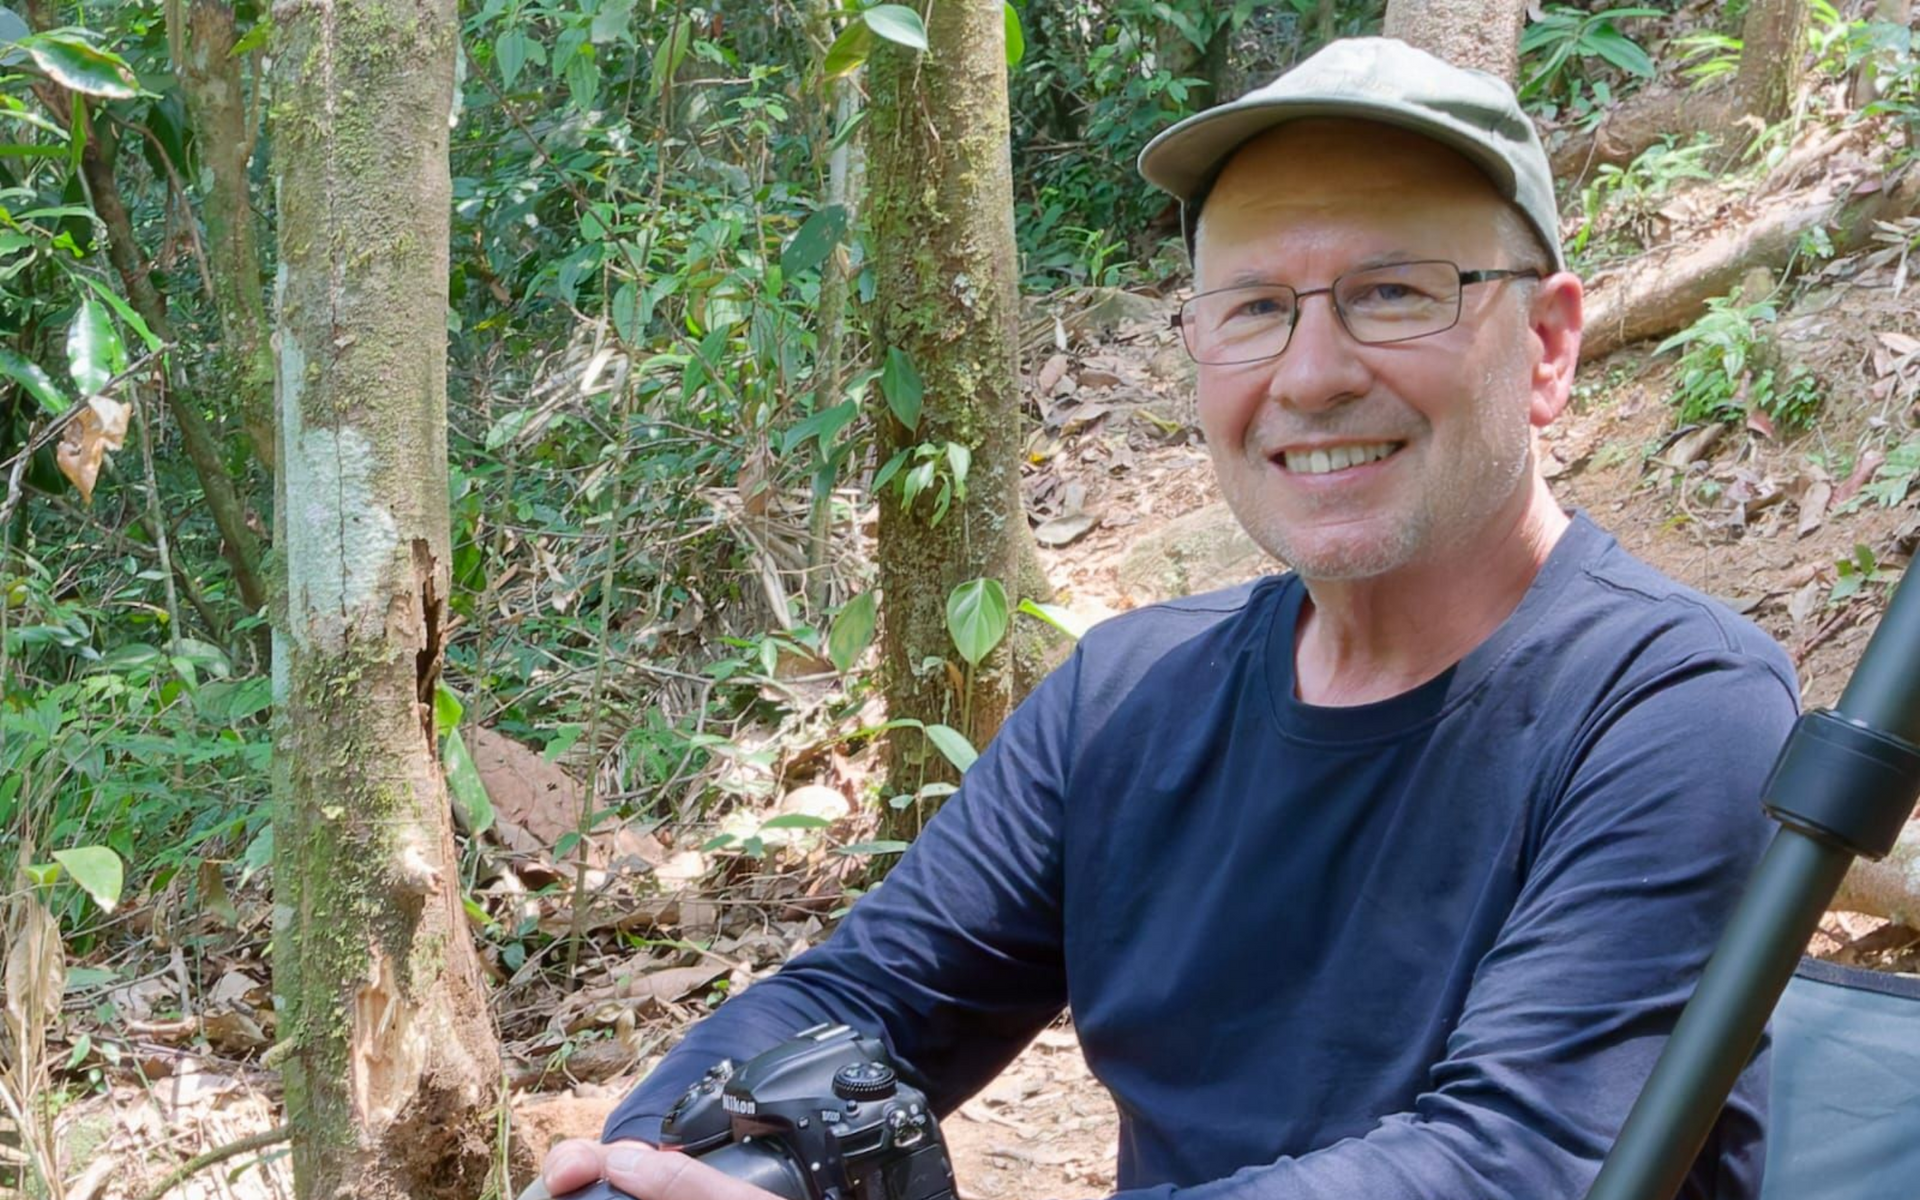
9. Equipment Considerations
While light is the most important factor, your equipment must be ready to make the most of it:
- Fast lenses with wide apertures for low-light situations.
- Camera bodies with good high-ISO performance.
- Monopods or tripods to stabilize shots in dim light.
10. Practice and Observation
Mastering natural light requires patience. Spend time observing how birds interact with sunlight in different habitats. Take note of shadows, highlights, and reflections to anticipate ideal shooting moments.
11. Post-Processing Considerations
Even with perfect lighting, minor adjustments in post-processing can enhance images. Adjust exposure, highlights, shadows, and white balance carefully to maintain a natural look without over-editing.
12. Conclusion
Natural light is your most powerful tool in bird photography. By understanding its quality, direction, and timing, and by adjusting your camera settings and positioning accordingly, you can capture stunning images in any South American environment. Traveling with Retorno Photo Tours gives you access to expert guidance and the best lighting conditions, ensuring that your bird photography is both efficient and creative.