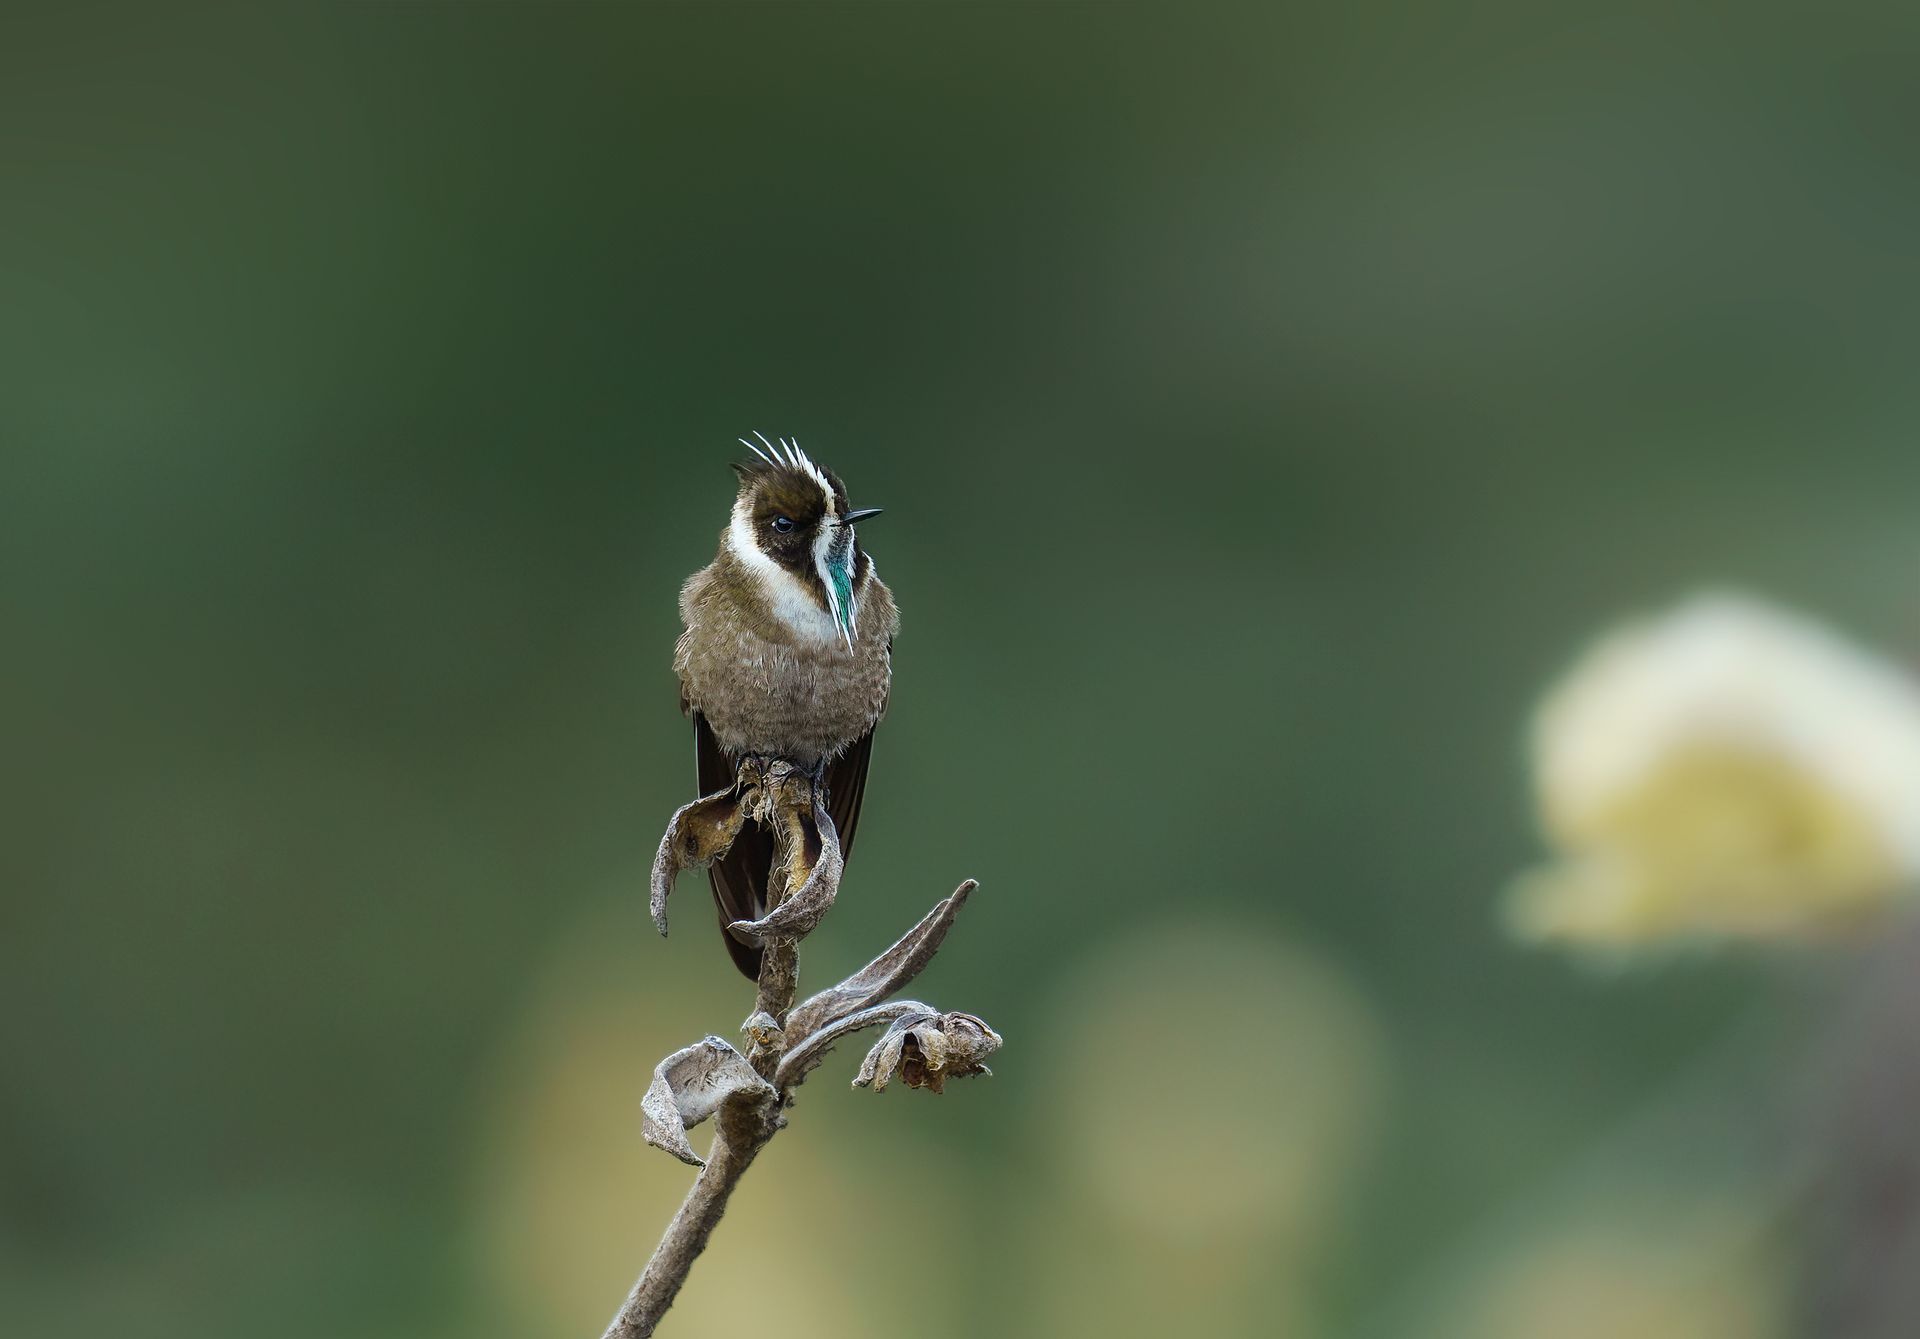

10 Best Wildlife Photography Backpacks for Expeditions
10 Best Wildlife Photography Backpacks to Consider
A backpack becomes part of your fieldcraft when you are carrying a 600mm lens up an Andean trail before dawn or climbing into a Pantanal boat at first light. The best wildlife photography backpacks protect expensive equipment, certainly, but their real job is to keep it accessible, balanced, dry, and comfortable enough that you stay focused on the Harpy Eagle, jaguar, or hummingbird in front of you.
For serious nature photographers, there is no single perfect pack. A backpack that excels on a short walk from a vehicle may be a poor companion on a humid, steep forest trail. The right choice depends on your longest lens, tripod habits, airline plans, terrain, and how much non-camera equipment you need to carry.
What Makes a Wildlife Photography Backpack Field-Ready
Long-lens capacity is the starting point. If you regularly travel with a 500mm or 600mm lens, look for a pack that can hold the lens attached to a camera body. Removing and mounting gear repeatedly in rain, dust, or a tight blind wastes valuable time and increases risk. Check the internal dimensions with your lens hood reversed and, if applicable, a teleconverter fitted. Product capacity claims can be optimistic.
Comfort matters just as much as padding. A supportive hip belt should transfer much of the load from your shoulders to your hips, while an adjustable torso system helps the pack sit correctly against your back. This is especially relevant on Colombia’s uneven mountain paths, where a poorly fitted 35-pound pack becomes exhausting quickly.
Weather protection should be practical rather than merely advertised. A rain cover is useful during a sudden shower, but it is not a complete answer in persistent tropical rain. Look for durable fabric, protected zippers, a well-constructed base, and camera access that does not expose the whole interior every time you need a lens. No backpack is fully waterproof once opened in a downpour, so dry bags and a simple pack liner remain sensible insurance.
Finally, consider how you work. Rear-panel access is secure and keeps the harness off wet ground, while side access can be faster when a bird appears at eye level. A dedicated laptop section may matter on an international journey but adds bulk in the field. The best design is the one that supports your shooting rhythm without becoming a complicated storage puzzle.
10 Best Wildlife Photography Backpacks to Consider
1. Think Tank MindShift BackLight Elite 45L
The BackLight Elite 45L is a strong choice for photographers who hike with substantial equipment and need room for layers, water, and food. Its rear-panel camera access is excellent on muddy ground, and its outdoor-oriented suspension suits demanding full-day walks. It is a large bag, however, so confirm airline carry-on rules before traveling.
2. Think Tank StreetWalker HardDrive V2.0
For photographers whose priority is protecting a long lens and multiple camera bodies during travel, the StreetWalker HardDrive is a dependable option. Its tall, straightforward layout handles big glass well, and the build quality inspires confidence. It is less ideal for long backcountry hikes because the outdoor storage and suspension are more limited than on expedition-focused packs.
3. f-stop Tilopa DuraDiamond 50L
The f-stop Tilopa is built for the photographer who wants a true mountain backpack with a configurable camera insert. It offers generous space for rain gear, food, and overnight essentials, making it valuable on remote expeditions with changing conditions. The modular system takes time to organize properly, and it can feel oversized for a simple roadside birding session.
4. Shimoda Action X50 v2
Shimoda has earned a loyal following among photographers who travel internationally and work in rugged terrain. The Action X50 v2 combines a capable hiking harness with customizable camera cores and useful external carry options. Its balance of comfort and access makes it particularly appealing for wildlife photographers who move between airports, vehicles, boats, and trails on the same trip.
5. Lowepro Whistler BP 350 AW II
The Whistler BP 350 AW II is designed around harsh weather and active outdoor use. Its structured protection, durable materials, and external attachment options work well for photographers carrying a tripod, outer layers, and a moderate long-lens setup. Internal space can become tight with a large prime lens, so test the fit before committing.
6. Gura Gear Kiboko 2.0 30L+
The Kiboko 2.0 is a travel-friendly wildlife pack with a smart butterfly opening that lets you access one side of your kit while keeping the other protected. It is impressively light for the capacity and works particularly well for photographers carrying two bodies and several lenses. Its harness is comfortable for moderate distances, though it is not the first choice for a heavy all-day mountain load.
7. Atlas Athlete Pack
The Atlas Athlete Pack is a compelling option for photographers who want to adjust internal space without relying on fixed camera cubes. Its modular divider system can shift from a lens-heavy setup to a mixed camera-and-clothing load quickly. That flexibility is useful on a varied itinerary, but photographers who prefer rigid, predefined organization may find it less intuitive.
8. NYA-EVO Fjord 60-C
For major expeditions, the Fjord 60-C provides serious carrying capacity, a supportive frame, and modular camera protection. It is designed for people who need to move beyond the lodge with telephoto gear, clothing, water, and field essentials. Its size is the trade-off: this is a purpose-built expedition pack, not a discreet day bag for urban travel.
9. WANDRD PRVKE 41L
The PRVKE 41L is a versatile travel backpack that can work well for photographers splitting time between flights, hotels, and short wildlife outings. Its clean shape and expandable design make it easy to live with, while camera cubes offer flexible protection. For large lenses and demanding hikes, dedicated outdoor photography packs still have the advantage.
10. Peak Design Travel Backpack 45L with Camera Cube
For photographers who prefer one carry-on system for clothing and camera gear, the Peak Design Travel Backpack is a capable solution. It is especially useful when a trip includes city connections before heading into the field. Its harness and external carry are less specialized than those of a true wildlife backpack, so treat it as a travel-first choice rather than an expedition-first one.
Choose Capacity Around Your Longest Lens
Avoid buying a larger pack simply because it has more compartments. Extra volume invites extra weight, and wildlife photography already demands discipline. For a 100-400mm or 200-600mm zoom, a 25- to 35-liter pack can be enough for a day in the field. A 500mm or 600mm prime, two bodies, flash, tripod, rain gear, and water often push the requirement toward 40 liters or more.
Air travel creates another decision. Many photographers carry bodies, lenses, batteries, and drives in the cabin, then check clothing and nonessential accessories. A bag that meets carry-on dimensions when lightly packed may exceed weight limits once loaded with fast [telephoto lenses](https://www.retornophototours.com/mastering bird photography with long lenses). Plan for the airline rules you will actually face, including smaller regional flights.
Pack for the Photograph, Not Every Possibility
A good field layout keeps the working kit simple: camera with primary lens, a second body if you use one, a wider lens for habitat or close subjects, spare batteries, cards, rain protection, cleaning cloths, and water. Put the items needed quickly in consistent locations. When a perched Andean Cock-of-the-rock suddenly drops into view, you should not be searching through cables and snack wrappers.
Tripods deserve special attention. A side-mounted tripod can make a backpack pull to one side, especially on steep ground. Secure it tightly, use counterbalance when the design allows, and remove it before scrambling or boarding a small boat. In wet environments, keep silica gel packets and a small absorbent towel in the pack, but do not seal damp gear away for hours without a chance to air it out.
Fit the Pack Before the Expedition
Load your intended equipment and wear the backpack for at least 30 minutes before departure. Adjust the hip belt first, then shoulder straps, load lifters, and sternum strap. The pack should feel close to your body, with the weight centered and no sharp pressure on your shoulders or lower back.
A backpack is not merely a way to transport cameras. It determines how far you can walk, how calmly you can work in rain, and whether your equipment is ready when an extraordinary subject appears. Choose the pack that matches your real field days, then let the landscape, light, and wildlife carry the adventure forward.
Scheduled Tours
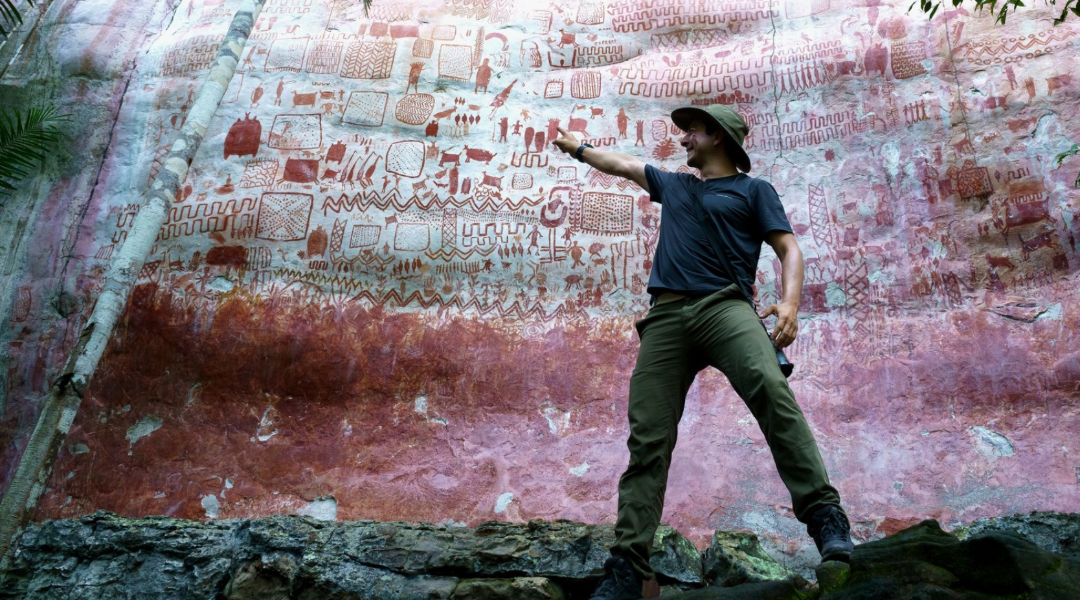
The road to Chiribiquete, Colombia's Western Amazon.
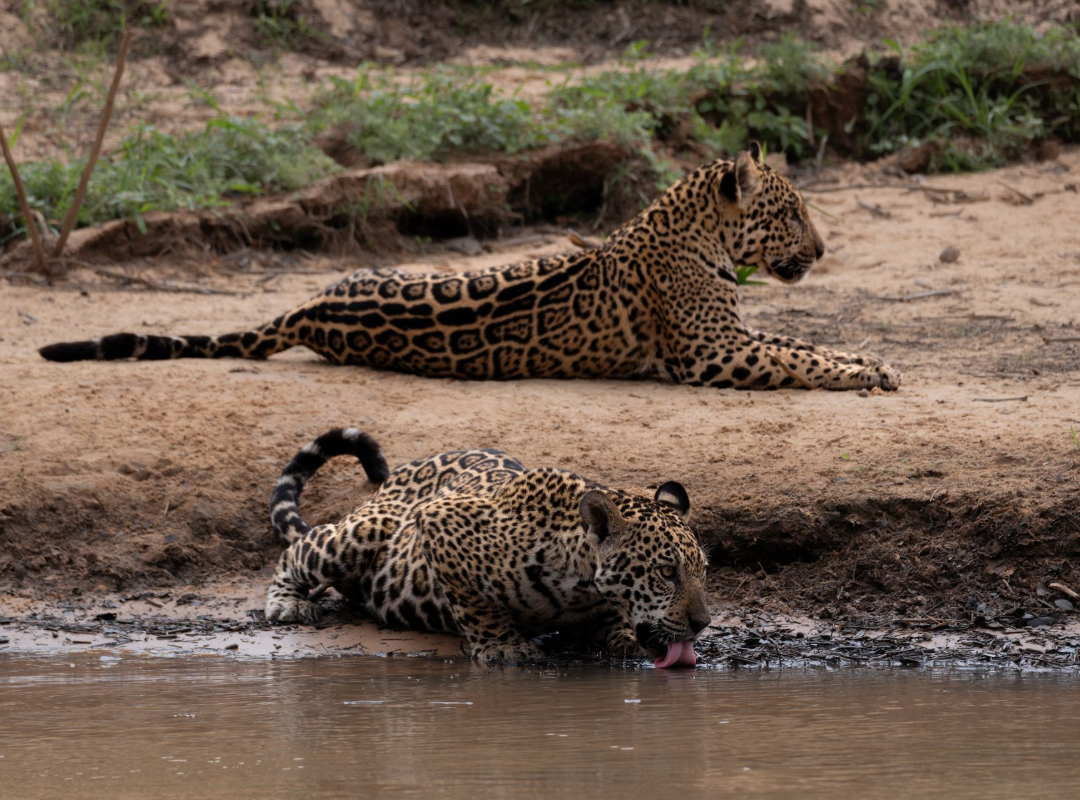
Jaguars Safari, Pantanal - Brazil.
Amazon's Guiana Shield Specialties. Mitu-Vaupes.
Emblematic Birds Photo Tour, Coffee Triangle.