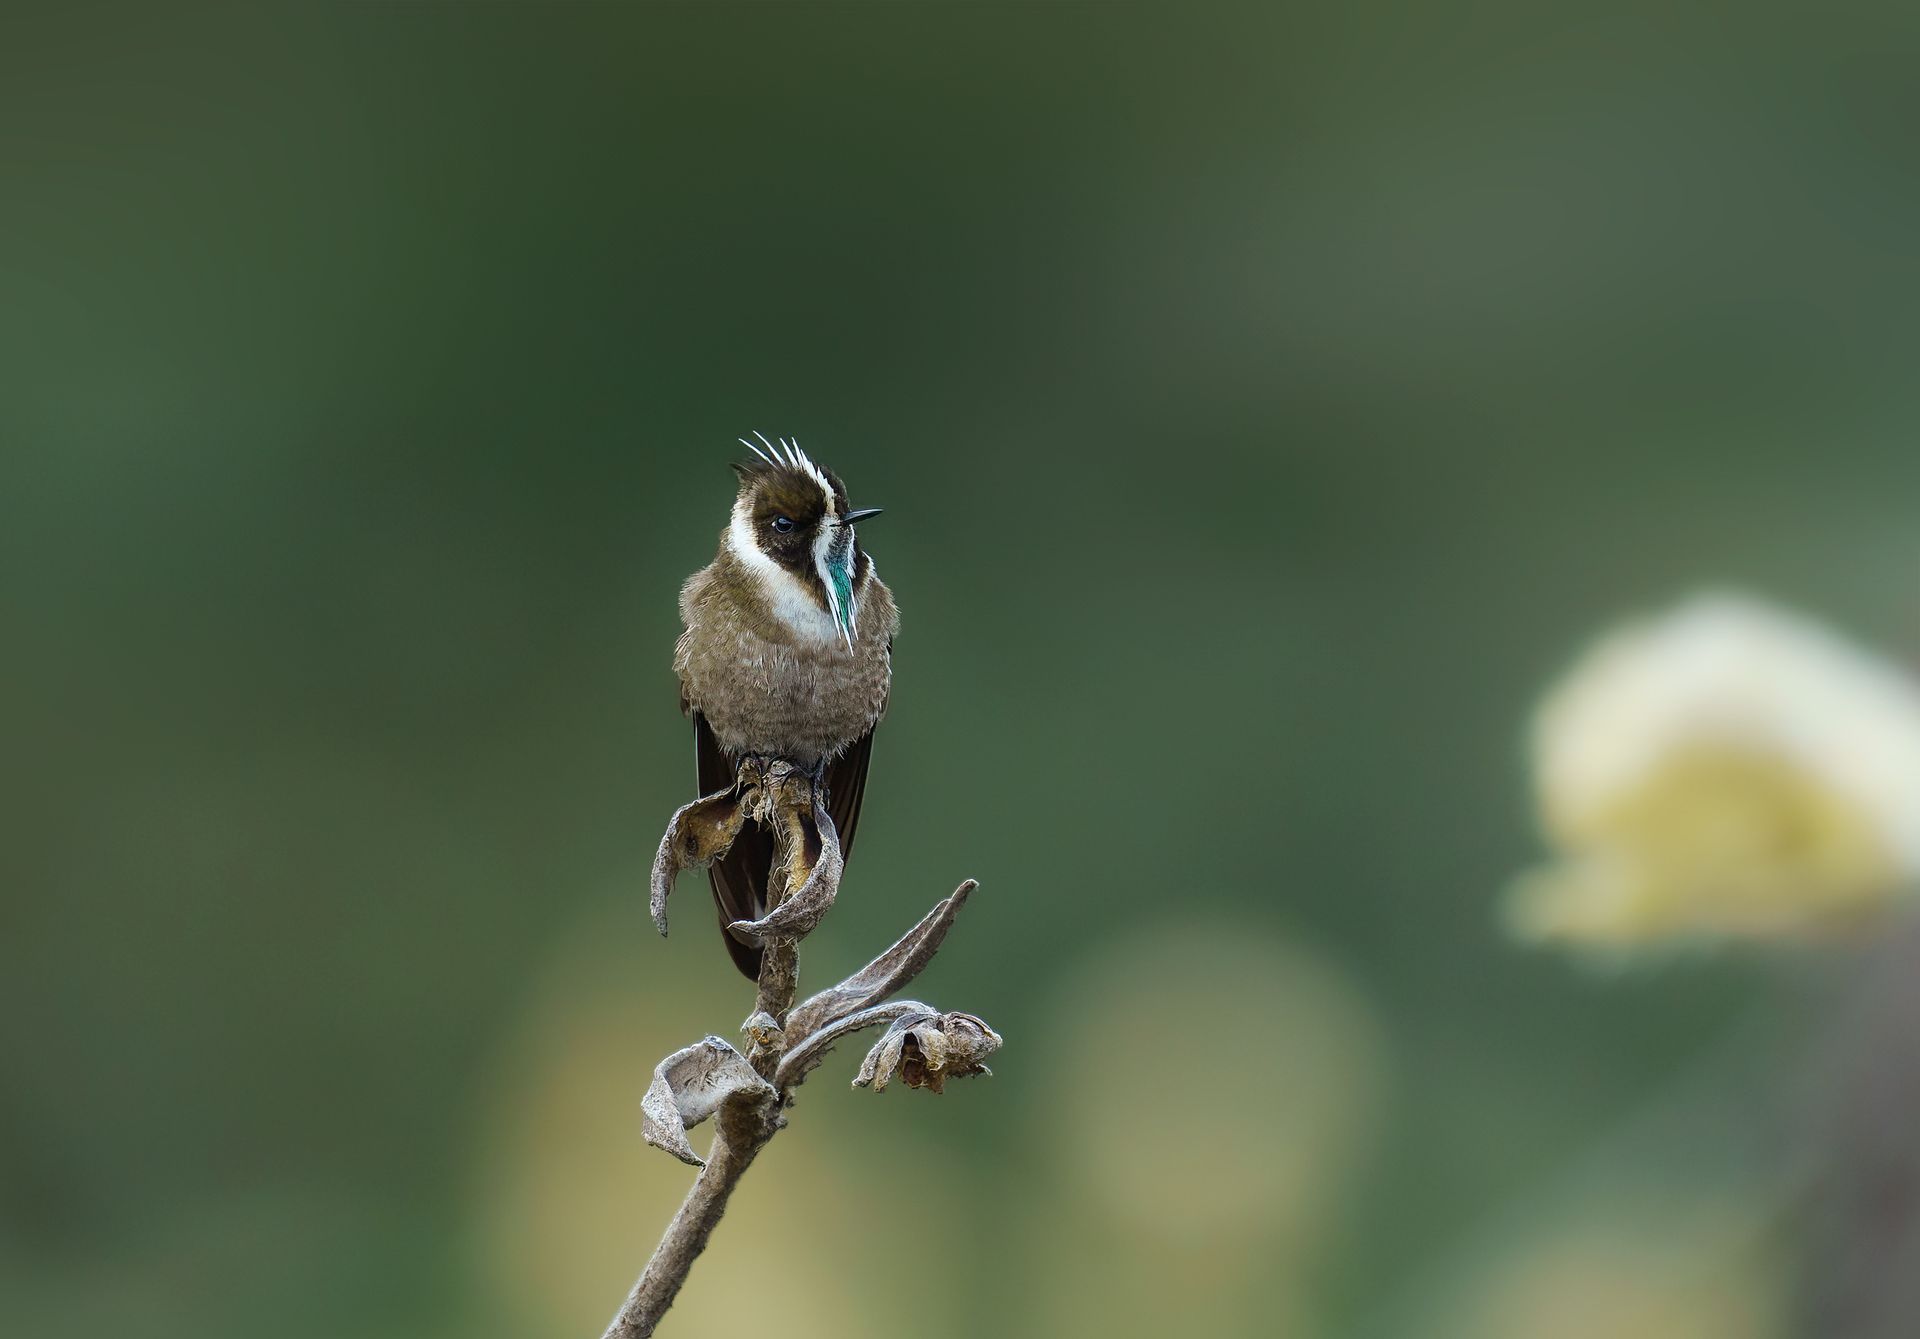

How to Photograph Birds in Flight With Confidence
Practice Where Failure Costs Nothing
A swallow cuts across the frame, sunlight catches its wing, and it is gone before you can think about exposure. To photograph birds in flight well, you need more than a fast camera or a long lens. You need a repeatable field process that lets you anticipate the bird, acquire focus quickly, and keep your composition alive as the moment unfolds.
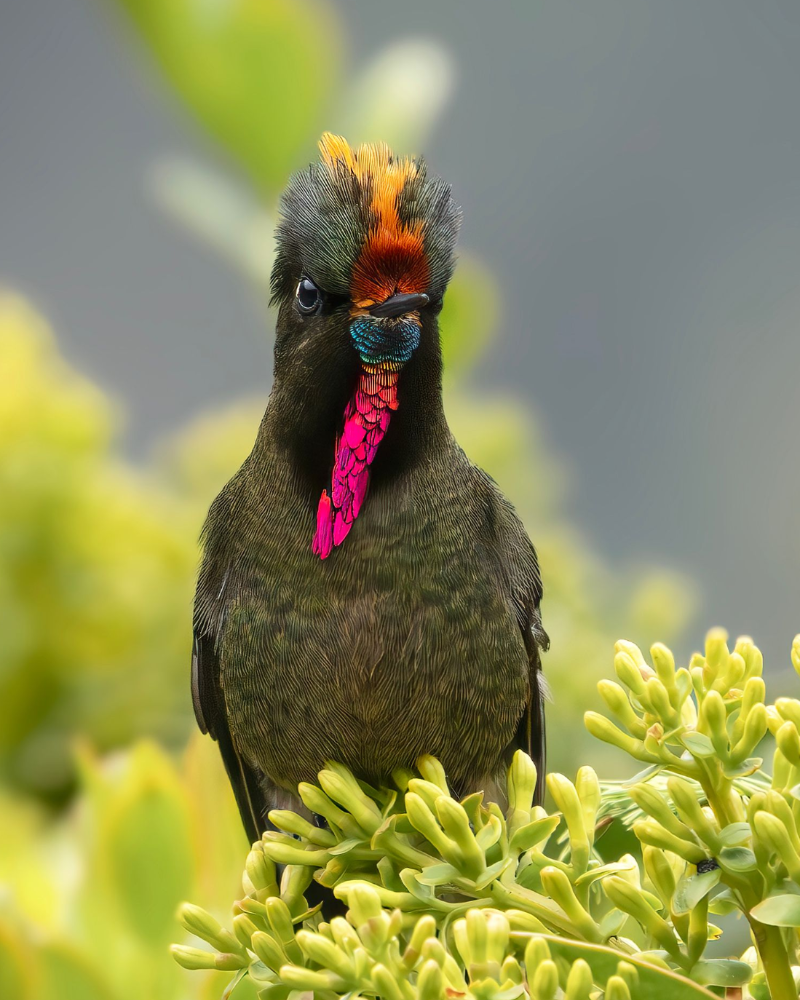
The reward is worth the practice. A sharp flight image can reveal the power of an Andean condor riding a thermal, the jewel-like detail of a hummingbird hovering at a flower, or the intensity of a raptor carrying prey. These photographs feel alive because they capture behavior, not just appearance.
Start With Settings That Protect the Moment
Birds move fast, but not all flight requires the same settings. A Black Skimmer flying low over a river, a tanager crossing a forest opening, and a hovering hummingbird each demand a different approach. Start with a shutter speed that matches the action, then adjust from there.
For larger birds gliding or soaring, 1/1600 second is often enough to hold a sharp head and body. For flapping birds, begin around 1/2500 second. Small, quick species and hummingbirds may require 1/3200 to 1/5000 second if your goal is to freeze the wings. There is a creative trade-off: lowering the shutter speed to around 1/100 or 1/250 second can create intentional wing blur while keeping the head sharp, but it takes steady panning and many attempts.
Use continuous autofocus with bird or animal subject detection if your camera offers it. Set the drive mode to continuous high speed, and use back-button focus if it feels natural in your hands. The goal is to separate focusing from the shutter release, so you can keep tracking while choosing exactly when to make frames.
Auto ISO is useful when light changes quickly, especially along forest edges or in mountain valleys. Set a minimum shutter speed, choose the widest aperture your lens can handle with acceptable sharpness, and establish a reasonable maximum ISO based on your camera. A slightly noisy image with a sharp eye is far more valuable than a clean but blurred file.
Aperture and depth of field
A wide aperture helps isolate a bird from a distant background and preserves shutter speed in dim conditions. With a [500mm or 600mm lens](https://www.retornophototours.com/mastering bird photography with long lenses), f/4 to f/5.6 is often excellent for an approaching bird against a clean sky. Yet wide open is not always best.
When a bird is banking toward you, depth of field becomes very thin. Stopping down to f/6.3 or f/7.1 can give the head, eye, and near wing a better chance of falling within the sharp zone. The right aperture depends on distance, angle, background, and how much light the habitat gives you.
How to Photograph Birds in Flight: Read the Bird First
The strongest flight photographs are rarely accidents. Before raising the camera, watch how the bird uses its space. Does it leave a perch in one direction? Does it repeatedly circle a fruiting tree? Is a raptor gaining height on a thermal, or does it return to the same exposed snag after hunting?
Birds follow patterns. A kingfisher may use a familiar fishing perch. Vultures and condors often rise as the air warms. Hummingbirds may defend a favored flower patch, while macaws frequently travel along predictable routes between roosting and feeding areas. Learn the route, choose a background, and be ready before the bird enters your ideal zone.
This is particularly valuable in Colombia, where an extraordinary number of species live within dense vegetation. In a cloud forest, you may have only a narrow opening between branches. In the Llanos, the challenge may be tracking a bird against bright grasslands and a changing sky. Fieldcraft gives you more than technical knowledge ever can.
Position for light, background, and behavior
Place yourself so the bird is likely to be front-lit or side-lit, not silhouetted, unless silhouette is your deliberate creative choice. Early morning and late afternoon light adds shape to feathers and warmth to the scene. Midday can still work for soaring birds, especially where dramatic clouds or blue sky support the composition.
Background matters as much as the subject. A distant hillside, shaded forest, or open water can turn a difficult flight frame into a clean, graphic image. Avoid shooting from directly below whenever possible. A small change in elevation, such as photographing from a slope, hide, boat, or lookout, can put you closer to eye level and replace blank sky with a richer backdrop.
Leave room in front of the bird. This simple habit gives the subject somewhere to fly and makes the frame feel intentional. For a bird approaching directly, center composition is often appropriate. For a bird moving across the scene, place it toward one side and allow space in the direction of travel.
Acquire Focus Without Chasing the Bird
A long lens magnifies every movement, including your own. Start tracking early and use both eyes when possible: one through the viewfinder, the other open to keep track of the bird's path. This makes it easier to find a subject after it slips outside the frame.
When a bird appears, aim at the body first. The body is a larger target than the eye and gives autofocus a clearer shape to recognize. Once the system locks on, keep the focus point near the head as you follow the bird. Avoid frantic corrections. Smooth movement produces better framing and gives autofocus time to stay with the subject.
Handholding offers the greatest freedom for fast and unpredictable flight. It is often the best choice for hummingbirds, passerines, and birds flying close to you. A gimbal head and tripod can be excellent for larger birds on known routes, distant raptors, or long sessions where fatigue becomes a real limitation. Neither setup is universally better. Choose the one that lets you react to the behavior in front of you.
Use short bursts rather than holding the shutter through an entire pass. A burst of three to eight frames near the best wing position reduces card clutter and makes editing more manageable. Watch for a clear eye, wings that do not block the face, and separation between the bird and distracting branches.
Practice Where Failure Costs Nothing
Flight photography improves through repetition. Begin with common birds in open spaces: gulls, pigeons, herons, swallows, ducks, or local raptors. They allow you to practice tracking, exposure, and panning without the pressure of a once-in-a-lifetime species encounter.
Review your files with purpose. If the background is sharp but the bird is not, your shutter speed may be too low or focus may have slipped. If the head is sharp but the wings are blurred, decide whether that blur works creatively. If every bird is centered and surrounded by empty sky, work on anticipating direction and reframing earlier.
Do not judge a session by your keeper rate alone. A difficult morning may teach you that your autofocus area is too large for cluttered forest, that your lens is too heavy to handhold comfortably, or that a certain overlook produces backlight after 8:30 a.m. Those observations become advantages on the next outing.
Keep the Photograph Ethical
A powerful bird image should never come at the bird's expense. Stay on established trails where possible, give nesting birds generous distance, and never block a bird's route to food, water, offspring, or shelter. If a bird changes its behavior because of your presence, you are too close.
Avoid baiting, playback, and artificial perches unless local regulations, scientific purpose, and expert guidance clearly support their use. These methods can alter behavior and add stress, particularly for rare, territorial, or breeding species. Respect is not a limitation on photography. It is the foundation of photographs you can be proud to share.
On guided expeditions, local knowledge helps protect both wildlife and opportunity. Experienced naturalists can recognize warning behavior, identify sensitive habitats, and position a group so every photographer has a chance without crowding the subject. At Retorno Photo Tours, that balance between photographic ambition, community relationships, and habitat care is part of the journey.
The next bird that crosses your path will not wait for perfect settings. Set a [strong starting exposure](https://www.retornophototours.com/best camera settings for bird photography: a guide for beginners and experts), study its route, keep your movements calm, and trust the practice you have built. Then let the bird bring the final, unforgettable element to the frame.
Scheduled Tours
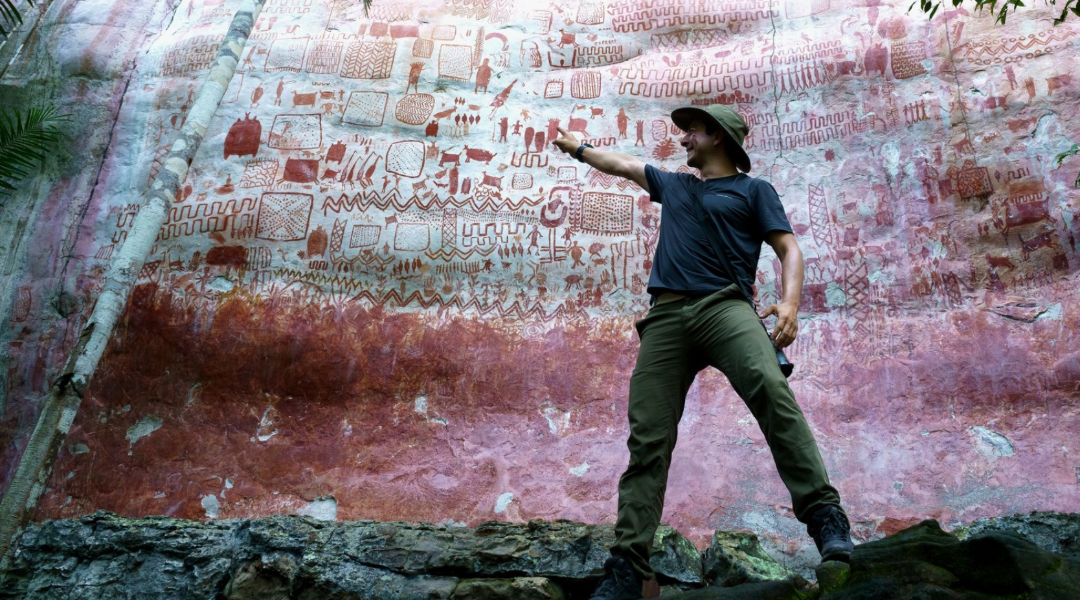
The road to Chiribiquete, Colombia's Western Amazon.
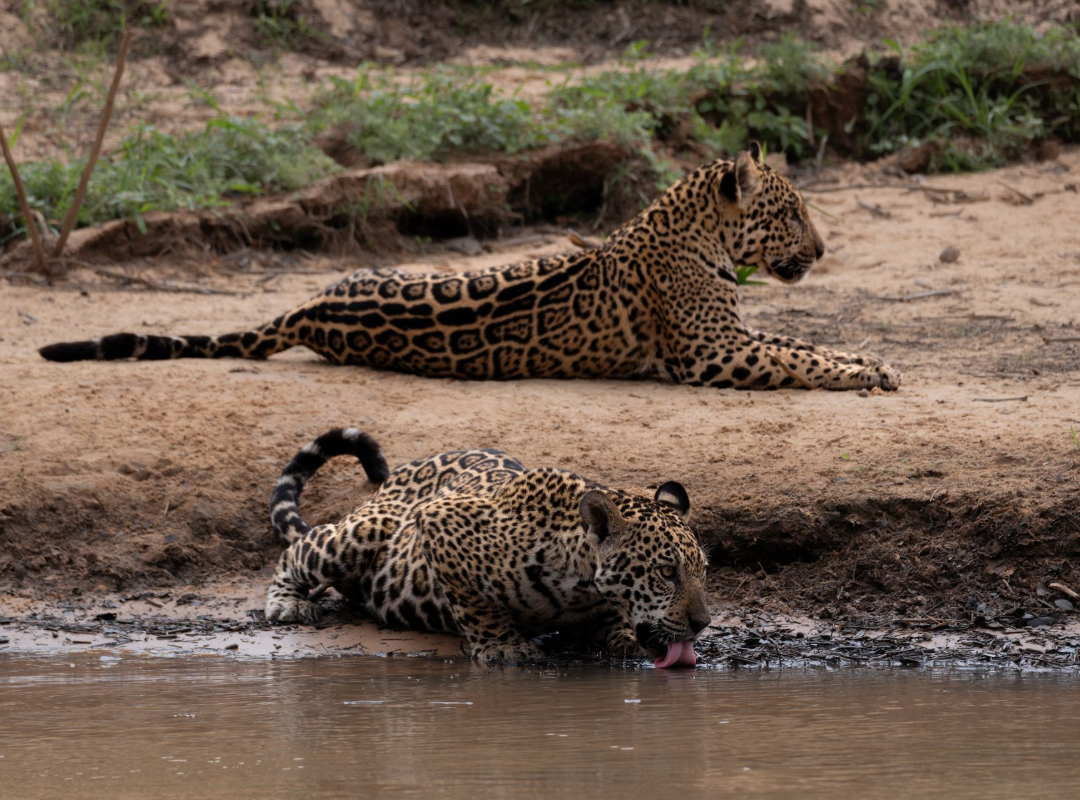
Jaguars Safari, Pantanal - Brazil.
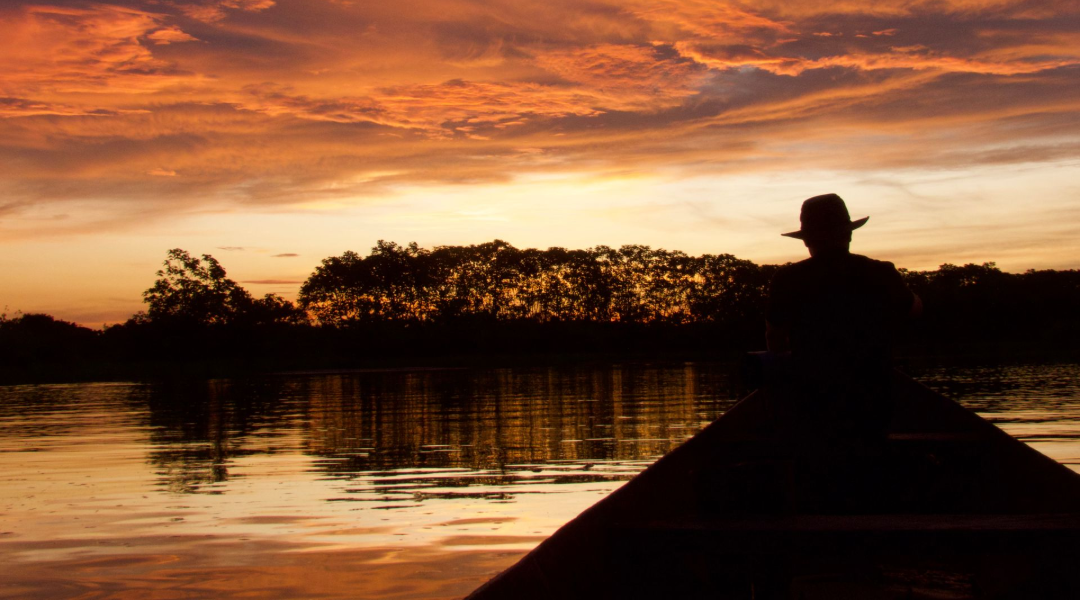
Amazon's Guiana Shield Specialties. Mitu-Vaupes.
Emblematic Birds Photo Tour, Coffee Triangle.