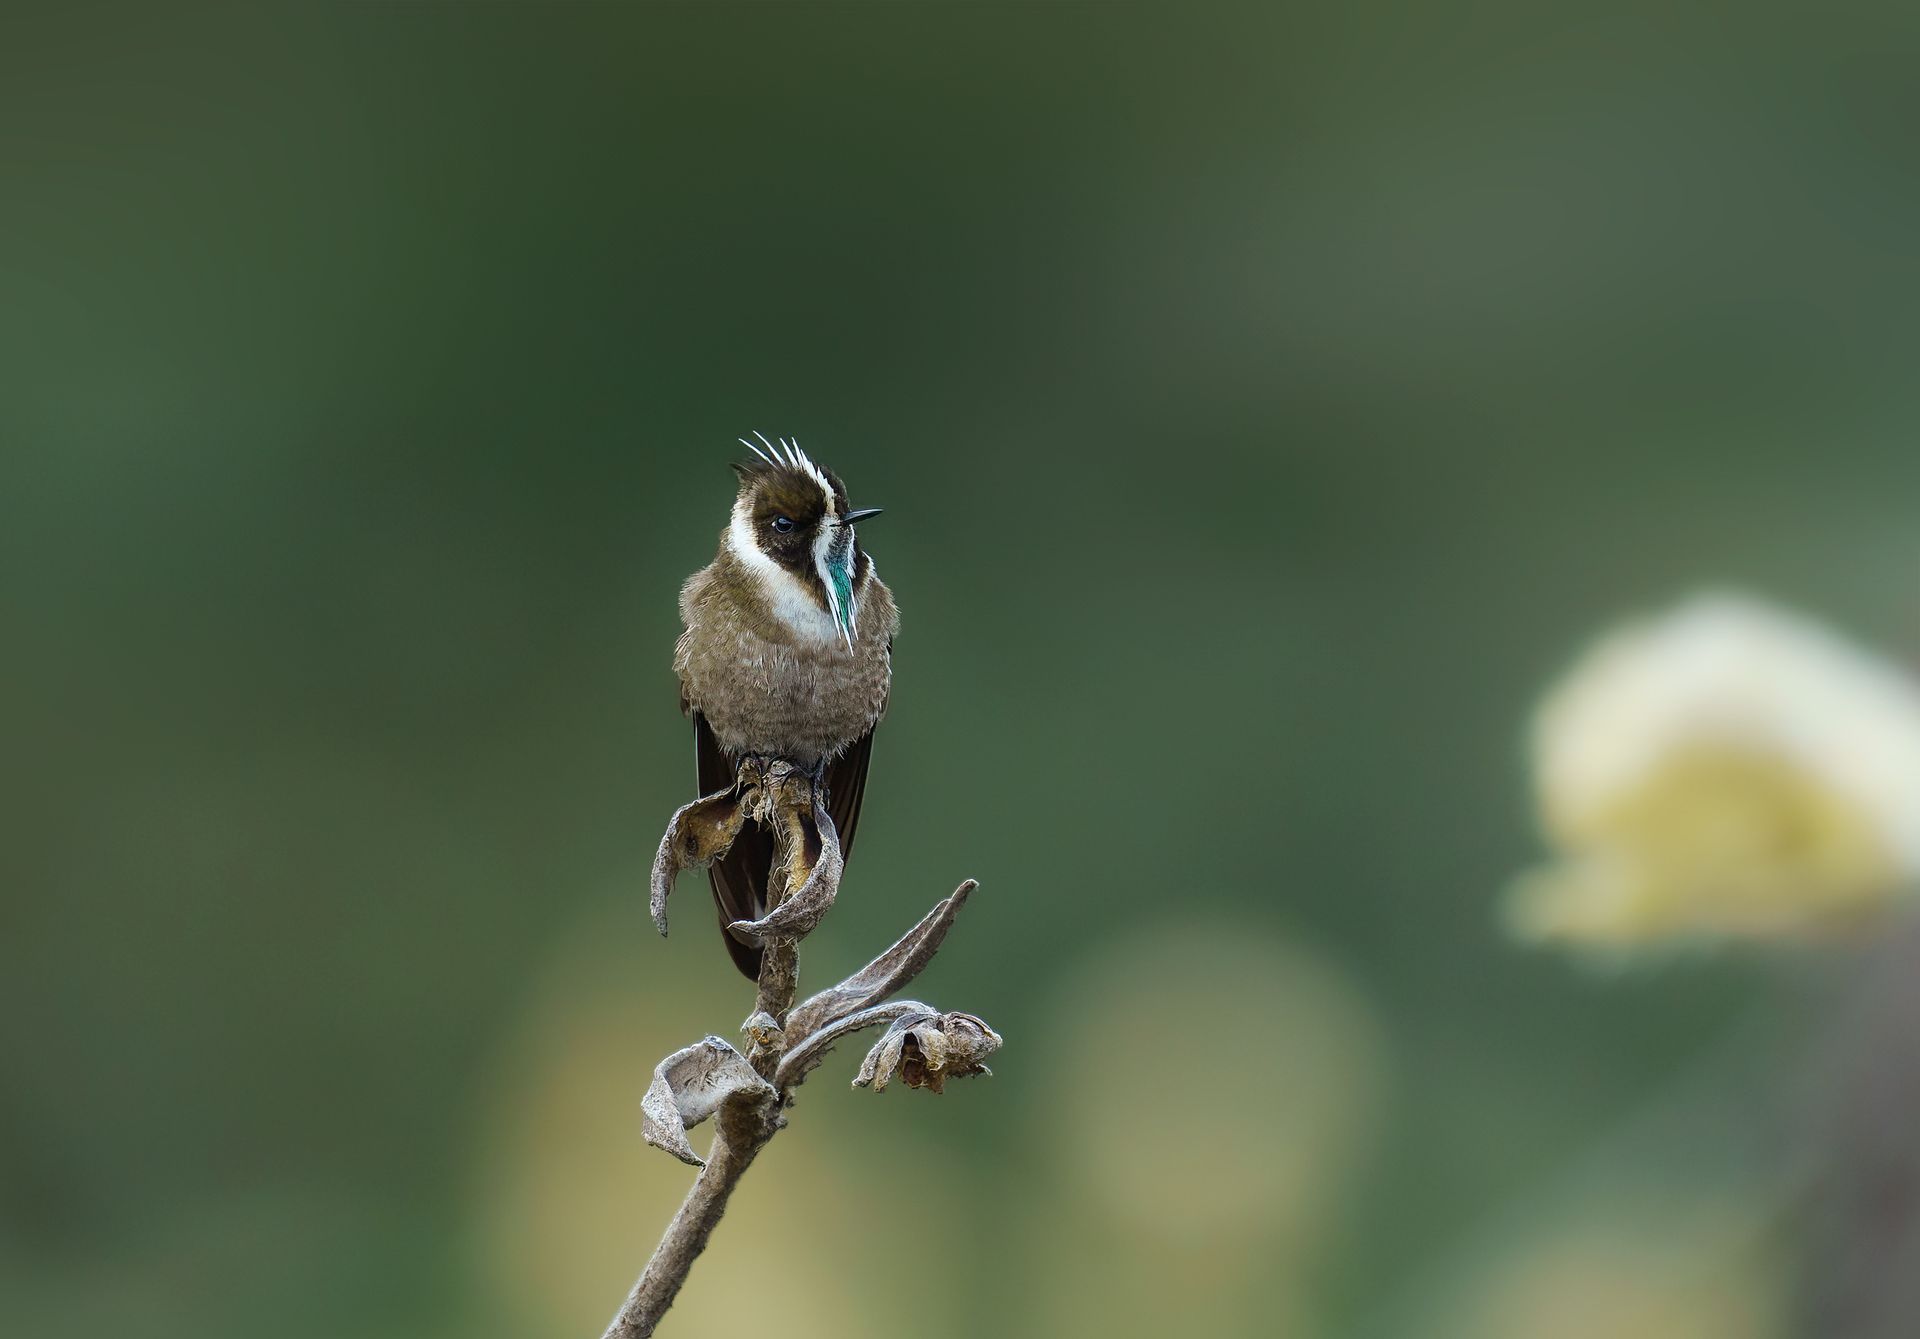

Make the Right Hummingbird Lens Choice in the Field
Prime Lens or Zoom Lens?
A hummingbird can occupy only a small part of the frame, then suddenly hover at arm’s length in a shaft of mountain light. That is why hummingbird lens choice is less about finding one “best” focal length and more about matching your lens to the working distance, background, light, and images you hope to make. In Colombia, a single morning may move from sheltered feeder stations to dim cloud forest trails, and the right answer can change with it.
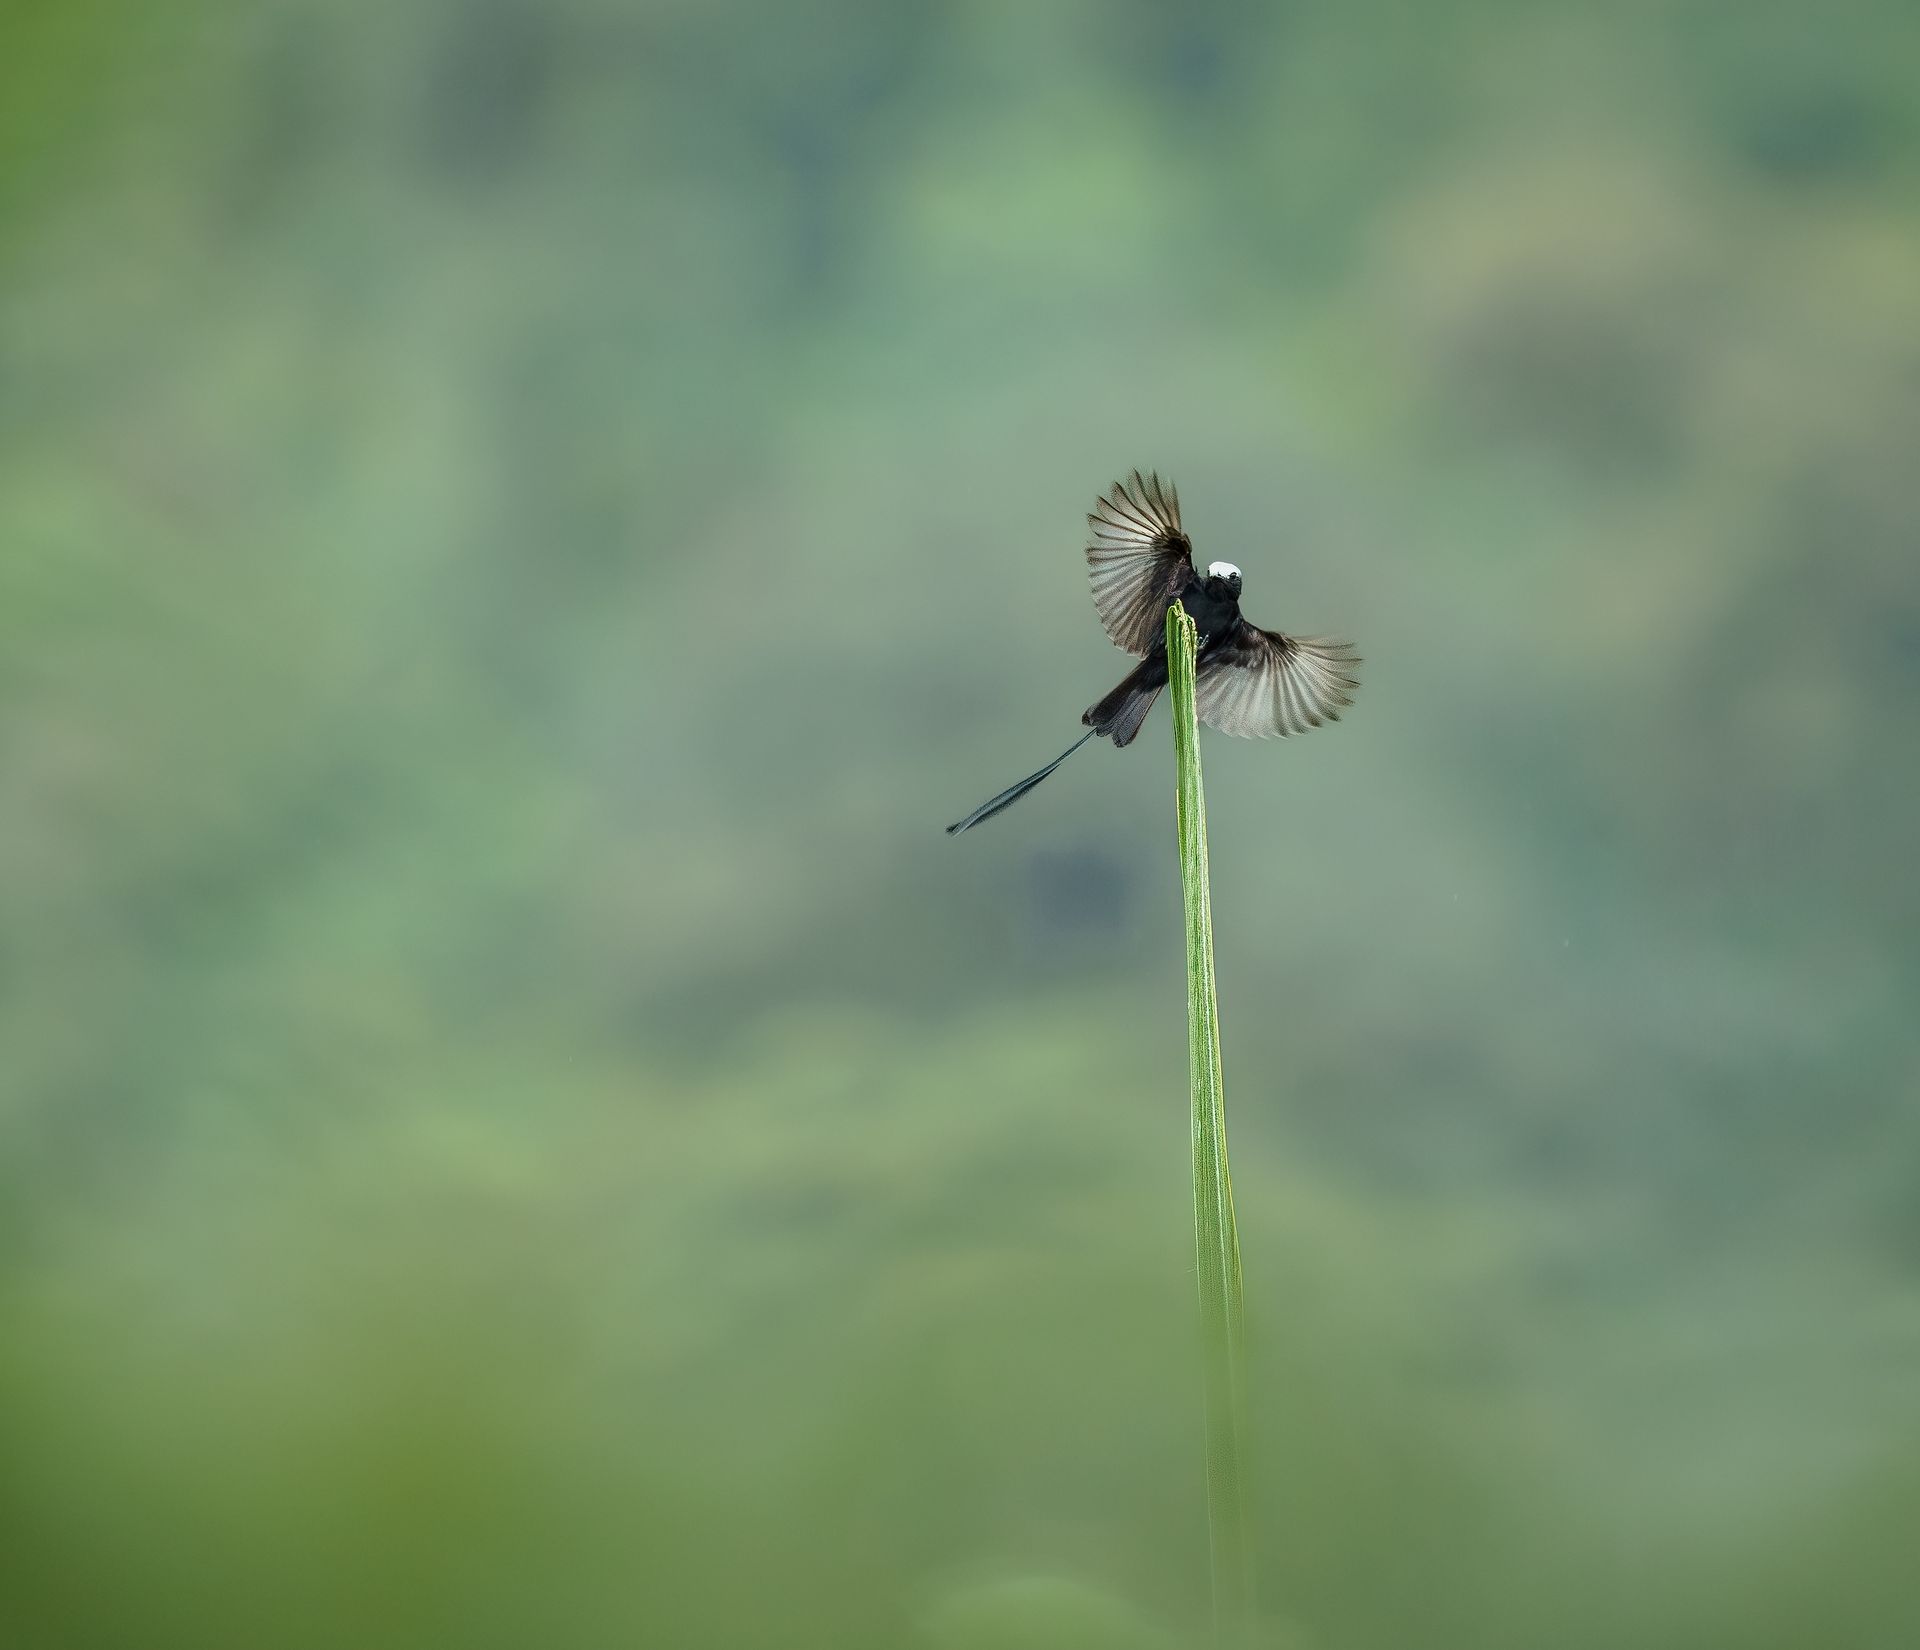
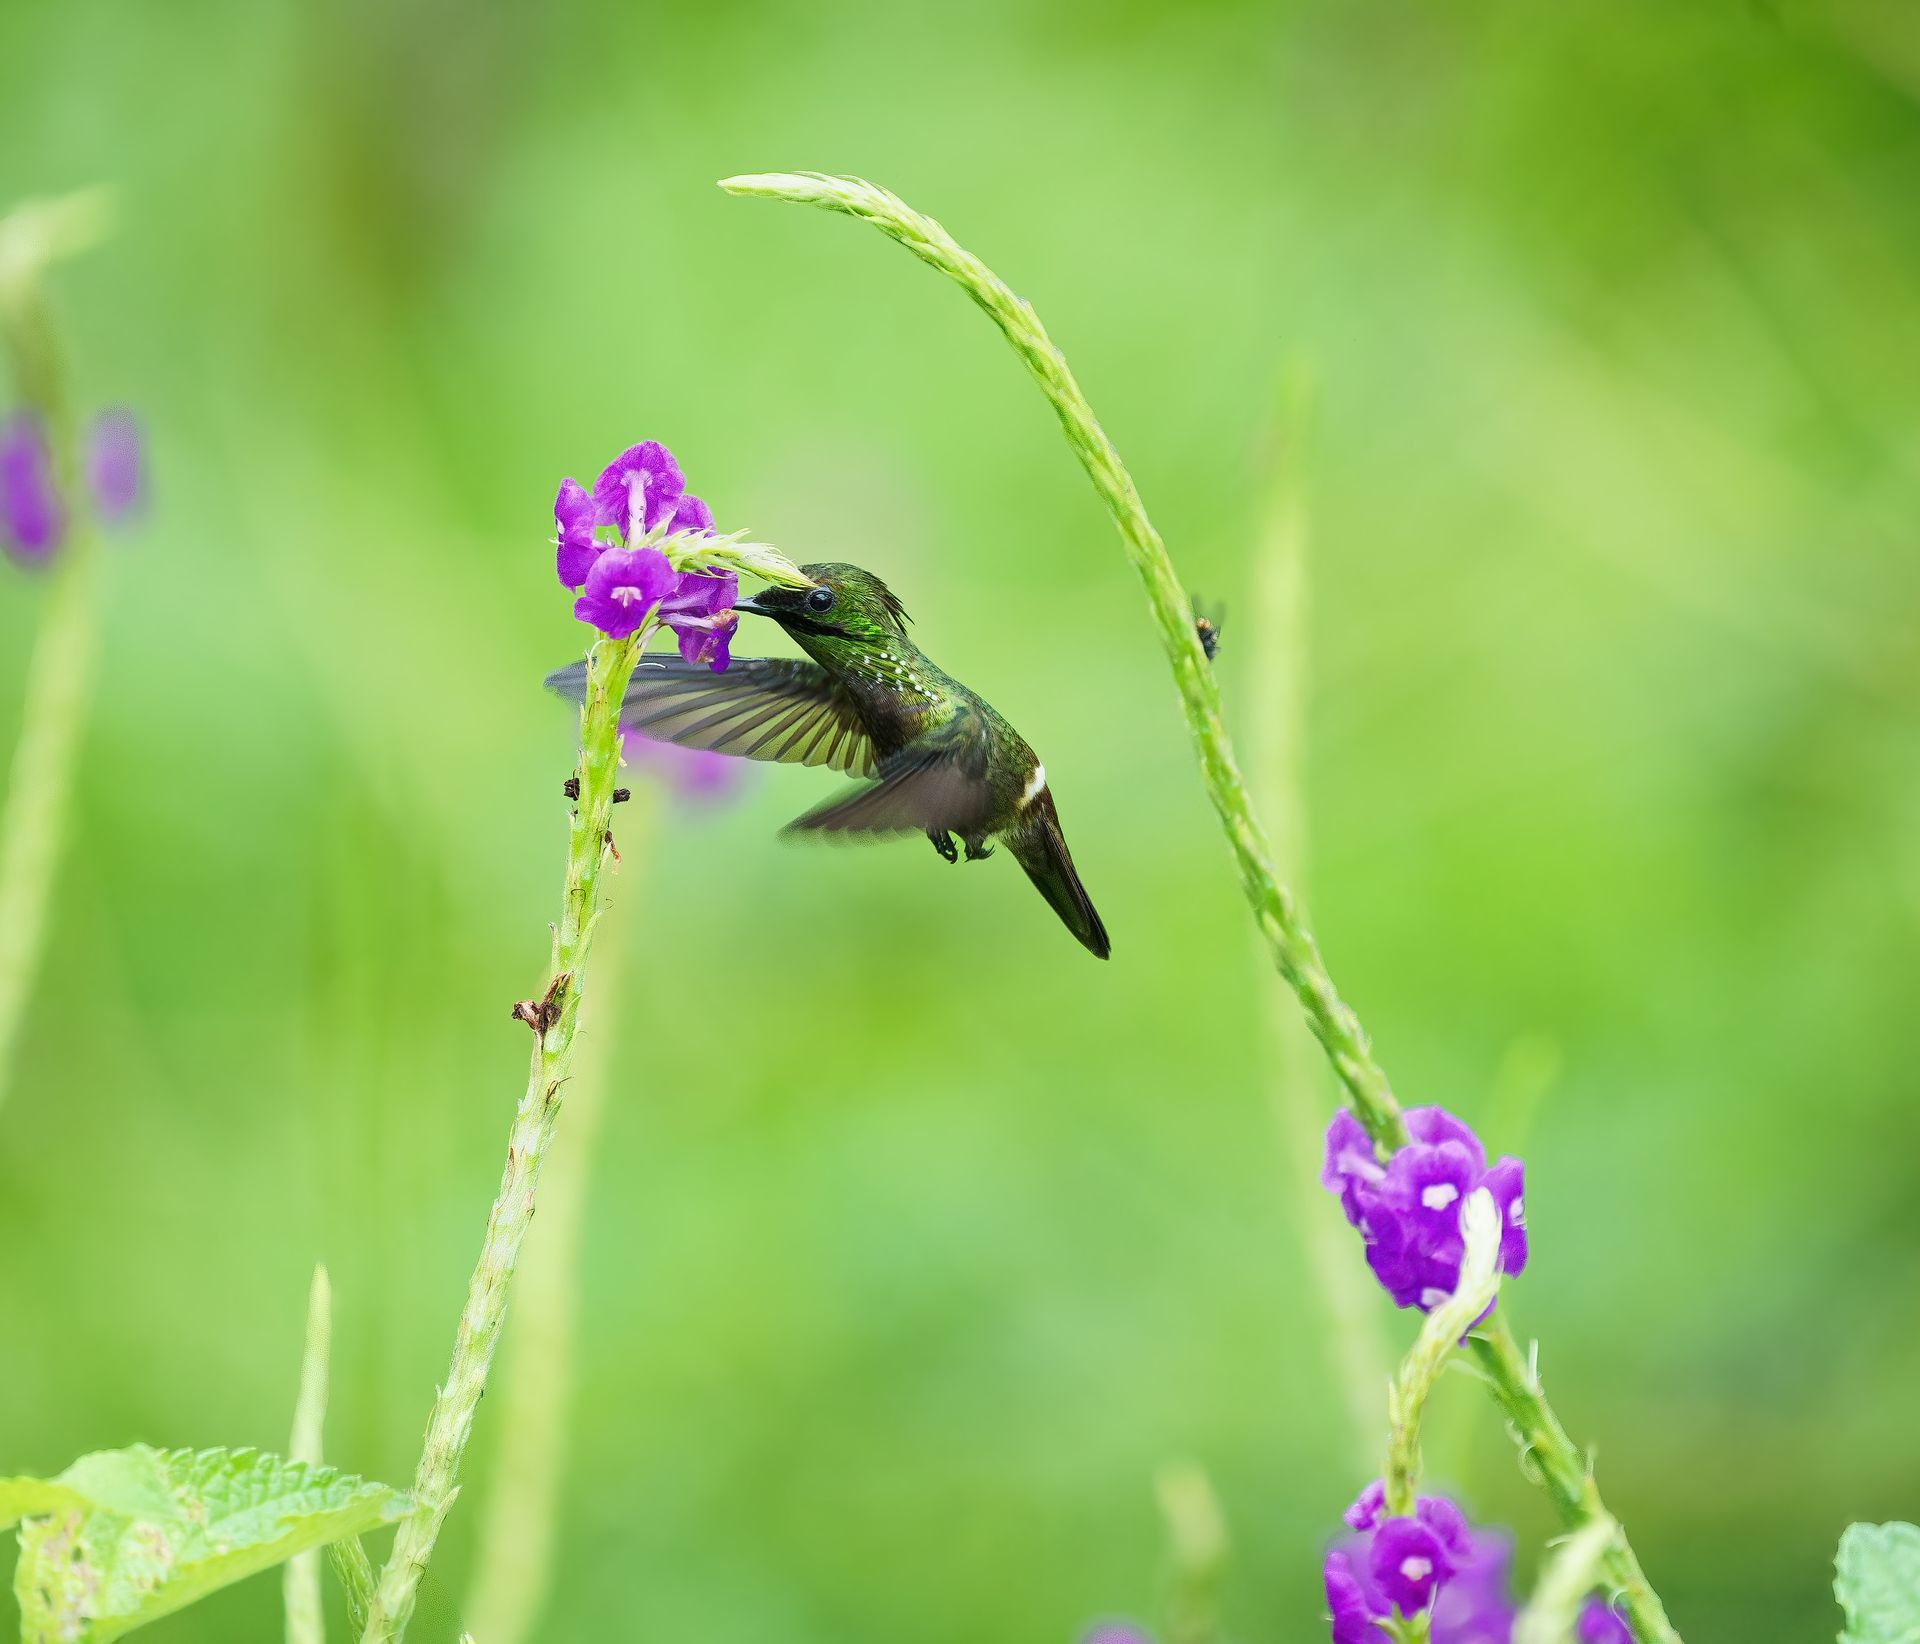
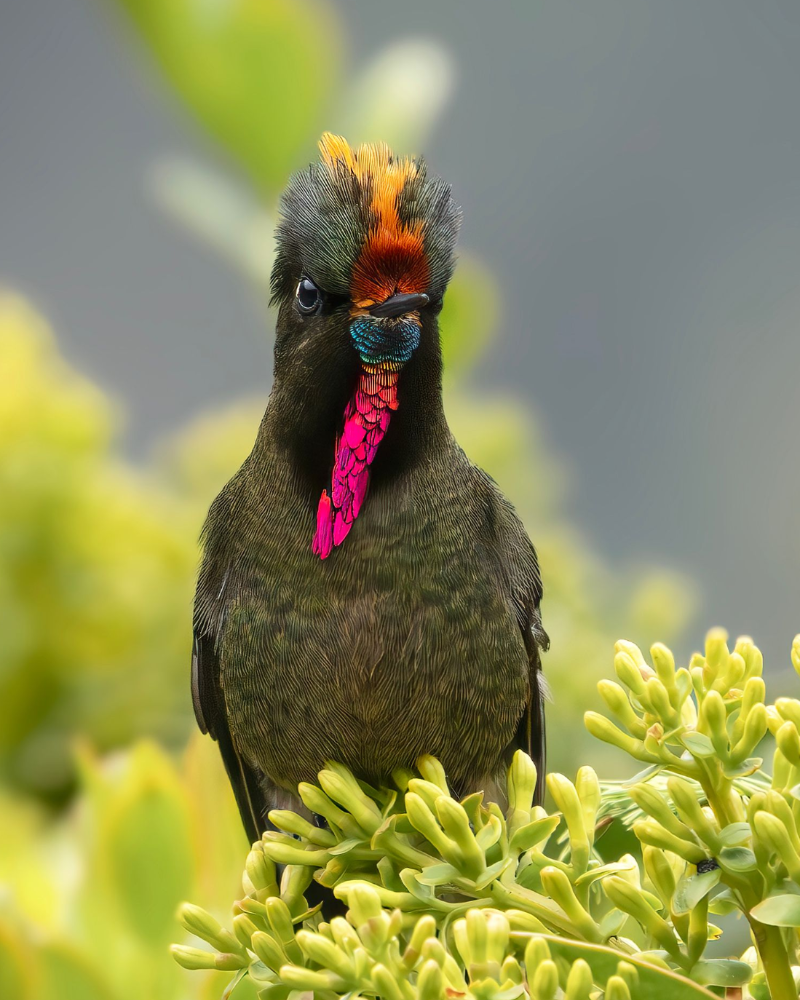
For serious bird photographers, the goal is not merely a record shot. It is clean feather detail, a purposeful wing position, a pleasing background, and enough flexibility to respond when a Green Thorntail, Long-tailed Sylph, or White-necked Jacobin appears where you did not expect it.
Start With the Photograph You Want
Before comparing focal lengths, decide what kind of hummingbird portfolio you are building. Tight head-and-shoulder portraits reward reach and fine optical detail. Environmental images, with flowers and a sense of the Andean forest, need a wider view and more room around the bird. Flight work depends heavily on autofocus performance, flash technique when appropriate and permitted, and a lens that can acquire a tiny, fast-moving subject quickly.
A long lens is not automatically the stronger choice. At a feeder where birds approach within 10 to 15 feet, an 800mm setup can feel restrictive. You may struggle to keep the full bird in frame, lose opportunities when it changes perches, and create a background so compressed that the image loses its sense of place. Conversely, a 300mm lens can be too short for a wary bird in natural forest, especially when you must remain on a trail and allow the subject its space.
The most useful question is simple: how close can you work without influencing the bird’s behavior? Ethical distance comes first. A lens should help you photograph natural behavior, not pressure wildlife into tolerating you.
The Core Hummingbird Lens Choice: 300mm to 600mm
For many photographers, a 400mm, 500mm, or 600mm lens is the most versatile hummingbird solution. These focal lengths provide enough reach for natural perches and forest-edge feeding while remaining manageable at well-established feeder locations. On a full-frame camera, 500mm is often an excellent middle ground: tight enough for portraits, wide enough to handle a bird that shifts position, and effective with a teleconverter when conditions allow.
A 300mm f/2.8 or 400mm f/2.8 deserves special consideration for photographers who prioritize low-light work and dynamic flight images. Their wide apertures gather substantially more light than many zooms, helping maintain fast shutter speeds in the cloud forest. They can also create unusually smooth backgrounds when a hummingbird is perched near flowers or mossy branches.
The trade-off is practical as much as photographic. Fast super-telephoto primes are large, expensive, and physically demanding on steep trails or during full travel days. They shine when you have a clear shooting plan, dependable support, and time at productive locations. For a broad Colombia itinerary that includes hummingbirds, tanagers, toucans, and larger wildlife, a lighter 100-400mm, 150-600mm, or 200-600mm zoom may deliver more images overall.
Prime Lens or Zoom Lens?
A prime lens gives you the best image quality and light-gathering ability at its focal length. It is a compelling choice when hummingbirds are a central photographic priority, particularly in low light or when you want maximum subject separation. A 500mm or 600mm prime also pairs well with a second body carrying a shorter lens for nearby birds, habitat scenes, or sudden encounters.
A zoom is often the wiser travel lens. Hummingbirds rarely respect fixed distances. One individual may perch close beside a feeding station while another darts through flowers farther down the slope. Being able to pull back quickly can save a frame that a prime lens would crop too tightly.
Modern 100-400mm and 200-600mm lenses are particularly practical for guided bird photography expeditions. They cover close feeder activity, distant canopy perches, and many non-hummingbird subjects without repeated lens changes in humid or dusty conditions. Their maximum apertures are narrower, so they ask more of your camera’s high-ISO performance and may be less capable in dark forest. That is a real compromise, not a minor specification detail.
Reach Depends on Sensor Size and Distance
Camera format changes the effective field of view. A 400mm lens on an APS-C camera gives a narrower view than the same lens on full frame, which can be useful for distant birds. Micro Four Thirds systems provide even more apparent reach in a compact package. For photographers trekking between elevations, a smaller system can be a smart way to preserve mobility without abandoning telephoto capability.
But more apparent reach also makes tracking harder. With a tiny hummingbird flying unpredictably, a narrower angle of view can make it difficult to find the bird through the viewfinder. It also magnifies every movement, whether from your hands, a breeze, or an unstable tripod. Do not choose a system based on reach alone. Choose one you can hold, aim, and operate confidently after several hours in changing weather.
At close range, minimum focusing distance matters just as much as focal length. A lens that focuses close can produce frame-filling portraits of perched birds and details of iridescent gorgets, bills, and tiny feet. Check this specification before your trip, especially if you expect to photograph at feeders.
Light, Shutter Speed, and Backgrounds
Hummingbird photography is demanding because the bird is small and the light is often limited. For perched birds, a shutter speed around 1/1000 second is a sensible starting point if the bird is alert and moving between positions. For wing motion in natural light, 1/2500 to 1/4000 second may show recognizable wing shape, though it will not freeze every beat. Completely frozen wings generally require carefully managed flash, a specialized technique that should be used with restraint and only where local conditions and guide direction support it.
Lens aperture affects more than exposure. A wide aperture can turn a cluttered forest background into a wash of color, but only if there is meaningful distance between bird and background. If a feeder is against a wall of leaves, even an expensive f/2.8 lens cannot create magic. Position, angle, and the bird’s perch matter first.
In many Colombian hummingbird locations, soft overcast light is an advantage. It protects bright highlights in white feathers and keeps iridescent colors from becoming harsh. Be ready for rain, however. A rain cover, microfiber cloths, and a dry bag are small additions that protect a serious lens investment.
Support That Lets You React
A tripod and gimbal head are valuable for prolonged sessions on known perches, especially with a 500mm or 600mm prime. They reduce fatigue and make it easier to hold a precise composition while waiting for a bird to return. For active flight, some photographers prefer handholding or using a monopod because it is faster to follow movement.
There is no virtue in carrying a heavy support system you cannot deploy quickly on a narrow trail. The best setup is the one that remains stable, comfortable, and ready when a target species appears. On Retorno Photo Tours expeditions, guides can help photographers assess each site’s working distance, available light, and practical space before choosing what to carry from the vehicle.
Build a Two-Lens Plan When Possible
If your budget and baggage allowance permit, a two-lens approach is often ideal. Pair a 100-400mm or 70-200mm zoom for close feeders and environmental compositions with a 500mm, 600mm, or 200-600mm lens for more distant behavior. This combination prevents the common frustration of having the perfect long lens attached when a hummingbird lands close enough to fill the frame.
A second camera body is useful but not essential. If you carry one, it reduces lens changes in damp conditions and keeps you ready for the fast transitions that define productive birding days. If you travel with a single body, organize your bag so a lens swap is deliberate, quick, and protected from rain and dust.
Choose the Lens You Will Use All Day
The finest hummingbird lens is not always the longest, brightest, or most expensive one. It is the lens that fits your shooting style, your camera system, your physical comfort, and the habitats on your itinerary. A photographer who can move calmly, frame quickly, and stay patient will usually return with stronger work than someone burdened by equipment that is technically impressive but difficult to manage.
Bring the reach you need, protect the distance wildlife deserves, and leave room in the frame for surprise. Hummingbirds reward preparation, but their most memorable images often arrive in the unplanned seconds between one flower and the next.
Scheduled Tours
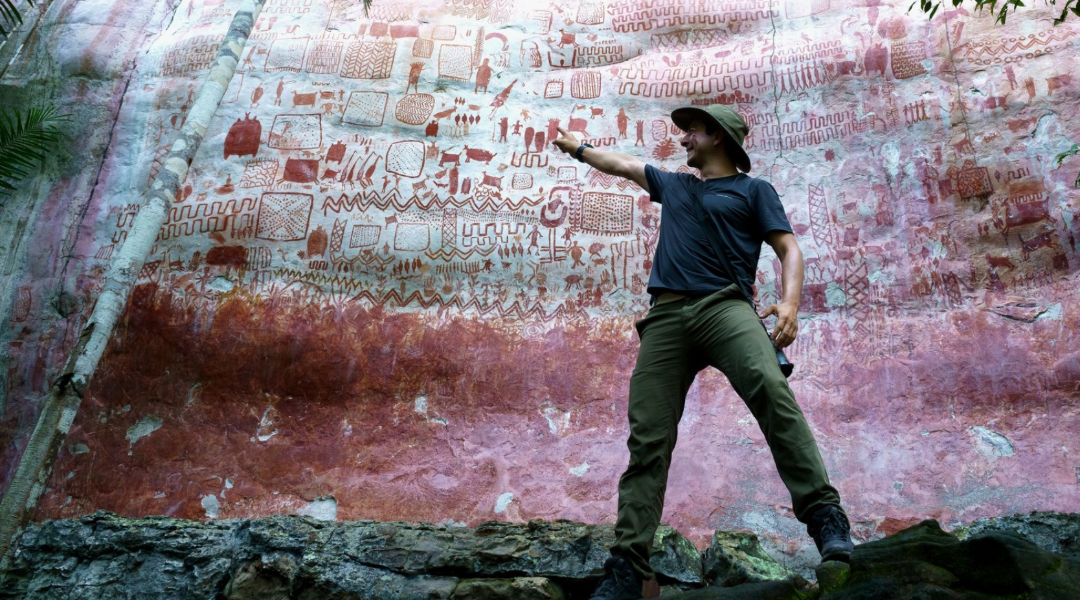
The road to Chiribiquete, Colombia's Western Amazon.
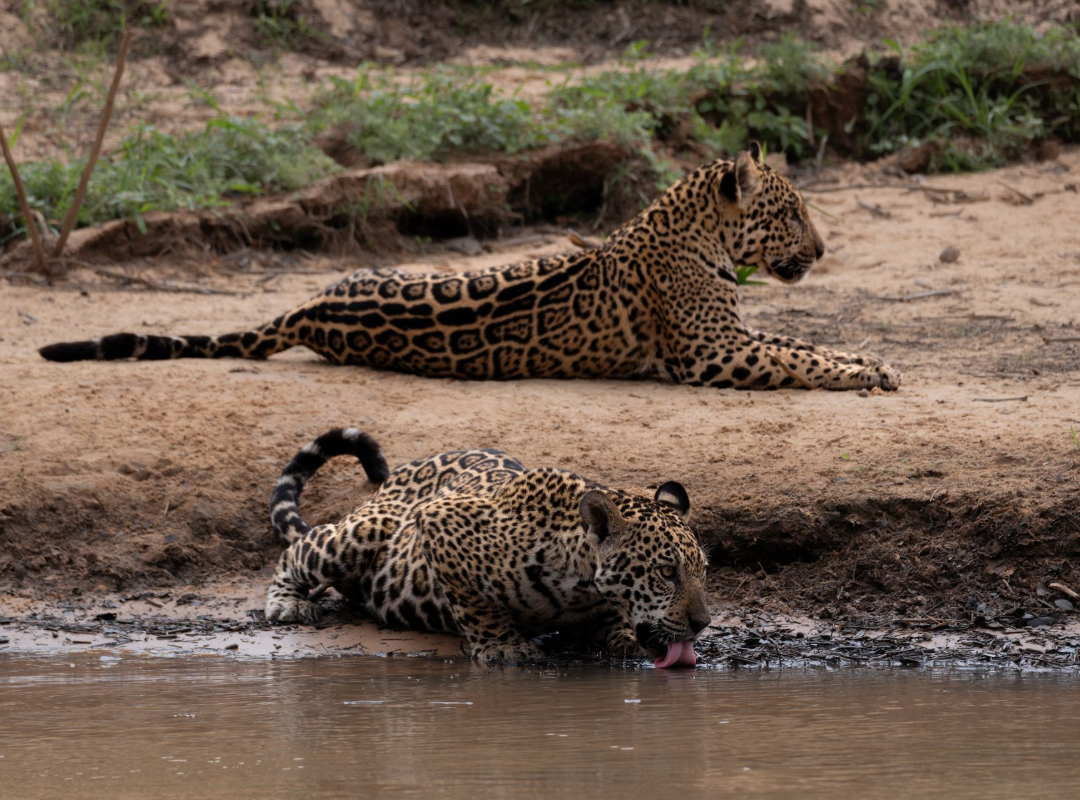
Jaguars Safari, Pantanal - Brazil.
Amazon's Guiana Shield Specialties. Mitu-Vaupes.
Emblematic Birds Photo Tour, Coffee Triangle.