
7 Camera Condensation Prevention Methods
7 Camera Condensation Prevention Methods for the Field
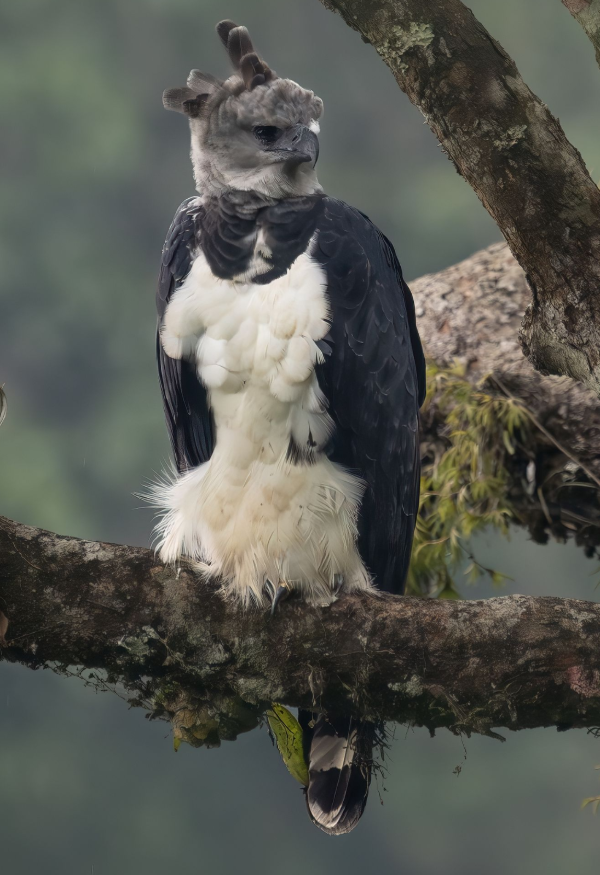
A fogged front element can turn a once-in-a-lifetime Harpy Eagle encounter into a frustrating blur. In tropical wildlife photography, camera condensation prevention methods are not a minor packing detail. They are part of protecting the field time, access, and rare subjects you have traveled far to photograph.
Colombia’s bird-rich cloud forests, the Amazon, Caribbean wetlands, and the Pantanal all present a familiar challenge: rapid changes between cool, air-conditioned interiors and hot, moisture-heavy air. Condensation forms when a cold camera or lens enters warmer air and its surface drops below the dew point. Moisture then settles on the outside, and in severe conditions, potentially inside the equipment.
The answer is not to avoid humidity. Some of the world’s most productive habitats are humid by nature. The goal is to manage temperature changes calmly, keep moisture away from vulnerable gear, and build routines that do not cost you the next photographic opportunity.
Why Condensation Is More Than a Fogged Lens
External fogging is the obvious problem. You may see a soft, hazy frame, low contrast, flare around bright areas, or a viewfinder that seems suddenly useless. A microfiber cloth can sometimes clear the front element, but wiping repeatedly in mist or rain may only spread moisture and attract grit.
The greater concern is repeated internal moisture. Modern weather-sealed camera bodies and professional telephoto lenses tolerate demanding field use well, but weather sealing is not a guarantee against humidity entering through open ports, lens changes, battery doors, or prolonged transitions. Internal condensation can affect electronic contacts, encourage fungal growth during storage, and leave moisture where you cannot easily inspect it.
Long lenses also change the equation. A 500mm or 600mm lens holds a great deal of glass and metal, so it warms slowly after leaving a cool room or vehicle. That is precisely when the morning activity at a hummingbird feeder or a roadside mixed flock may begin.
7 Camera Condensation Prevention Methods for the Field
1. Keep the camera at a similar temperature to the outdoors
The most reliable approach is simple: avoid chilling the gear before taking it into humid conditions. If your room has strong air conditioning, keep your camera bag away from the direct airflow and consider setting the room temperature less aggressively cool when practical.
Before an early start, place the camera and primary lens in a protected area that is closer to outdoor temperature, such as a covered porch or secure reception space, only when the lodge staff and your guide confirm it is safe. On a photography expedition, a few degrees can make the difference between shooting immediately and waiting through a precious half hour of fogged optics.
2. Use the camera bag as an acclimatization chamber
When gear must move from a cold space to a hot, humid one, resist the instinct to unzip the bag immediately. Leave the camera inside a closed, padded bag while it gradually warms. The bag slows the temperature swing and gives the equipment time to adjust before it encounters humid air.
This is especially useful after traveling in an air-conditioned vehicle to a forest trailhead, leaving a cool lodge room at dawn, or stepping off a boat cabin into tropical heat. Depending on the temperature difference, allow 15 to 30 minutes. During that time, prepare your rain cover, check your settings, and listen for the first calls from the forest.
The trade-off is obvious: you may miss an immediate subject. For this reason, experienced wildlife photographers often keep one camera already acclimated and ready, while a second body and backup lens remain protected in the bag.
3. Pack enough silica gel, and maintain it
Silica gel is a useful support tool, not magic protection. Place several rechargeable desiccant packs inside your camera bag, hard case, and storage pouch. They help reduce trapped moisture, particularly during multi-day travel through wet environments.
Use indicator beads or rechargeable packs so you know when they are saturated. In a humid destination, silica can lose its effectiveness quickly. Dry it according to the manufacturer’s instructions whenever you have access to a suitable heat source, and carry a small rotation of spare packs rather than relying on one packet found in the bottom of a case.
Do not place loose beads where they can spill into gear, and do not assume silica will prevent condensation if you take a cold camera straight into steamy air. Temperature control remains the first line of defense.
4. Limit lens changes in humid, dusty places
Changing lenses on a calm, dry indoor table is one thing. Changing them on a wet forest trail, from a boat, or in wind-blown dust is another. Whenever possible, select your primary lens before you leave the lodge or vehicle. For bird photography, that often means a long telephoto ready on the main body and a shorter zoom on a second body for habitat, mammals, or close encounters.
If a lens change is necessary, do it quickly under a jacket, poncho, or sheltered area. Turn the camera off, point the mount downward, have the next lens ready with its rear cap removed, and minimize the time the body is open. Keep caps clean and dry. A damp rear lens cap can transfer moisture exactly where you do not want it.
5. Avoid sealing wet gear inside a dry bag
A rain cover protects the camera while you are working, but it can create a different problem afterward. If you put a wet camera, wet strap, or soaked rain cover into a tightly closed bag, you trap moisture alongside the equipment for hours.
After rain, wipe the outside of the camera and lens carefully with an absorbent microfiber cloth. Let rain covers and straps air out in a covered, ventilated place before packing them away. If the humidity is extreme, use separate waterproof pouches for wet accessories so they do not turn your entire camera bag into a damp chamber.
Never aim a hair dryer directly at a camera or lens. High heat and forced air can damage components or push moisture deeper into seams. Gentle airflow and patience are safer.
6. Manage vehicles, boats, and lodge rooms thoughtfully
Air conditioning is welcome after a hot afternoon in the lowlands, but it is a common cause of condensation. On long vehicle transfers, avoid placing cameras directly under cold vents. Keep the primary shooting kit in its bag, and ask your guide for a few minutes of acclimatization before arriving at a key location.
Boat travel requires similar awareness. A dry cabin can be much cooler than the river or wetland outside, while spray and sudden rain add another layer of risk. Keep a rain cover within reach, but do not wrap the camera so tightly that heat and moisture build up around it.
At night, store gear in a clean, elevated place rather than on a damp floor or next to an open window. If your accommodation has secure, climate-controlled storage, use it intelligently, remembering that very cold storage means a longer warm-up before dawn.
7. Build a morning and evening gear routine
The best prevention method is the one you repeat when you are tired. Each evening, wipe down the exterior of your camera, lens barrel, tripod legs, and filters. Open the bag in a dry indoor space if available, inspect for moisture, and separate anything wet from the main kit. Recharge batteries and desiccant packs as needed.
Before dawn, decide which body and lens will be ready first. Attach the lens hood, fit the rain cover so it can be deployed quickly, and place a clean microfiber cloth in an accessible pocket. If you expect a major temperature transition, start acclimatizing the bag before breakfast rather than when everyone is already loading the vehicle.
What to Do When Condensation Appears
Do not panic, and do not keep firing through a fogged lens hoping the problem will disappear. Move to a sheltered place, turn the camera off if moisture is visible around controls or ports, and allow the equipment to equalize gradually. Wipe only the exterior glass and surfaces with a clean, dry microfiber cloth.
If you suspect internal fogging, do not open the lens or attempt improvised repairs. Put the gear in a dry, protected environment with fresh silica gel and let it stabilize. Persistent internal haze, unusual electronic behavior, or signs of fungus call for professional service after the trip.
The Field Habit That Protects Your Best Images
Wildlife photography rewards readiness, but readiness is not the same as rushing. When a guide calls out a perched Andean Cock-of-the-rock, a giant otter surfaces near the boat, or a jaguar steps from the grass, your camera needs to be as prepared as you are.
Treat temperature transitions as part of the route plan, alongside batteries, rain protection, and lens choice. A patient 20 minutes in the bag can protect an entire morning of sharp, clean images. In the humid places where biodiversity is at its richest, that small discipline leaves you free to focus on the moment in front of the lens.
Scheduled Tours
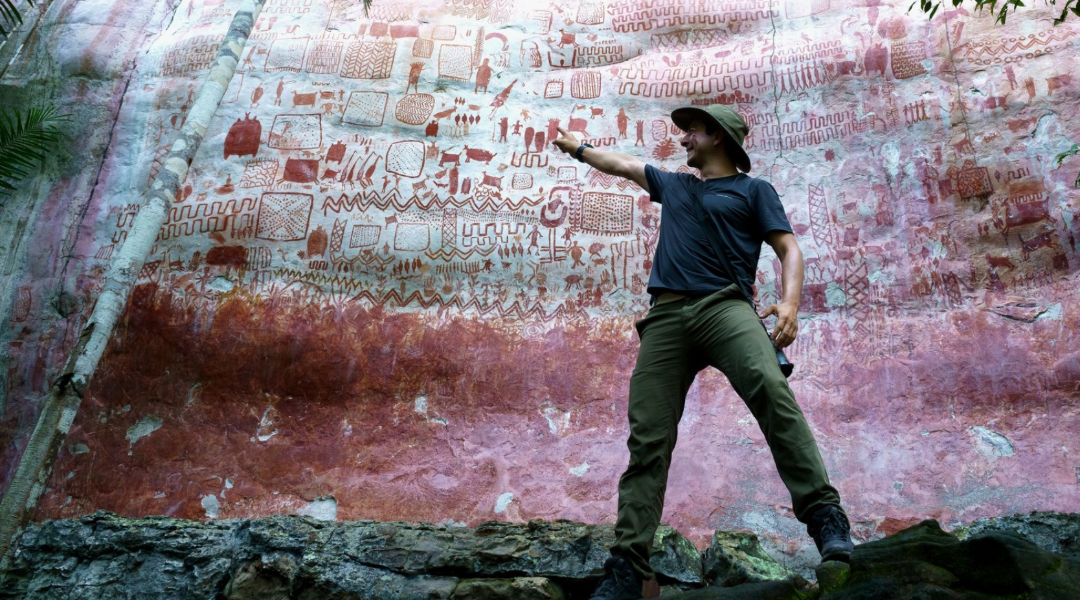
The road to Chiribiquete, Colombia's Western Amazon.
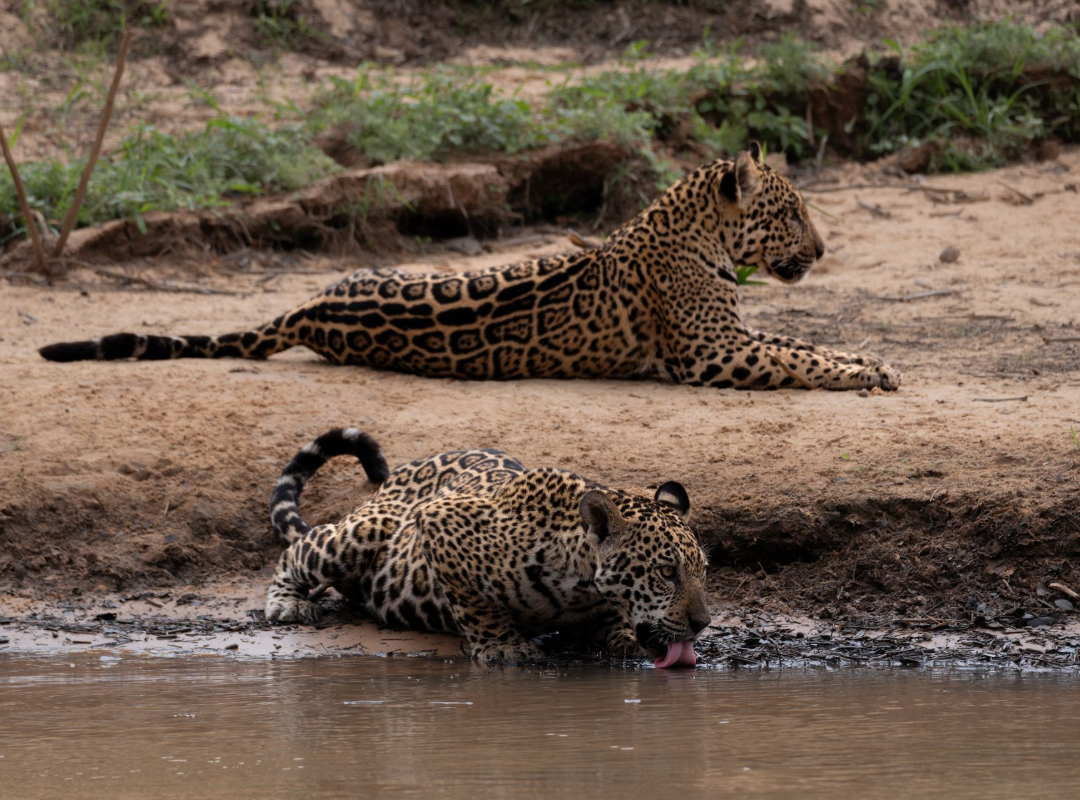
Jaguars Safari, Pantanal - Brazil.
Amazon's Guiana Shield Specialties. Mitu-Vaupes.
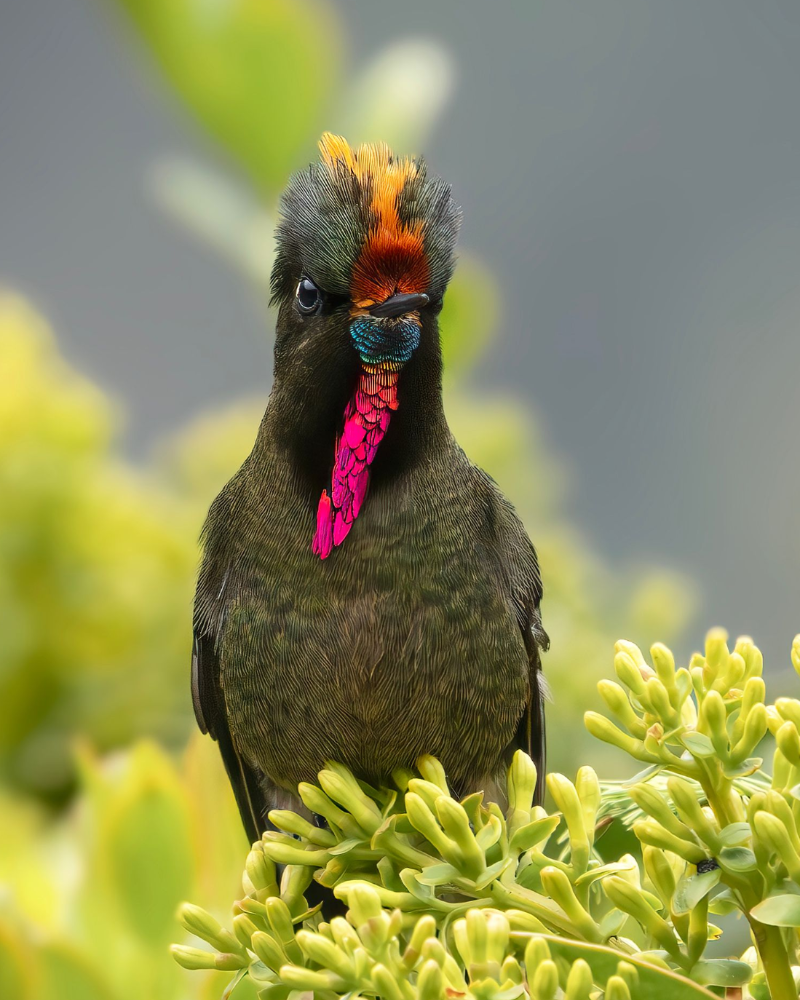
Emblematic Birds Photo Tour, Coffee Triangle.