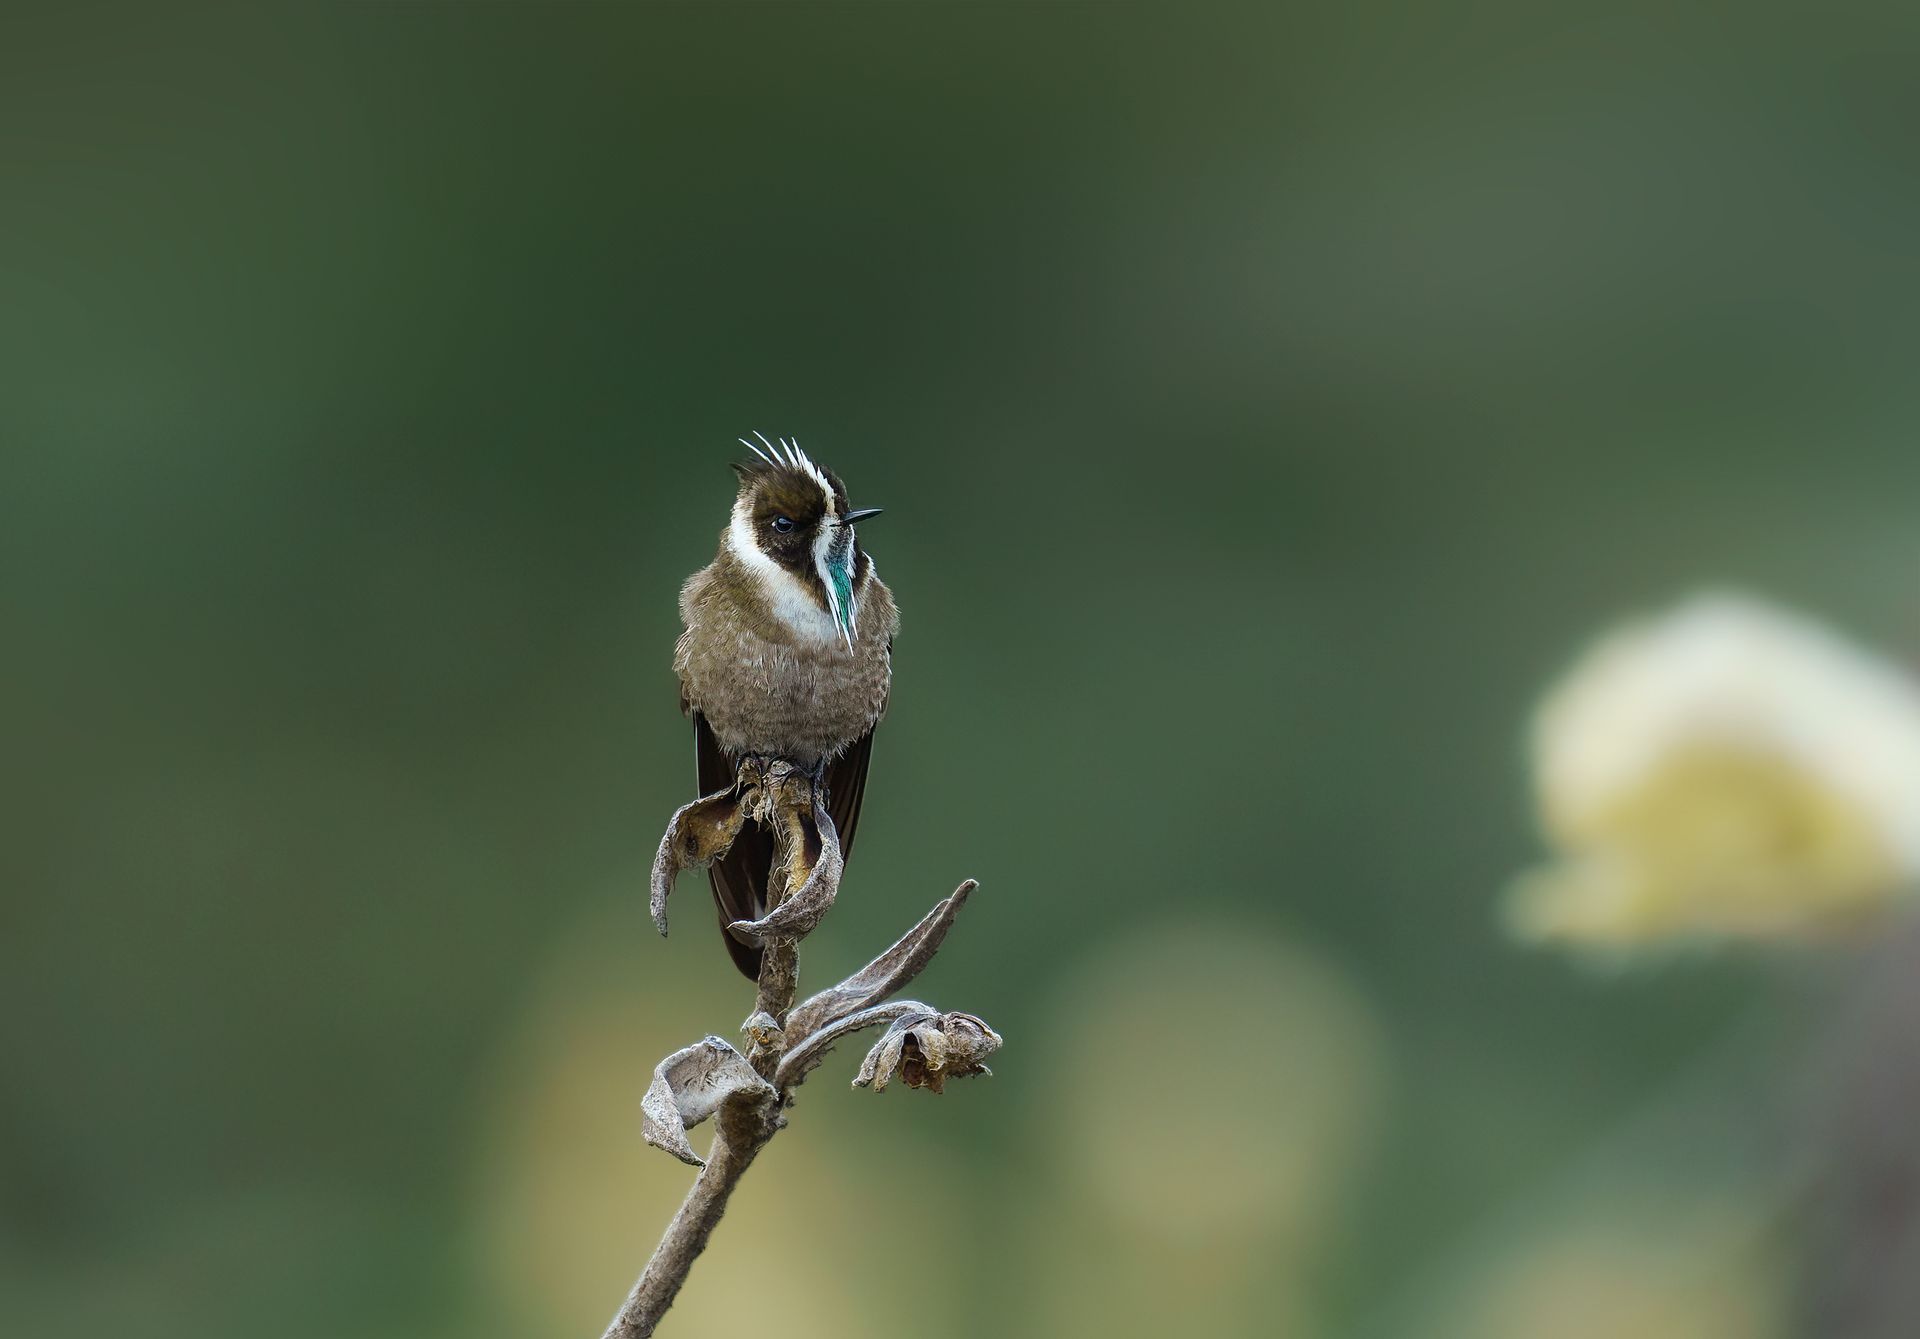

Bird Photography Lenses for Colombia’s Wild Places
Practice Where Failure Costs Nothing
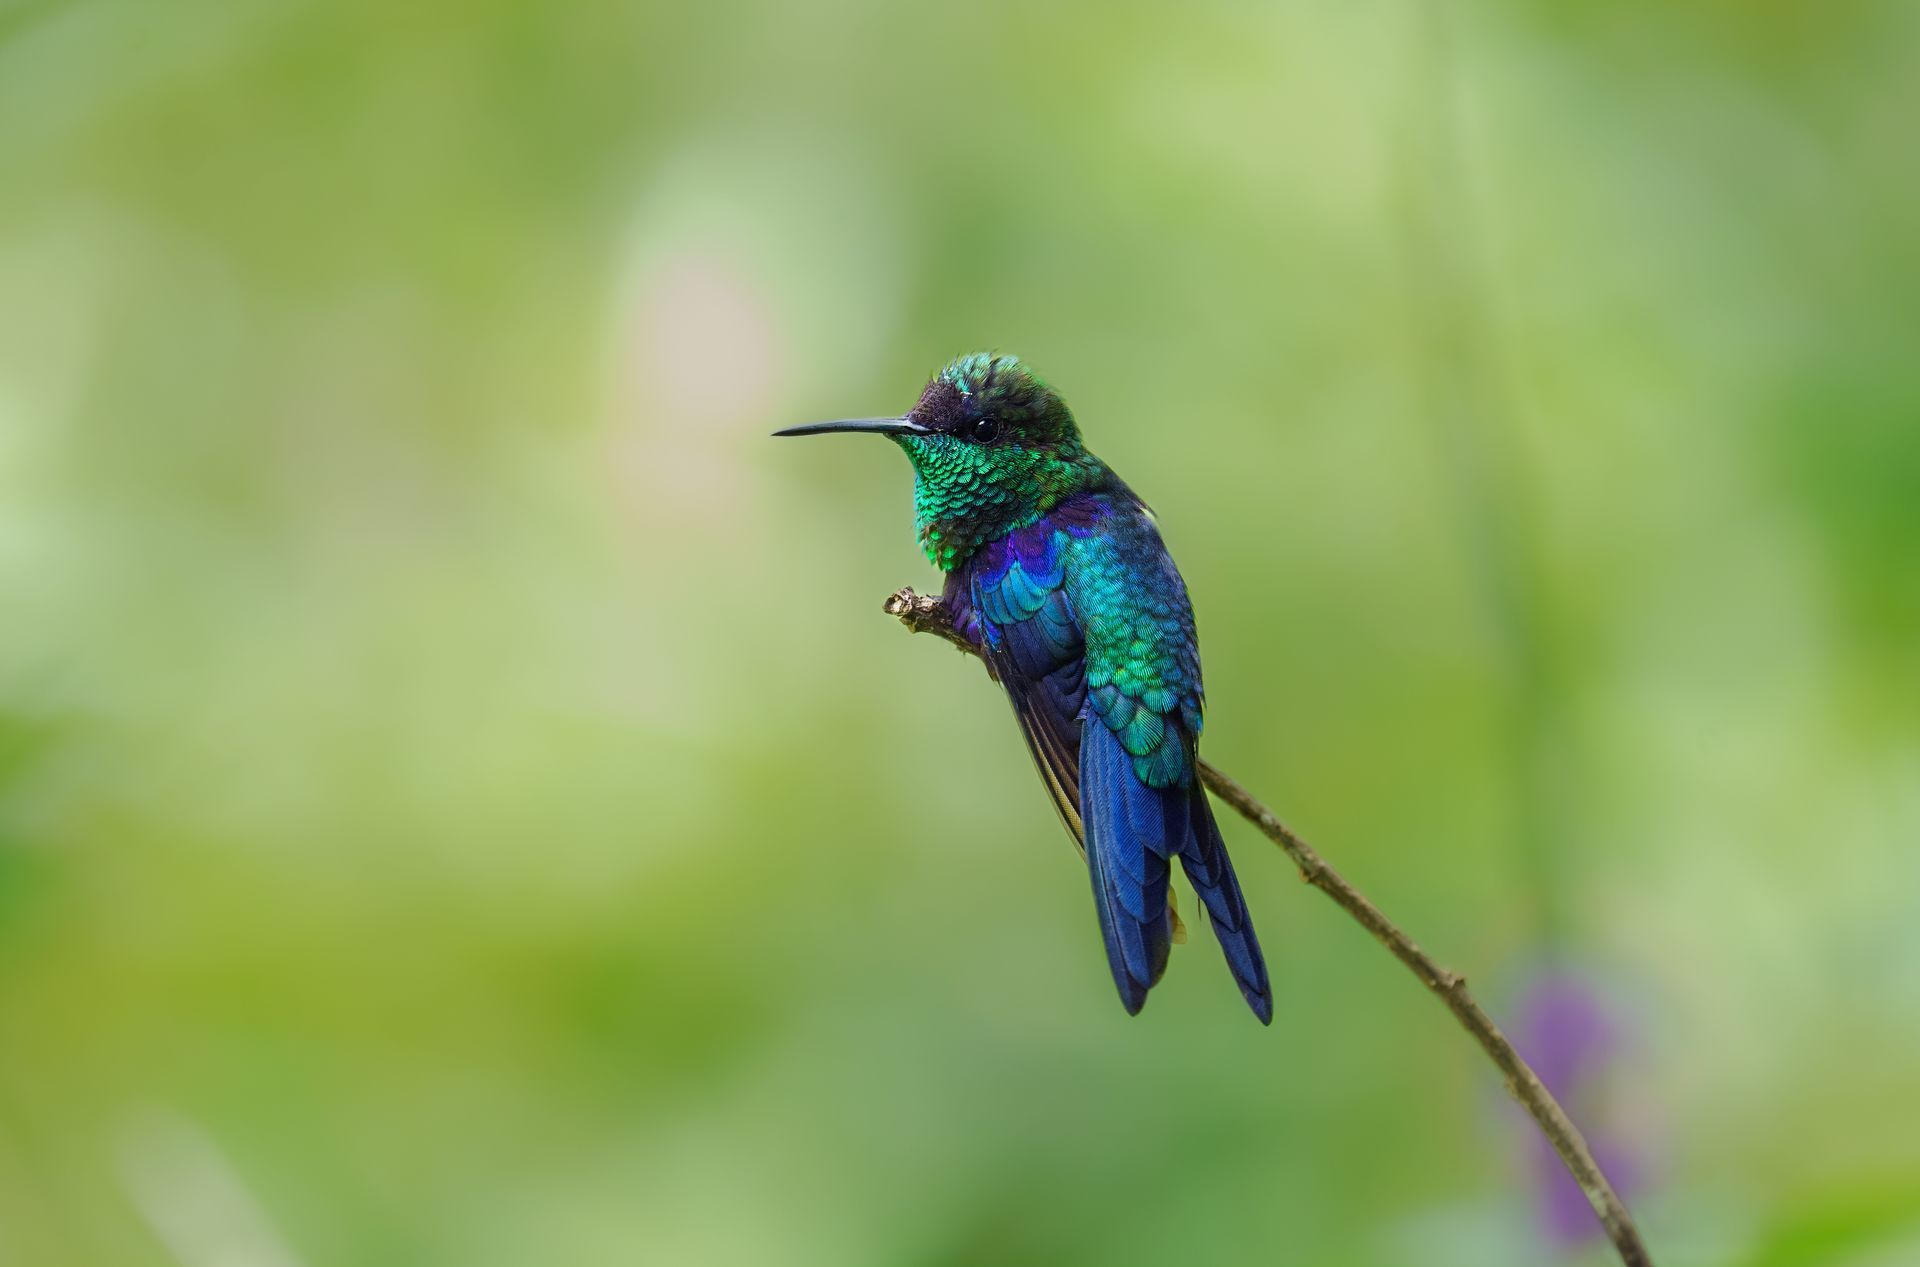
A Chestnut-bellied Hummingbird can appear at arm’s length in an Andean garden, while a Harpy Eagle may remain high in the Amazon canopy, far beyond the reach of the same setup. That is why choosing bird photography lenses is less about finding one perfect focal length and more about building a practical answer to the subjects, habitats, light, and pace of your expedition.
For serious bird photographers traveling in Colombia, lens decisions are especially consequential. One itinerary may move from shaded cloud forest to open páramo, hummingbird feeders, lowland rainforest, and wide river corridors. The best lens is the one that lets you react quickly, carry it comfortably, and come home with strong photographs rather than a sore shoulder and missed opportunities.
Start With the Birds You Hope to Photograph
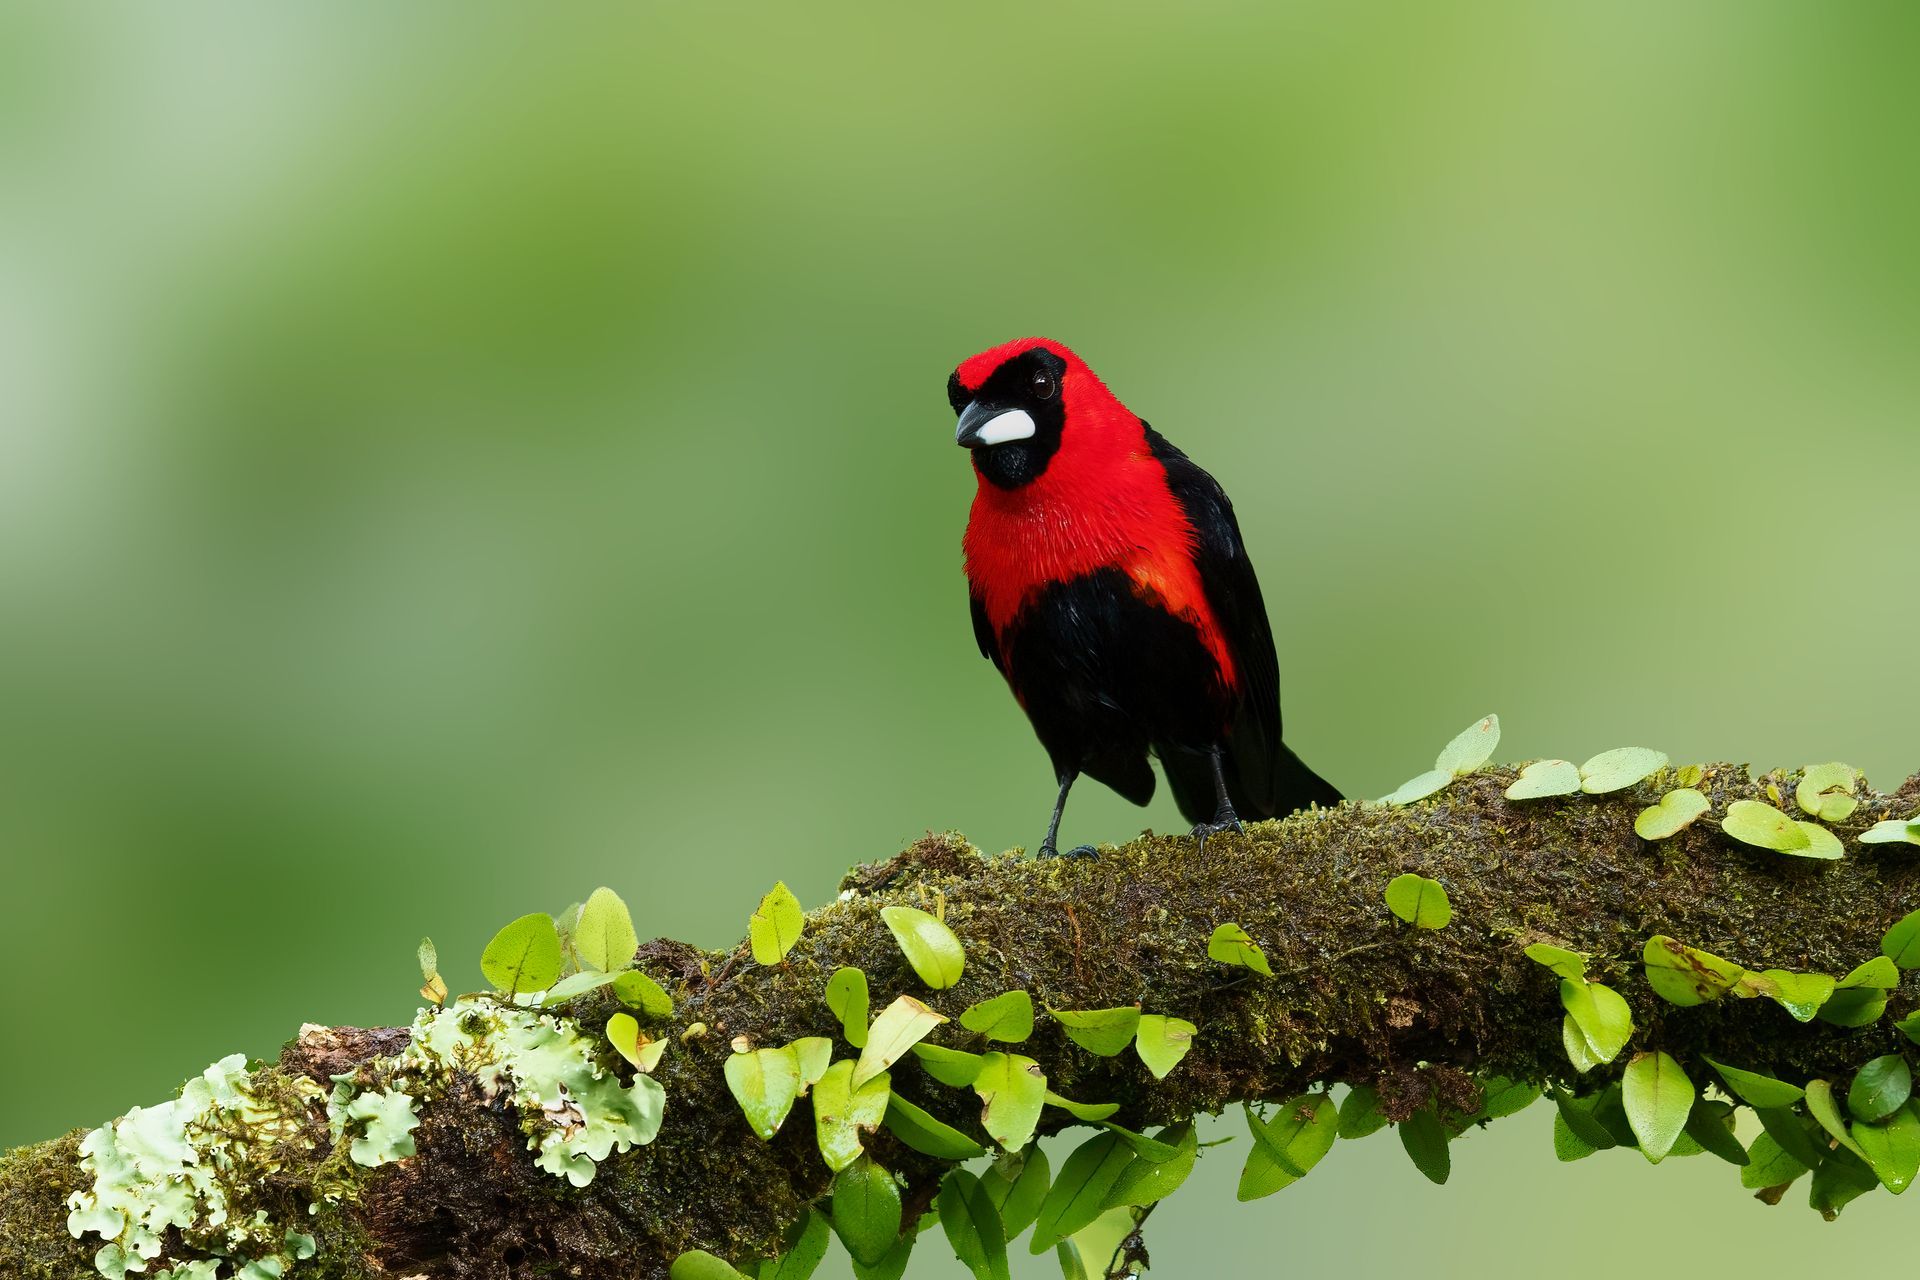
Your priority species should shape your kit. A dedicated hummingbird photographer needs a different lens strategy than someone seeking large raptors, tanagers in fruiting trees, or secretive antpittas on the forest floor.
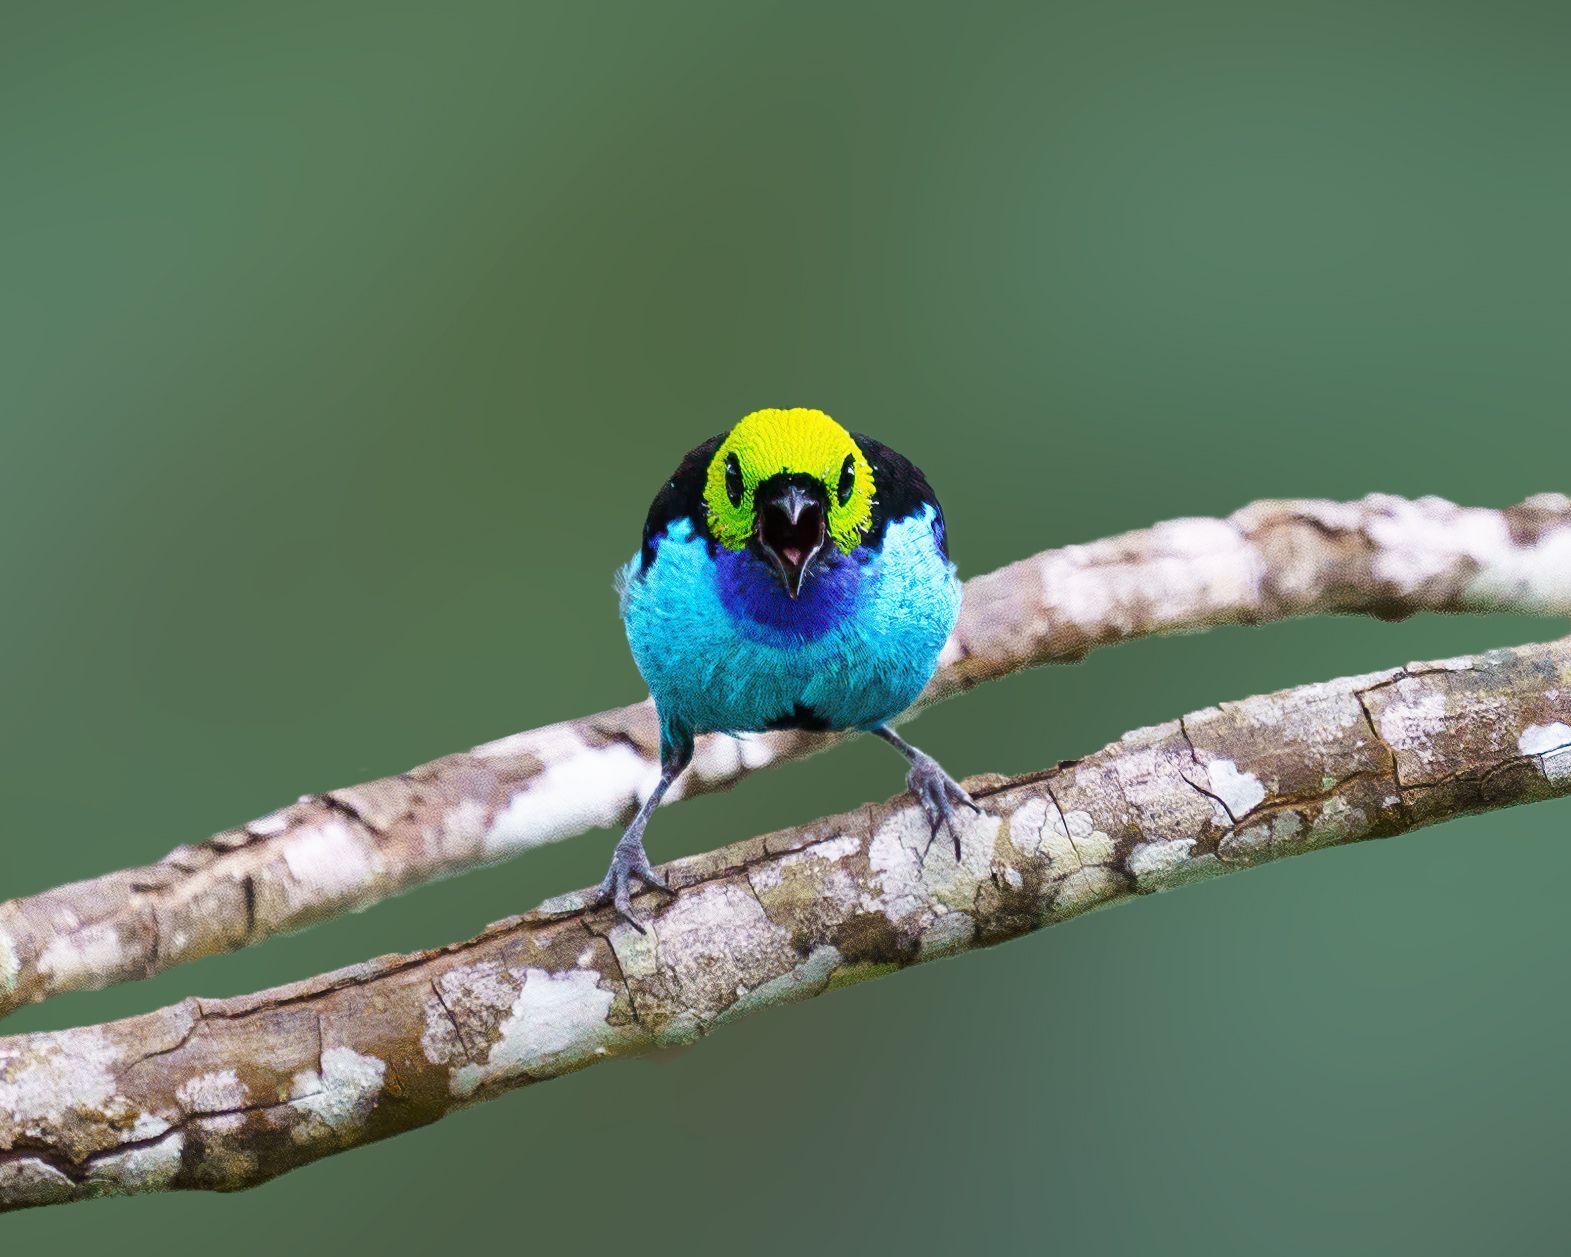
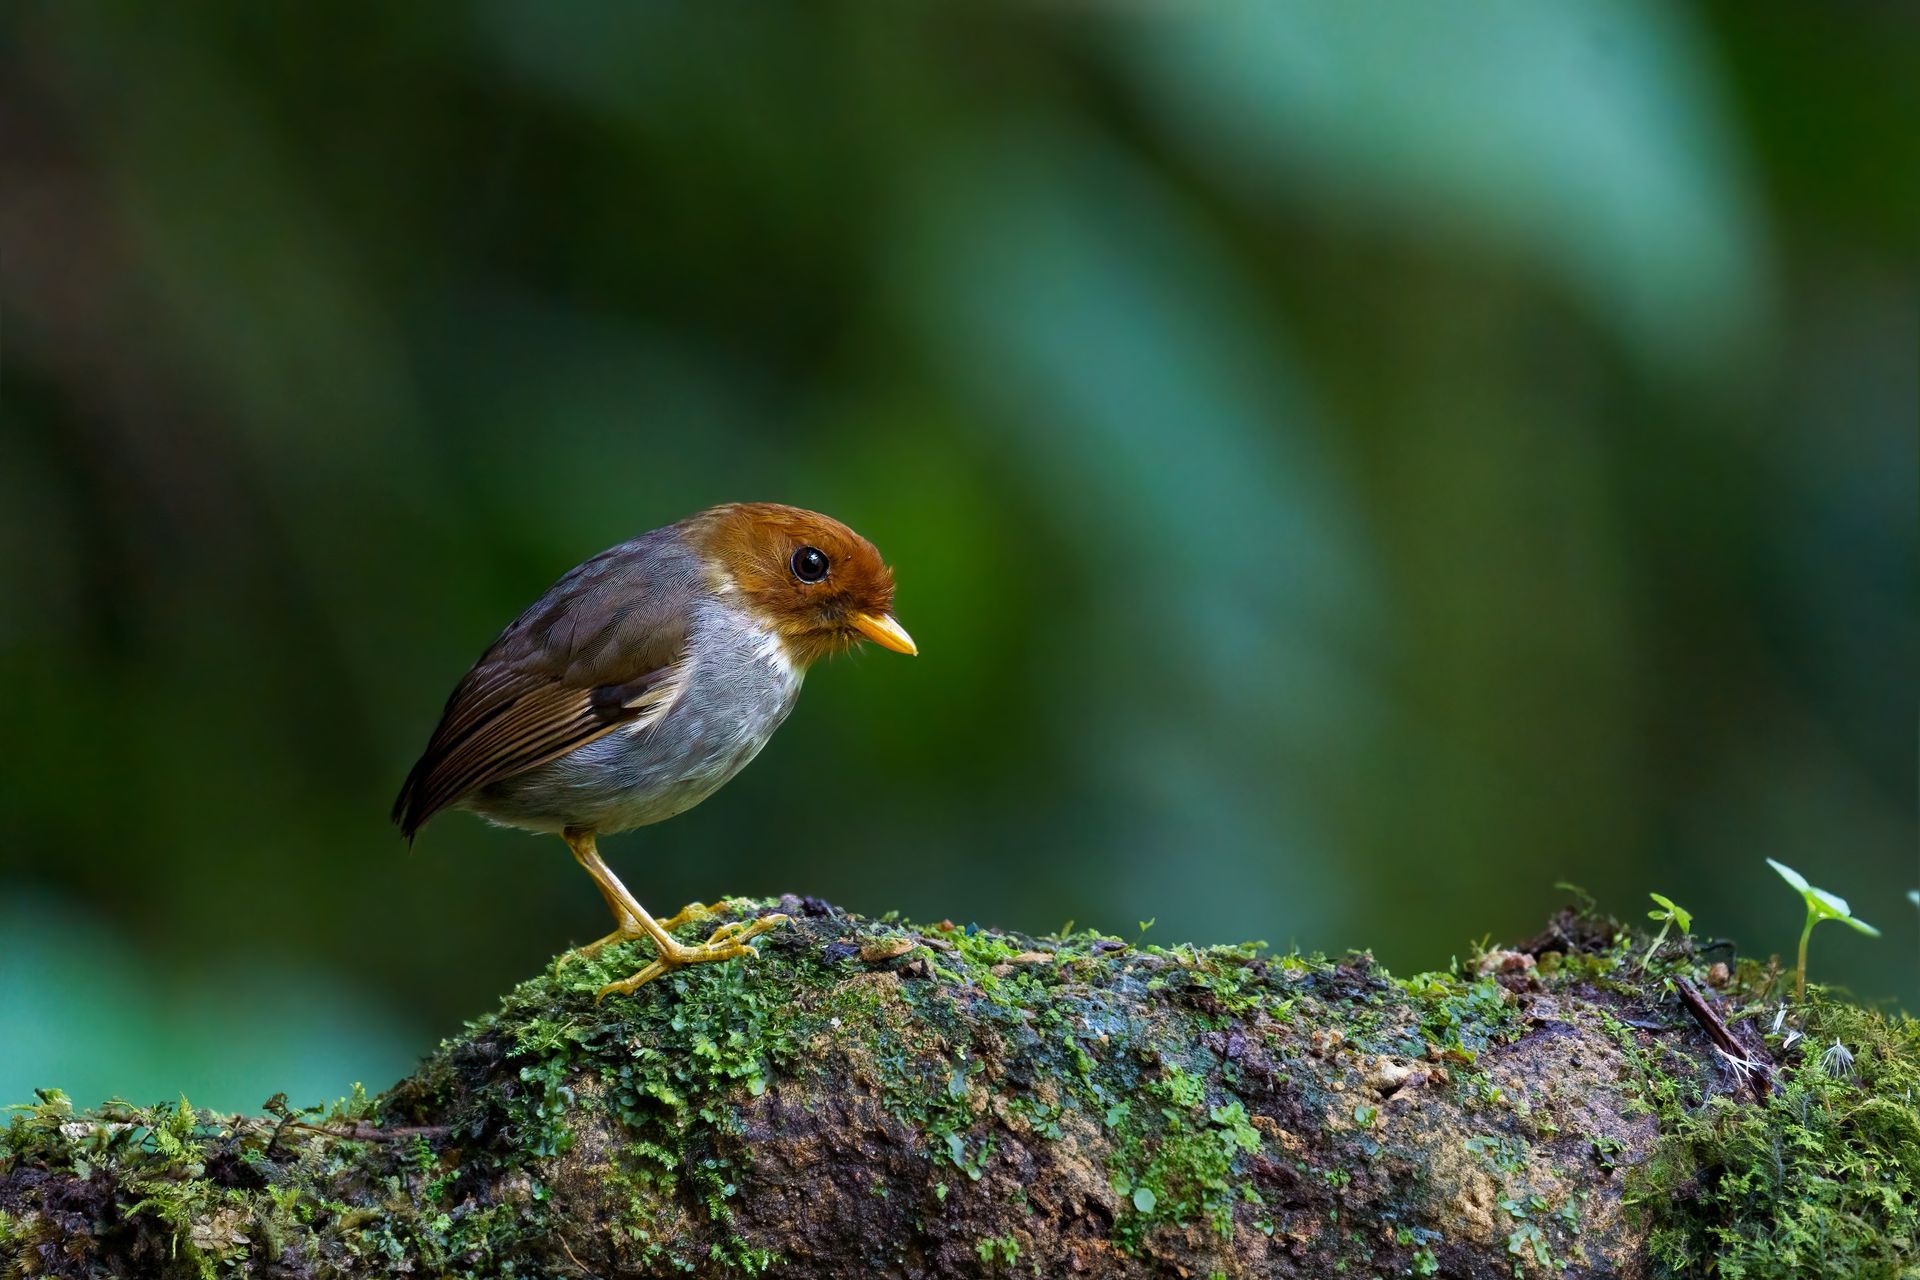
For small birds in dense habitat, reach matters, but so does speed. The bird may appear in a narrow opening for only a few seconds. A 500mm or 600mm lens can create beautiful subject isolation, yet it may be too tight when a motmot lands nearby or a toucan hops into the closest branch. A flexible 100-400mm, 150-600mm, or 200-800mm zoom often earns its place because it handles sudden changes in distance without forcing you to step backward on a trail.
For larger, more distant subjects, focal length becomes decisive. Macaws crossing a river, Andean Condors riding a thermal, or a raptor perched across a clearing may demand 500mm, 600mm, or 800mm equivalent reach. More pixels help with cropping, but no camera sensor fully replaces filling the frame with the bird in good light.
Prime Lenses or Zooms for Bird Photography?
A fast super-telephoto prime remains the benchmark for image quality, autofocus performance, background separation, and low-light capability. A 400mm f/2.8, 500mm f/4, or 600mm f/4 gives photographers a real advantage in dim forest interiors, at dawn, and on overcast days in the Andes. These lenses also pair well with teleconverters when conditions allow.
The trade-off is obvious in the field: size, weight, cost, and reduced flexibility. On a carefully planned photography station, such as a hummingbird setup, fruit feeder, or raptor perch, a prime lens is a joy. You can work deliberately from a tripod or gimbal head and wait for behavior. During active trail walks, boat excursions, or changing roadside opportunities, carrying one all day can become tiring and slow your response.
Zooms have improved dramatically, and for many photographers they are the most sensible choice. A 100-400mm is excellent for larger birds, environmental compositions, and close encounters. A 200-600mm or 150-600mm provides the reach most visiting bird photographers need, with a useful ability to pull back when a bird unexpectedly comes close. A 180-600mm can be particularly versatile where you expect both forest-edge birds and open-country species.
The compromise is maximum aperture. Most long zooms are f/6.3 at the long end, sometimes f/8. That is manageable in good light, but rainforest shade can push ISO high or lower shutter speeds below what is safe for active birds. The right choice depends on whether you value mobility and versatility more than the extra stop or two offered by a premium prime.
A practical two-lens approach
If your budget and baggage allowance permit, a long zoom plus a shorter telephoto is an exceptionally useful pairing. For example, a 200-600mm covers distant birds, while a 70-200mm or 100-400mm handles larger subjects, close hummingbirds, landscapes, and storytelling images that show a bird in its habitat.
This combination also reduces pressure to use one lens for every scene. Colombia’s birdlife rewards variety: an intimate hummingbird portrait is memorable, but so is a Cock-of-the-rock glowing against a dark forest wall or a scarlet macaw flying over an Amazonian river.
How Much Reach Is Enough?
For bird photography, 400mm is a capable starting point, not a finish line. It can work wonderfully at feeders, from blinds, and with approachable birds, particularly on a full-frame body. But many wild birds are small, restless, and distant. For general bird photography, 500mm to 600mm full-frame equivalent is a comfortable working range.
A crop-sensor camera can extend your apparent field of view. A 400mm lens on a camera with a 1.5x crop factor gives an angle of view similar to 600mm on full frame. That can be valuable for small birds, though it does not change the lens’s physical focal length or magically create more detail. Sensor quality, autofocus, and your ability to hold the setup steady still matter.
Do not chase reach at the expense of usable technique. An 800mm lens can be spectacular in the right hands and conditions, but heat shimmer, branches, low light, and subject movement can defeat it. In the humid lowlands and distant open habitats, atmospheric distortion may be the limiting factor long before focal length.
Aperture, Shutter Speed, and Forest Light
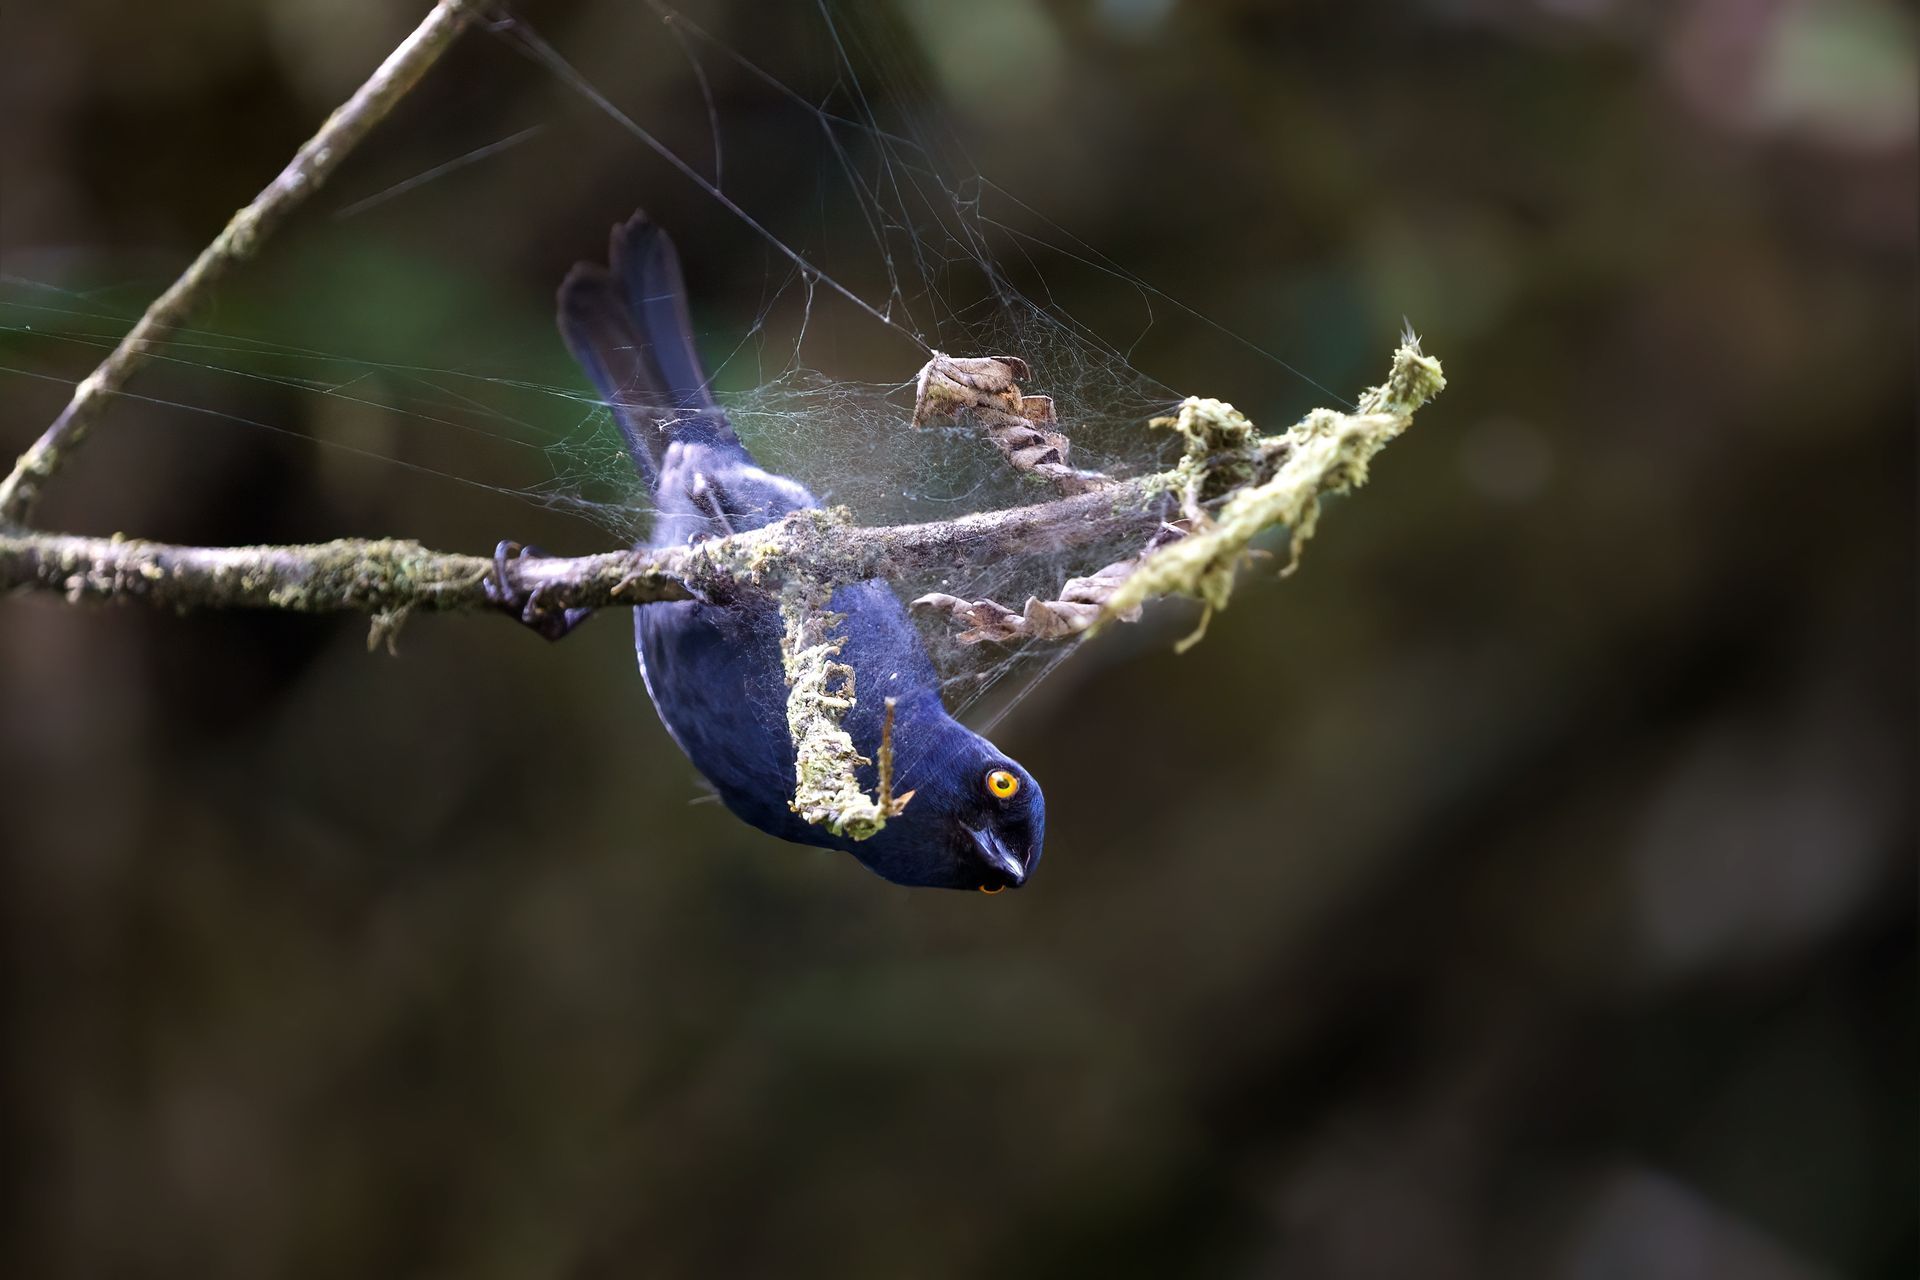
Birds rarely pose where the light is easy. In cloud forest and Amazonian understory, you may photograph against dark foliage under a heavy canopy. A lens with a wide maximum aperture gives your autofocus system more light and helps maintain the shutter speed needed for sharp eyes, feathers, and wing movement.
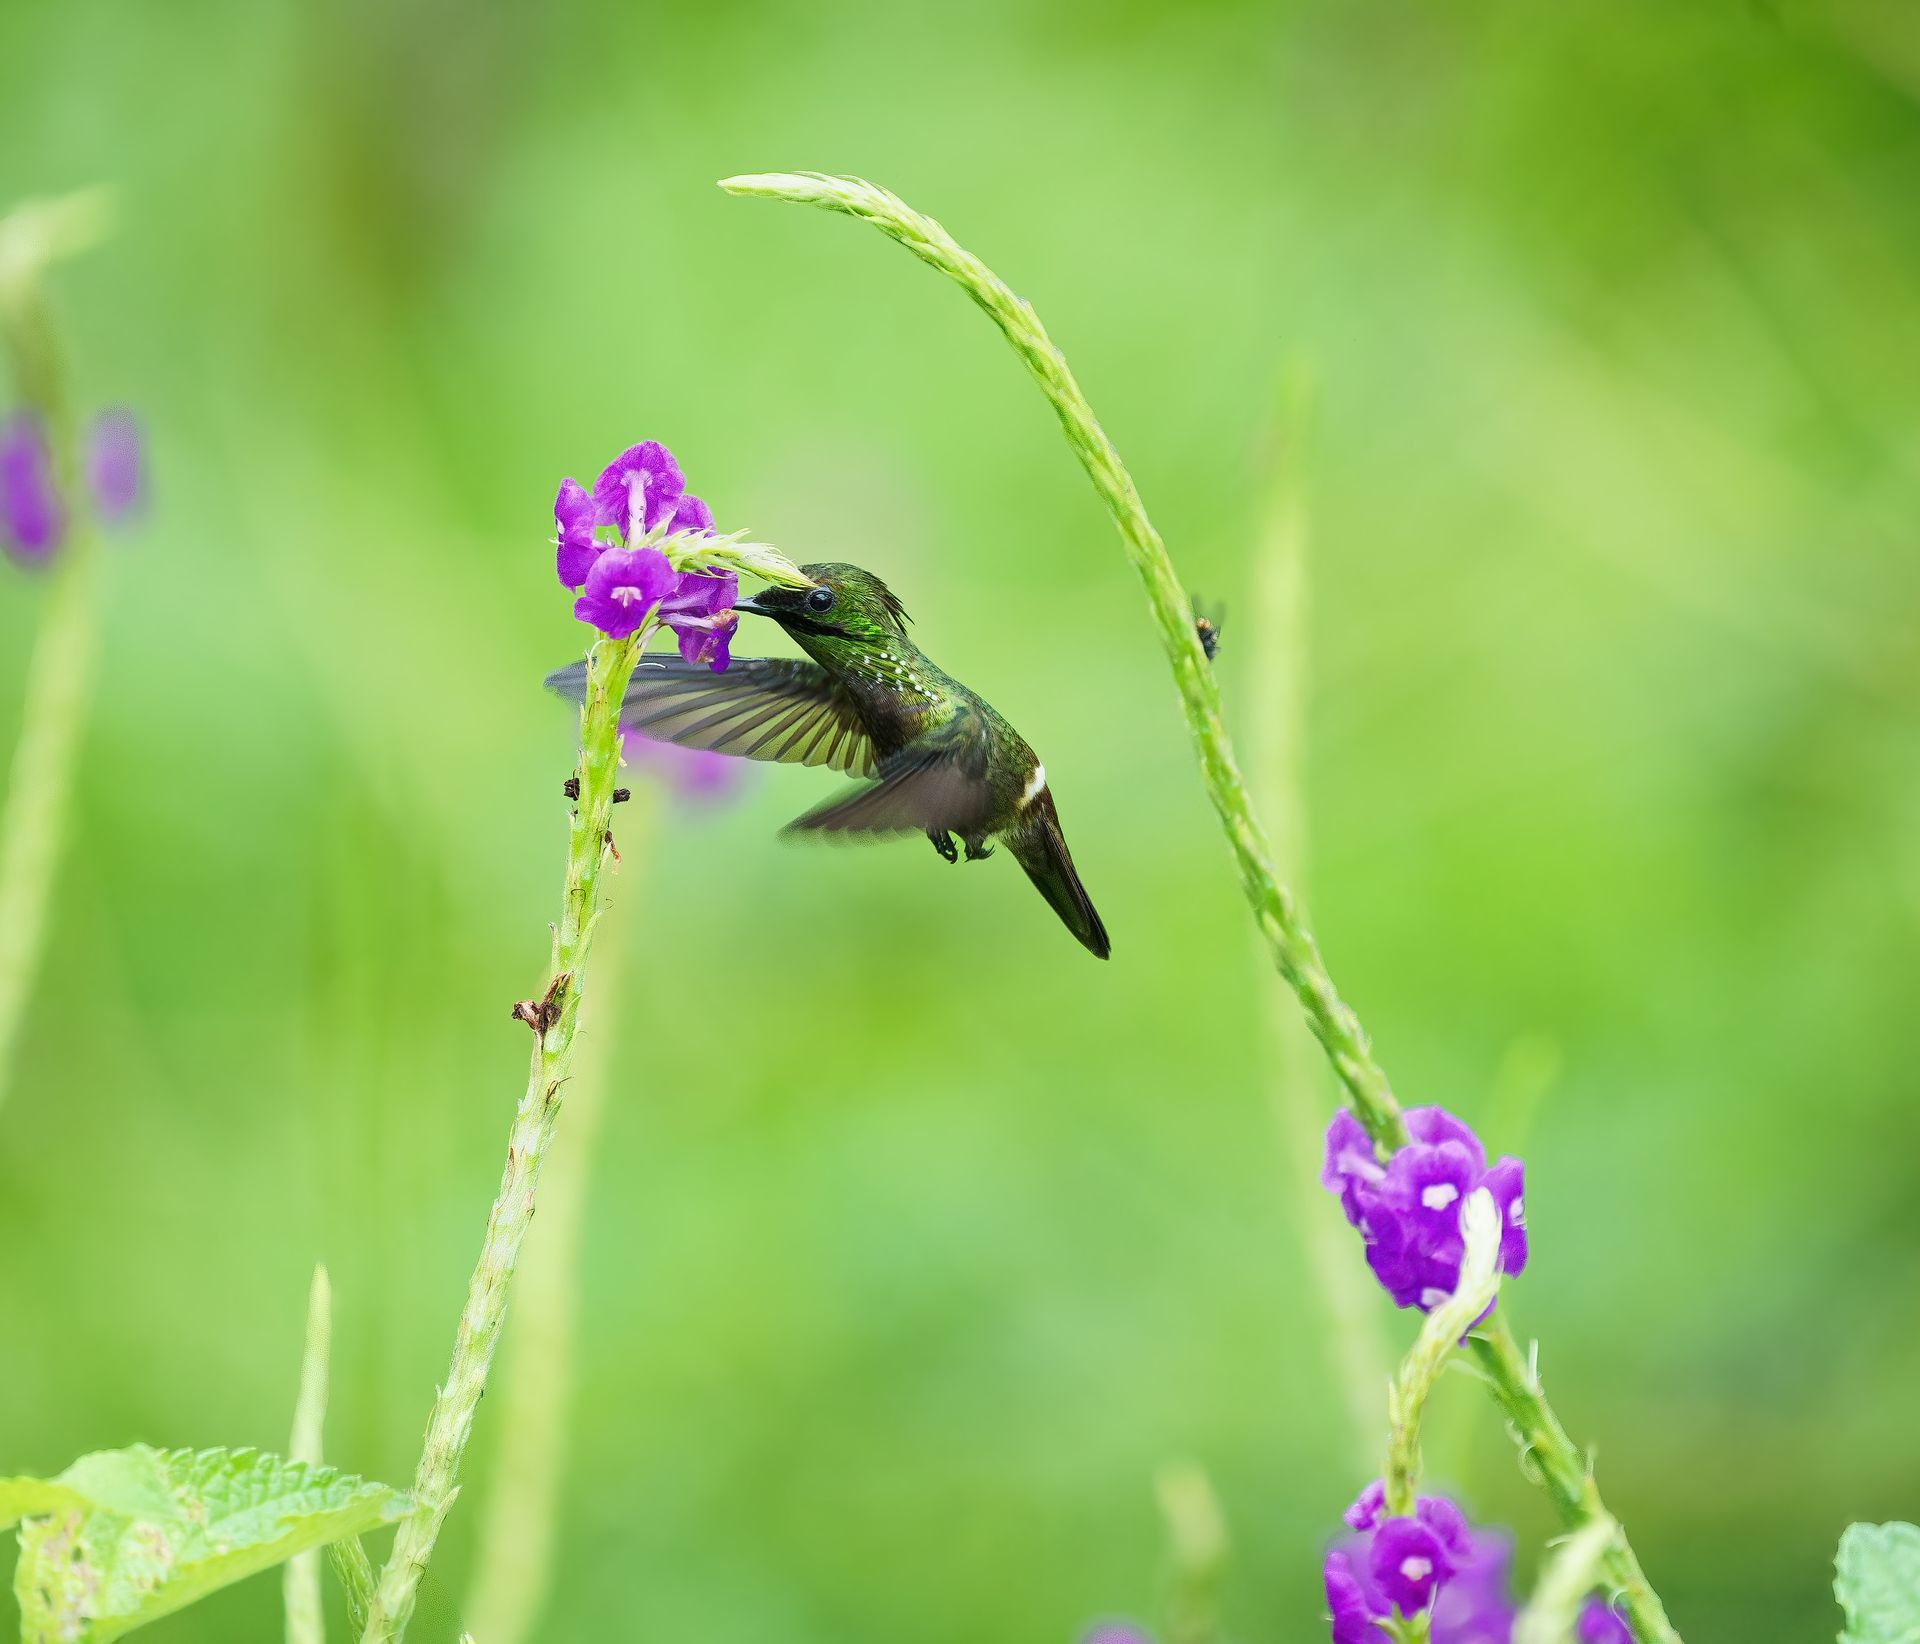
For perched birds, begin around 1/1000 second when possible, then increase as behavior becomes more active. For birds in flight, 1/2500 second is a sensible starting point, while fast hummingbird wings often call for flash-based setups and specialized technique rather than simply faster shutter speeds.
A bright f/4 prime makes these decisions easier, but it is not the only route to excellent images. Modern cameras perform well at higher ISO settings, and thoughtful field positioning can make a major difference. Photographing from a brighter forest edge, using a clean background, or waiting for a bird to move into a natural opening can improve an image more than an expensive lens upgrade.
Teleconverters: Powerful, but Not Automatic
A 1.4x teleconverter is often a smart way to increase reach with a compatible fast prime. A 500mm f/4 becomes a 700mm f/5.6, which can be ideal for distant perches or large raptors. The cost is one stop of light, and autofocus may be slightly less decisive depending on the camera and conditions.
A 2x teleconverter is more demanding. It can be effective with the right lens, modern camera body, stable support, and cooperative subject, but it magnifies every problem: camera shake, missed focus, haze, and low light. It is best treated as a specialized option, not a permanent extension of your lens.
With many zoom lenses, cropping a clean file can be preferable to adding a teleconverter. Test your exact camera and lens combination before travel, rather than discovering its limits in front of a rare endemic.
Support Matters as Much as Glass
Long bird photography lenses reveal weak technique quickly. A tripod with a gimbal head is invaluable at fixed stations, boat docks, and known perches. It supports the lens, improves framing precision, and reduces fatigue during long waits. A monopod can be useful when space is limited or you need to move rapidly.
Still, there are many moments when handheld shooting wins. Birds may emerge suddenly along a trail, and a tripod can be cumbersome on uneven ground. If you plan to handhold, choose a lens you can actually hold steady for extended periods. The heaviest lens in the catalog is not always the best expedition lens.
Bring a rain cover that fits your camera and lens, a microfiber cloth, and a way to protect equipment during transport. Tropical humidity, sudden showers, dust on dry roads, and condensation when moving between air-conditioned rooms and warm forest air are normal realities, not exceptional events.
Choose for the Experience You Want to Have
The best bird photography lenses are the ones that match your photographic goals without separating you from the experience. A fast 600mm prime may be exactly right for a photographer committed to forest birds and low-light portraits. A 200-600mm zoom may produce a more varied, successful portfolio for someone who wants to work quickly across many habitats. Neither choice is automatically better.
Before you travel, practice finding a bird in the viewfinder,
tracking it through branches, changing focal length without looking down, and adjusting exposure as light changes. Then let the landscape do the rest. When the first endemic slips into view or a hummingbird pauses in perfect light, familiarity with your gear gives you the freedom to pay attention to the bird, the moment, and the wild place that made the photograph possible.
Scheduled Tours

The road to Chiribiquete, Colombia's Western Amazon.
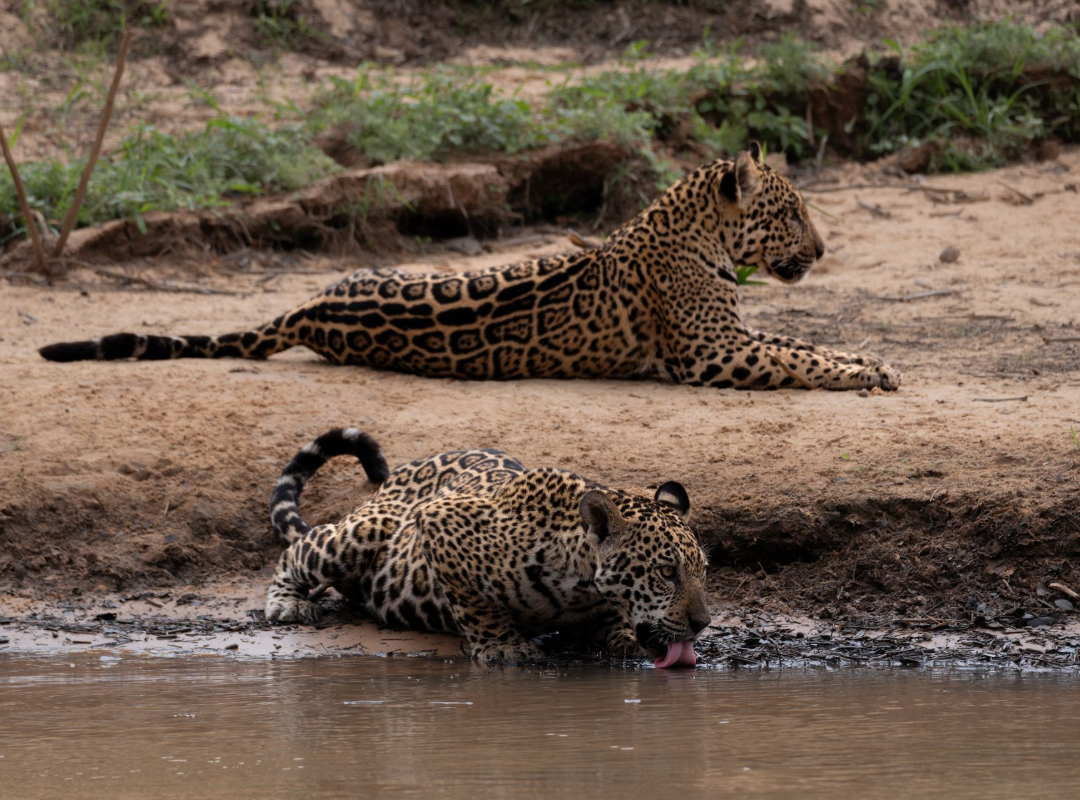
Jaguars Safari, Pantanal - Brazil.
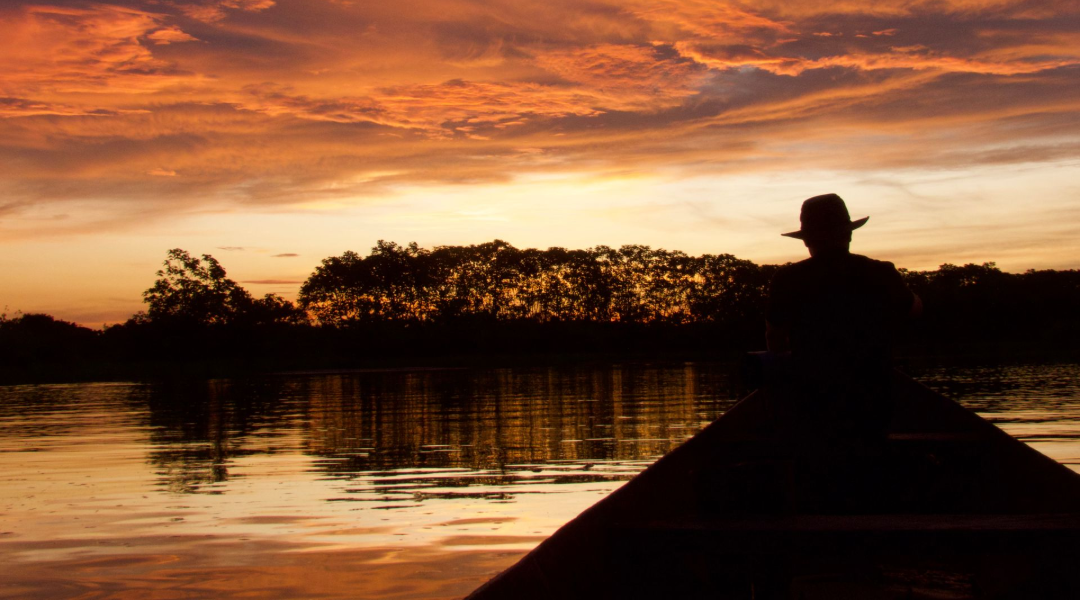
Amazon's Guiana Shield Specialties. Mitu-Vaupes.
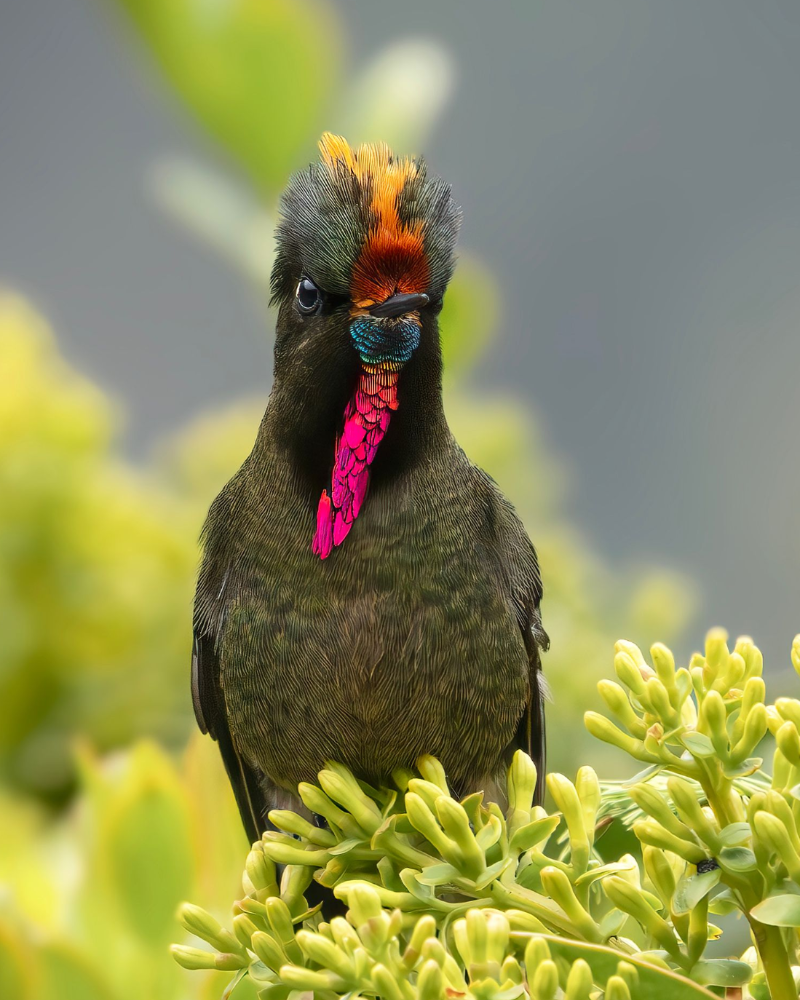
Emblematic Birds Photo Tour, Coffee Triangle.