
How to Capture Canopy Wildlife in Photos
Among the treetops, where the wild reveals itself
A Harpy Eagle shifts on a hidden perch 130 feet above the forest floor. A troop of woolly monkeys crosses a gap in the crowns. A toucan calls from somewhere behind layers of leaves. These are the moments that make canopy photography extraordinary and frustrating in equal measure. Knowing how to capture canopy wildlife is less about simply owning a longer lens and more about reading the forest, positioning yourself well, and accepting that patience is part of every successful frame.
The upper forest is a separate world. Much of the action happens in poor light, behind branches, at steep angles, and far beyond the reach of a casual walk on a trail. But with thoughtful fieldcraft and ethical access, photographers can return with images that show not only a rare subject, but its life in the forest.
Start With Access, Not Camera Settings
Canopy wildlife is difficult because the forest was not designed for photographers. At ground level, a dense tropical understory can hide nearly everything above it. The most productive first decision is therefore choosing a location that creates a clear line of sight into the crowns.
Look for natural overlooks, ridges, riverbanks, broad forest edges, canopy towers, and open clearings near mature forest. In Colombia, cloud forest lodges, Amazonian observation towers, and well-managed reserves can offer very different but equally valuable viewpoints. A tower may place you near fruiting trees and mixed-species flocks. A ridge can put the canopy at eye level. A river can open a view beneath overhanging branches where primates and birds travel.
This is why local knowledge matters. A guide who knows which fig tree is fruiting, where an eagle has been active, or which overlook receives clean morning light can save days of unproductive searching. Never cut vegetation, push off trail into sensitive nesting areas, or ask a local community to disturb wildlife for a photograph. The best access is planned access, built on respect for habitat and the people who protect it.
How to Capture Canopy Wildlife With Better Fieldcraft
Before lifting the camera, listen. Canopy subjects are often detected by sound long before they are visible. Tinamous calling below may tell you little about the treetops, but toucan rattles, macaw flight calls, monkey alarms, falling fruit, and the wingbeats of a large bird can all point you toward activity overhead.
When you hear a subject, resist the urge to rush directly underneath it. Moving too quickly often leaves you with a steep angle, a blocked view, and a startled animal. Instead, watch the direction of travel and find an opening ahead of it. Primates commonly follow repeated routes through connected crowns. Parrots and aracaris may return to a fruiting tree several times in a morning. Raptors may use a familiar exposed perch after scanning the forest.
Positioning is a quiet skill. Move slowly, keep your profile low, and avoid sudden lens movements once the animal is visible. If you are photographing with others, spread out only when the guide permits it and maintain clear communication. A small, disciplined group will get more opportunities than a crowd shuffling for the same opening.
It also pays to study behavior rather than chase single sightings. A perched bird is a fine portrait, but a sequence of grooming monkeys, a toucan tossing fruit, or a raptor launching from a perch can create a more meaningful image. Give the animal time to behave naturally. The frame becomes stronger when the wildlife is not reacting to you.
Choose Equipment for Reach, Speed, and Mobility
A 400mm, 500mm, or 600mm lens gives useful reach, but the longest lens is not always the best canopy choice. Dense vegetation often means you need to find a subject quickly and recompose before it disappears. A handholdable 100-400mm or 200-600mm zoom can be more practical for moving monkeys and fast-flying birds, especially on narrow trails or boat-based outings.
For serious bird and wildlife photographers, a long prime paired with a teleconverter can be excellent at a fixed overlook or canopy tower. The trade-off is flexibility. In low light, a teleconverter may cost the shutter speed needed for an active subject. It depends on your camera body, how clean the view is, and whether you are working from a stable position.
Bring a second body if you have one. Keeping a zoom on one camera and a longer lens on the other prevents missed moments while changing equipment in humidity, dust, or light rain. A compact beanbag is helpful from vehicles, boats, and platforms. A monopod can reduce fatigue during long waits, while a tripod is most useful at a tower, blind, or established observation point where you are not constantly repositioning.
Rain protection is not optional in tropical forest. Use a rain cover that lets you operate the controls, carry a dry bag, and pack microfiber cloths. Humidity can fog lenses when moving between air-conditioned rooms and warm forest air, so give gear time to acclimate before an important morning session.
Work With Canopy Light Instead of Fighting It
Canopy photography is often a high-contrast problem. The sky behind a bird may be bright white while the subject is shaded. A monkey may step from deep shadow into a small patch of sun and disappear again in seconds. Automatic settings can work, but only if you understand what the camera is prioritizing.
For birds against a bright sky, expose for the subject, not the background. This may mean adding positive exposure compensation or using manual exposure with auto ISO. Watch the histogram and highlight warning carefully. A blown white sky is often acceptable; a nearly black bird with no feather detail is harder to recover.
When the subject is among leaves, seek light that separates it from the background. Early morning and late afternoon provide more directional light, while a bright overcast sky can be ideal for revealing color in tanagers, toucans, and mammals without harsh shadows. Midday is not automatically wasted. It can be productive at a canopy tower, along a river, or when a fruiting tree receives open light.
Shutter speed remains the priority for most action. Start around 1/1600 second for active birds and jumping primates, then adjust according to the species and focal length. A perched bird may allow 1/500 second with good technique, but canopy branches move in the breeze and wildlife rarely stays still for long. Use continuous autofocus with a flexible point or small zone rather than the widest possible area, which may lock onto leaves closer to the lens.
Compose the Forest, Not Just the Animal
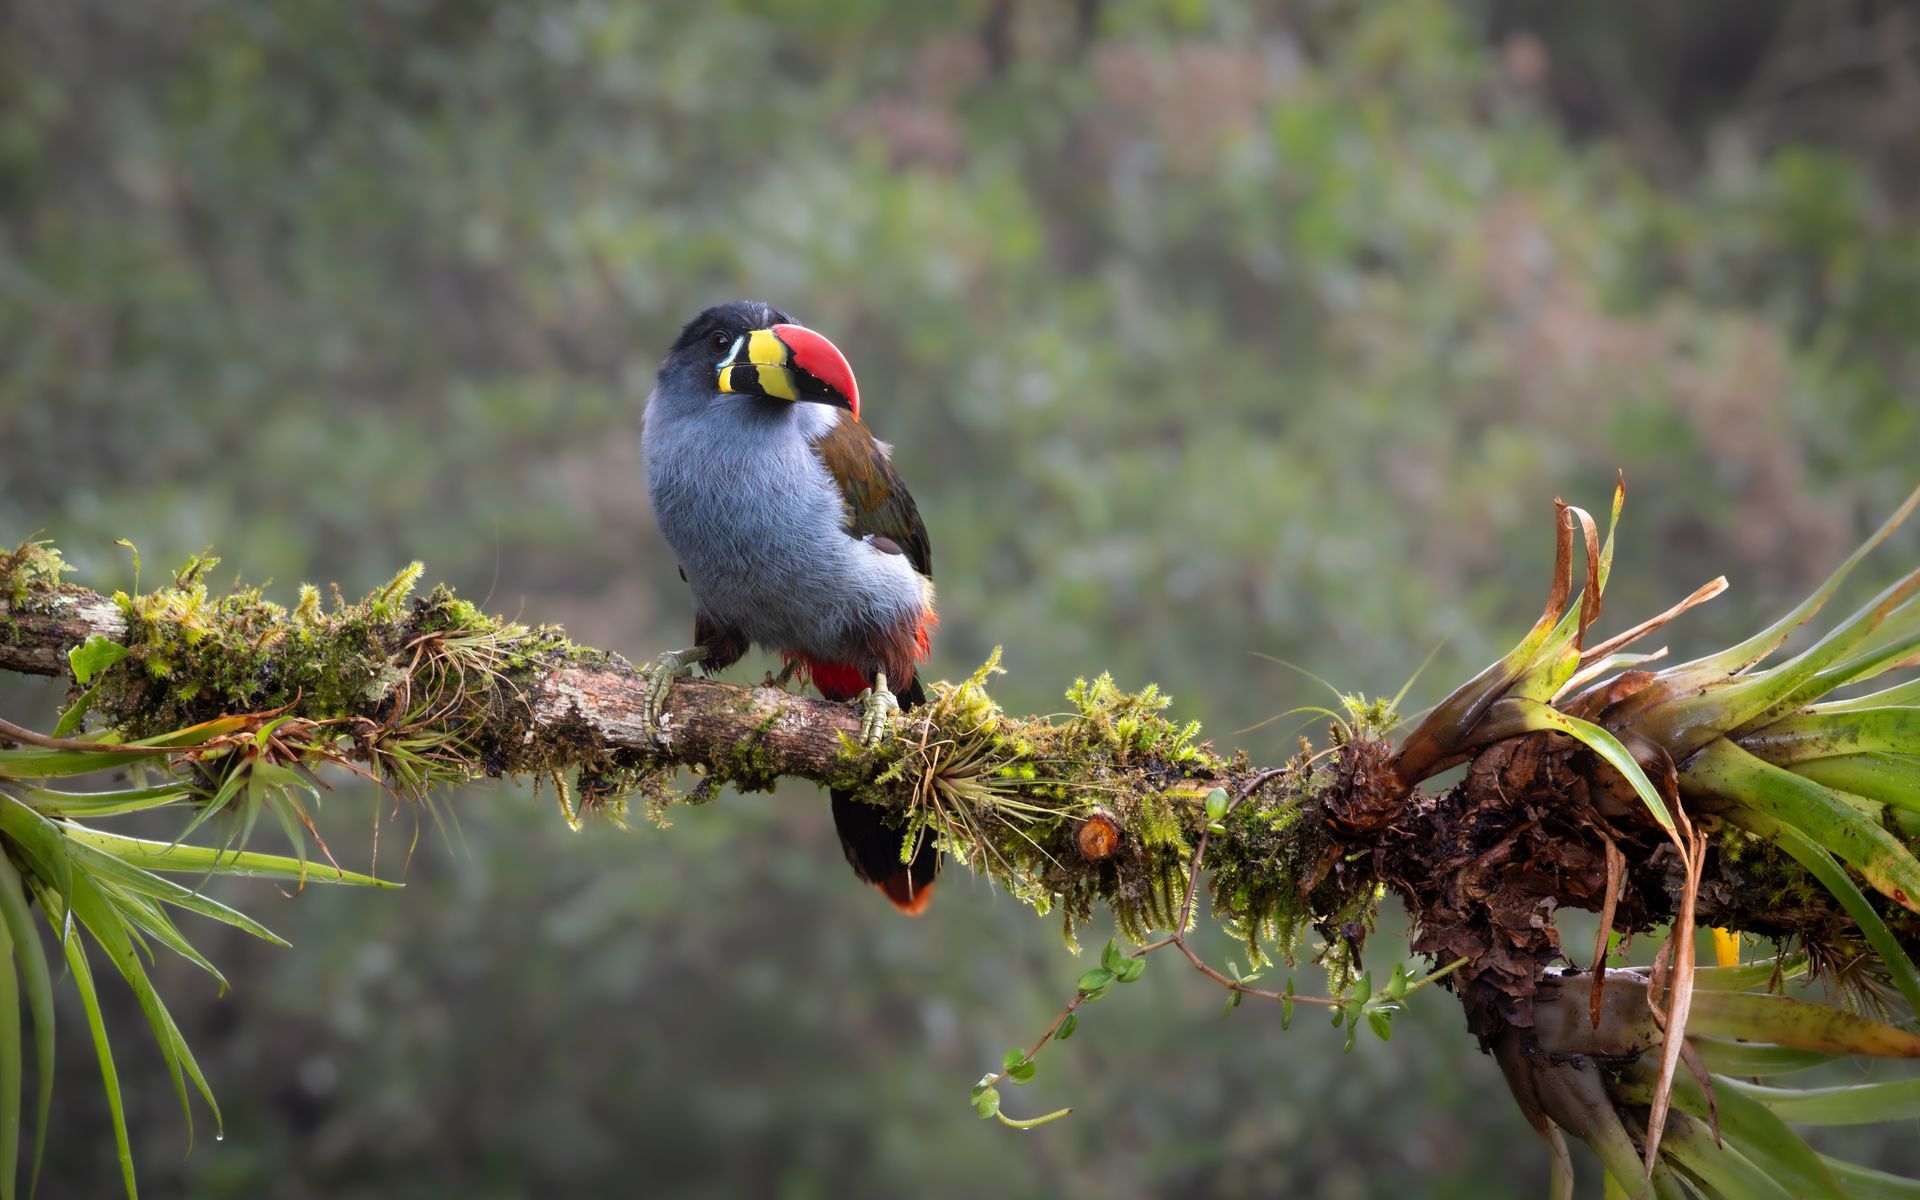
A tight headshot of a rare species has its place, particularly when detail and identification matter. Yet the canopy offers something many wildlife locations do not: context. A Black-and-gold Tanager framed by bromeliads, a family of monkeys moving through a massive ceiba, or a large raptor set against its emergent perch tells a fuller story of the ecosystem.
Look for clean gaps between leaves, but do not become so obsessed with a perfectly empty background that you overlook a compelling natural scene. A few branches can add depth and scale. The key is making sure they do not cross the eye, split the face, or hide the defining features of the subject.
Leave room in the direction of movement or gaze. If a bird is about to launch, widen the composition slightly. If monkeys are traveling as a group, include enough habitat to show their path. These choices make images feel alive rather than merely collected.
Ethical Choices Produce Better Images
Canopy animals already face pressure from forest loss, roads, hunting, and human disturbance. Photography should never add to that pressure. Avoid playback around sensitive species, especially owls, antbirds, nesting birds, and large raptors. Do not use bait to pull wildlife into a frame, and never encourage guides or drivers to approach too closely for a better angle.
Flash can be appropriate in carefully considered situations, but it is rarely the first answer for high canopy subjects. It has limited reach, can create unnatural results, and may disturb nocturnal wildlife. If you use it, follow site rules, keep sessions brief, and prioritize the animal's behavior over the image.
Ethical practice is also practical. Wildlife that feels secure is more likely to feed, call, travel, and interact naturally. Those are the photographs worth traveling for. On expeditions led with responsible local partners, your presence can help create lasting value for communities that keep forests standing.
The next time the canopy seems impossibly dense, slow down. Listen for the first call, watch for the route through the branches, and wait for the small opening that turns a hidden life into a photograph. The forest will not offer every subject on demand, but that uncertainty is part of what makes each successful frame unforgettable.