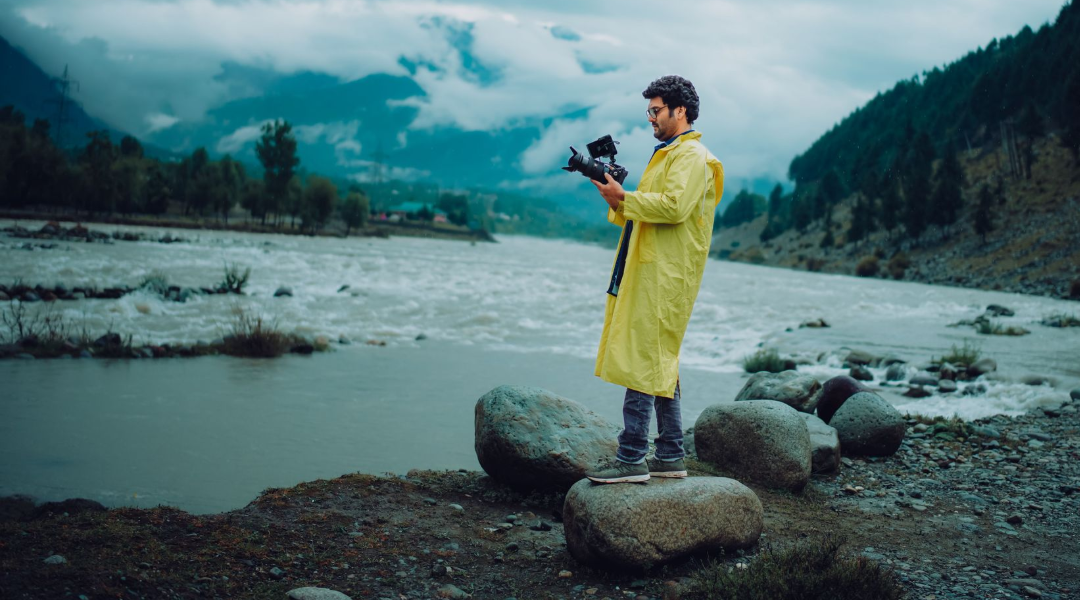

How to Prepare a 600mm Lens for Air Travel
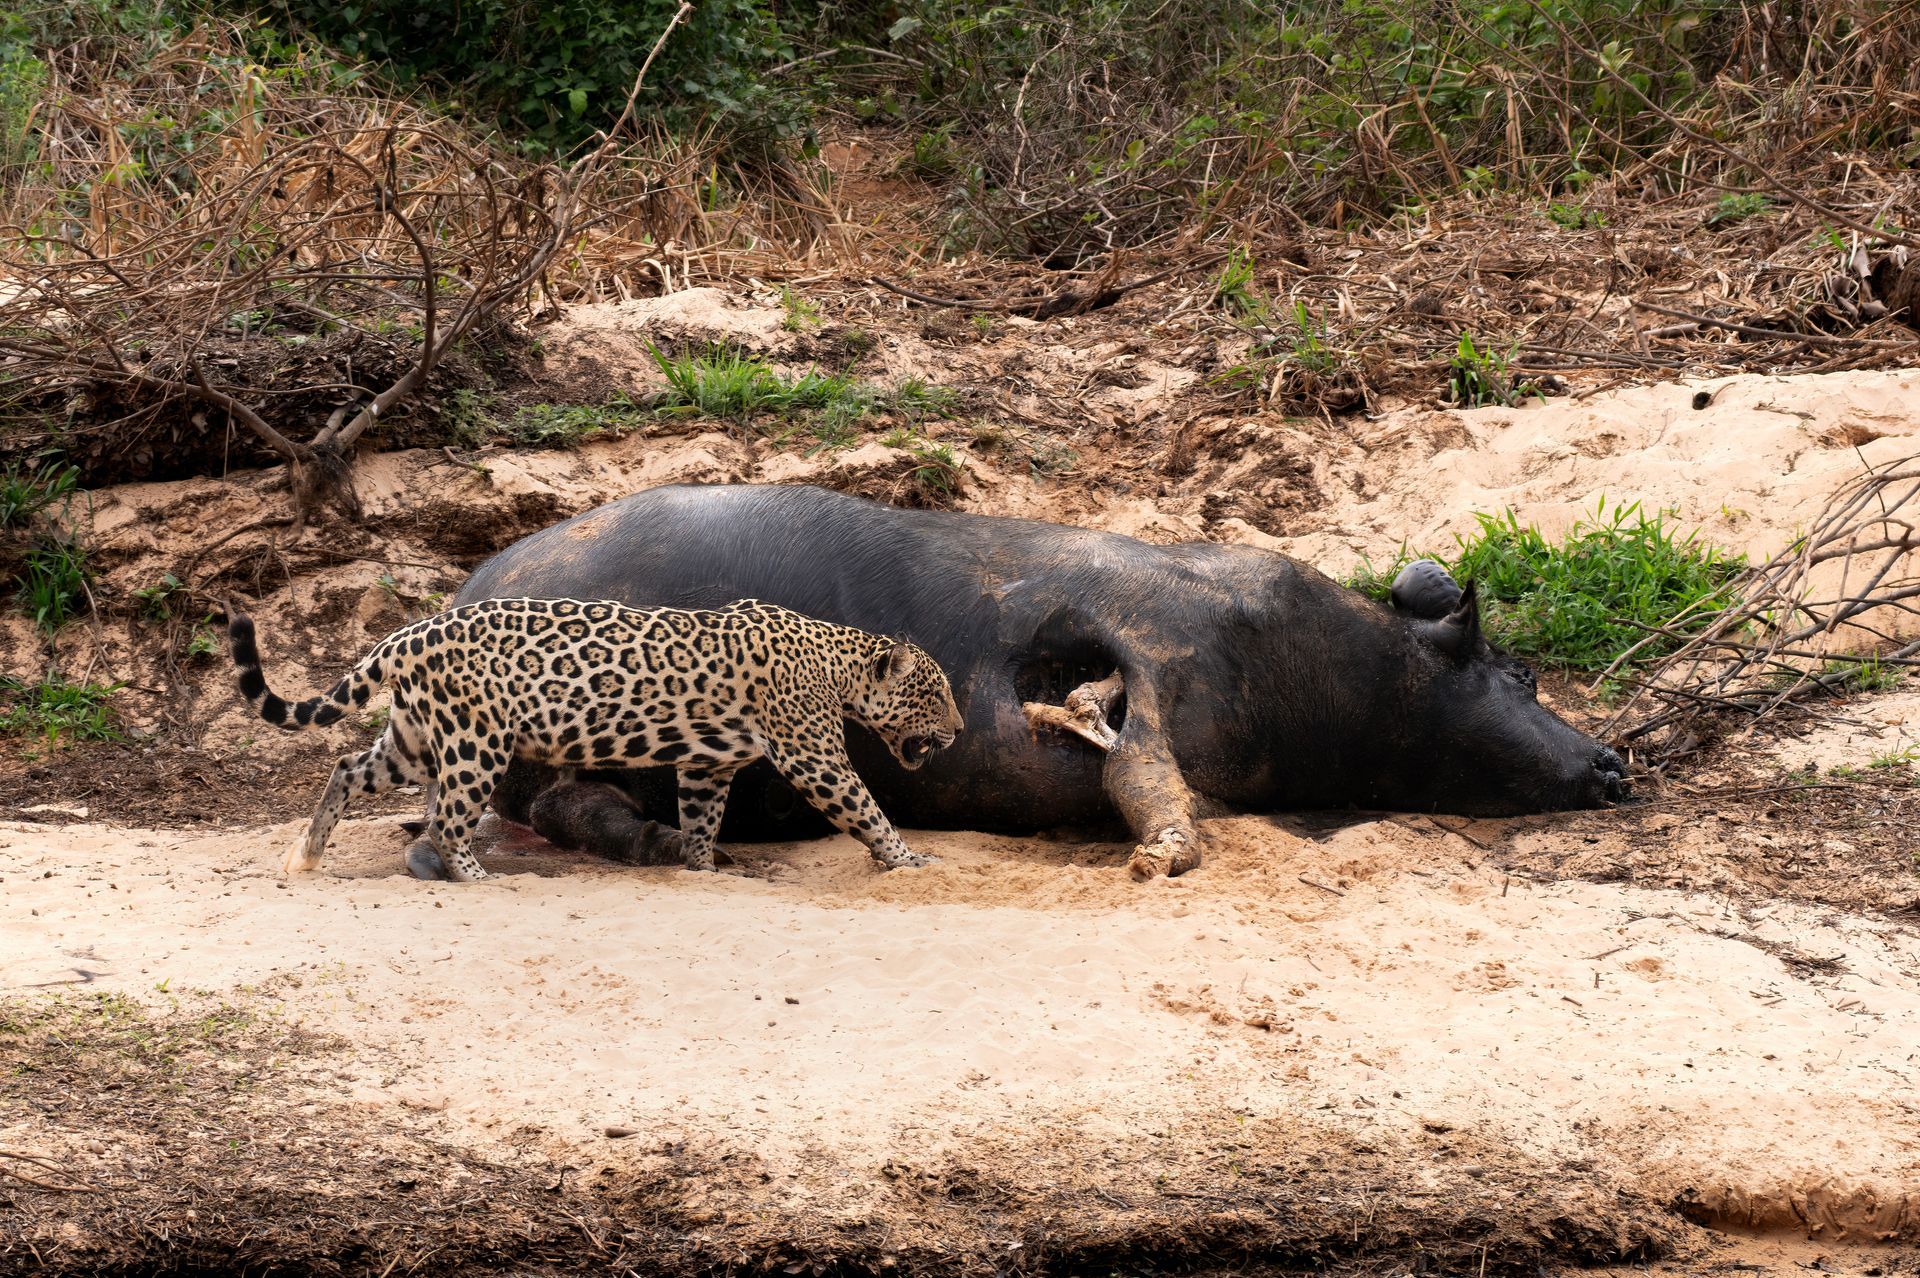
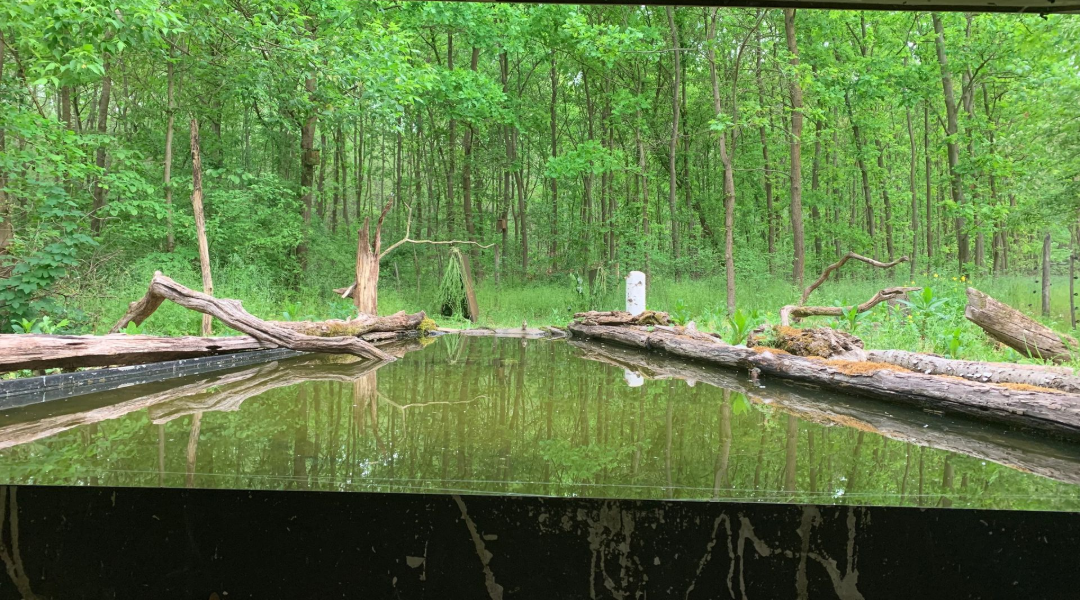
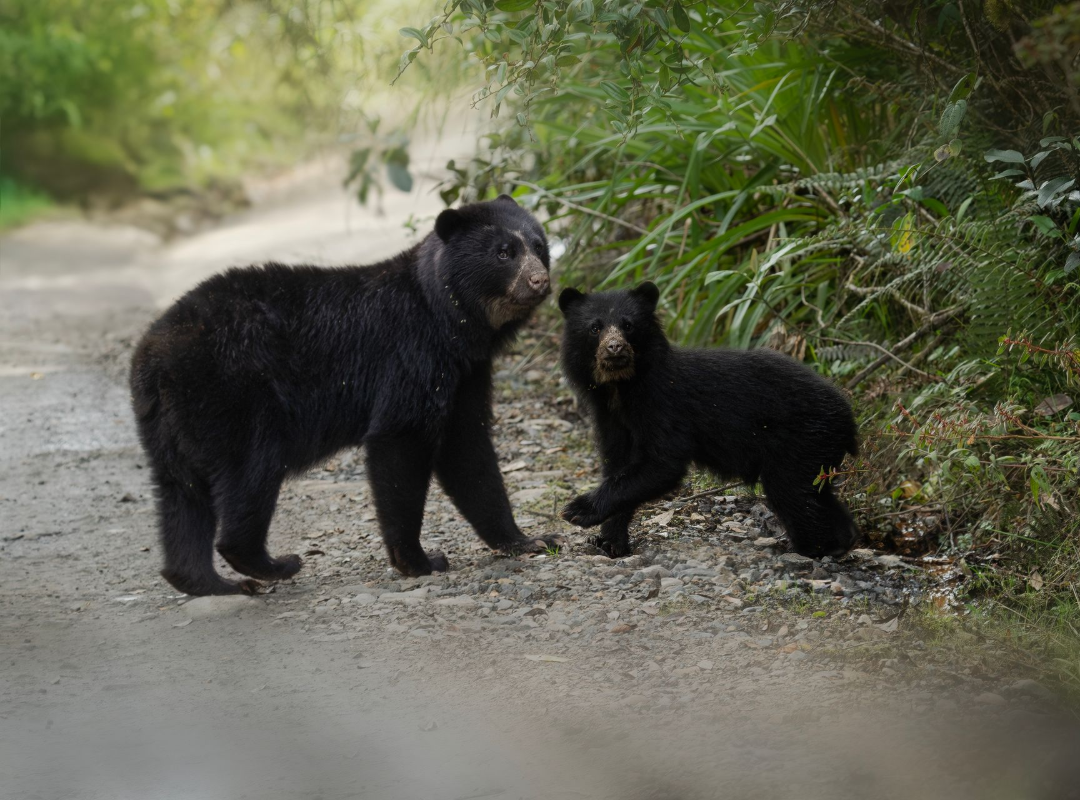
We work with different hides around the bird and wildlife Photography.
A 600mm lens changes what is possible in the field. It can isolate a perched Andean cock-of-the-rock from a busy forest background, fill the frame with a distant jaguar in the Pantanal, or make a tiny tanager feel close without crowding it. But to prepare a 600mm lens for travel takes more than putting expensive glass in a padded bag. Your decisions before departure affect your comfort, access, and ability to work calmly when the subject finally appears.
Prepare a 600mm Lens for the Flight First
For most wildlife photographers, a 600mm lens belongs in the cabin, not in checked baggage. Even a hard case can be mishandled in a baggage system, and checked bags may be delayed on a connection. A lens that represents much of your working kit should stay with you whenever airline rules and cabin space allow.
Start by checking the carry-on size and weight limits for every airline on your itinerary, including regional flights. Policies vary, and a compact roller that works on an international route may attract more attention on a smaller aircraft. Do not assume that priority boarding guarantees overhead-bin space. Arrive early, board as early as your ticket permits, and keep your camera bag organized enough that airport staff can inspect it without turning it into a loose pile at the gate.
A 600mm f/4 is a different travel proposition from a 600mm f/6.3 or f/6.7. The smaller, lighter lenses can often travel attached to a camera body in a purpose-built backpack. A large f/4 prime may need to travel separately, with its hood reversed and its foot positioned to make the most efficient use of space. Neither option is automatically better. The faster lens offers exceptional subject separation and low-light performance, while a lighter lens can mean more energy on steep trails and faster reactions from a vehicle.
Before you pack, measure your actual bag with the lens inside. Include protruding handles, tripod feet, and the depth created by a body attached to the lens. Manufacturer dimensions are useful, but airlines assess the packed bag in front of them.
Build a Carry-On Kit Around the Lens
Your camera bag should protect the lens while still letting you move through an airport without strain. A backpack is often the practical choice for uneven paths, stairs, and rural lodges, but a roller can save your shoulders in large terminals. Many photographers use a roller for the main flight and place a lightweight foldable backpack inside it for field transfers.
Keep the essential working system in the cabin: lens, camera body, batteries, cards, teleconverter, charger, and one backup body if you have room. Checked luggage can hold clothing, a rain cover, cleaning supplies that exceed airport liquid limits, and nonessential accessories. A tripod is usually best checked in a padded suitcase or hard tripod case, since its length and metal hardware can complicate cabin screening.
For a large supertelephoto, use the manufacturer’s lens cap and rear cap, then add a fitted padded cover or wrap. The lens hood should be reversed for transit, unless your case is specifically designed to carry the lens hood-forward. Avoid stuffing loose accessories against the front element. A teleconverter or battery can shift under pressure and create a problem where you least want one.
A simple pre-flight inventory helps. Photograph the serial numbers of your body and lens, keep proof of ownership accessible, and make sure your insurance covers international travel and accidental damage. If you are carrying a high-value professional kit across borders, documentation can make customs conversations much easier.
Choose Protection That Works in Real Field Conditions
A hard case offers strong crush protection, but it is not always the best field solution. In Colombia’s cloud forests, Amazonian boat routes, and humid lowland reserves, a hard case can be bulky, heavy, and awkward when conditions change quickly. A well-padded backpack with a dedicated rain cover often gives better access during an active photography day.
The objective is not to seal the lens away from every bit of weather. It is to protect it from impacts, dust, sudden rain, and condensation while keeping it ready to use. Bring a rain sleeve that fits both your 600mm lens and camera body, plus a small absorbent towel for wiping external moisture. In prolonged rain, a sleeve with a clear viewing panel lets you adjust settings without exposing the camera controls.
Humidity deserves special attention. When moving from air conditioning into warm, wet conditions, leave your gear in its closed bag for a short time so it can acclimate gradually. This reduces condensation on the lens and viewfinder. At the end of a wet day, never seal damp gear in an airtight case for hours. Let it dry in a secure room with good airflow, and use silica gel packs as support rather than a substitute for drying.
Pack for Weight, Balance, and Fast Access
A 600mm lens can feel manageable for ten minutes and punishing after a full morning on a trail. The solution is not always a stronger shoulder. It is better support and smarter pacing.
For walking, use a comfortable backpack with a supportive hip belt and keep the heaviest items close to your back. If you carry the lens mounted on the camera, use a secure harness or strap connected to the lens foot, not only to the camera body. The lens foot is designed to carry that load; a camera mount is not the place to trust with a long lens over rough ground.
A monopod is valuable when birds may appear along trails, at feeders, or from a boat. It reduces fatigue and offers fast repositioning. A sturdy tripod with a gimbal head is the better choice for known perches, canopy towers, raptor viewpoints, and low-light work. In open habitats, a vehicle beanbag can be remarkably effective, especially when moving often makes tripod deployment impractical.
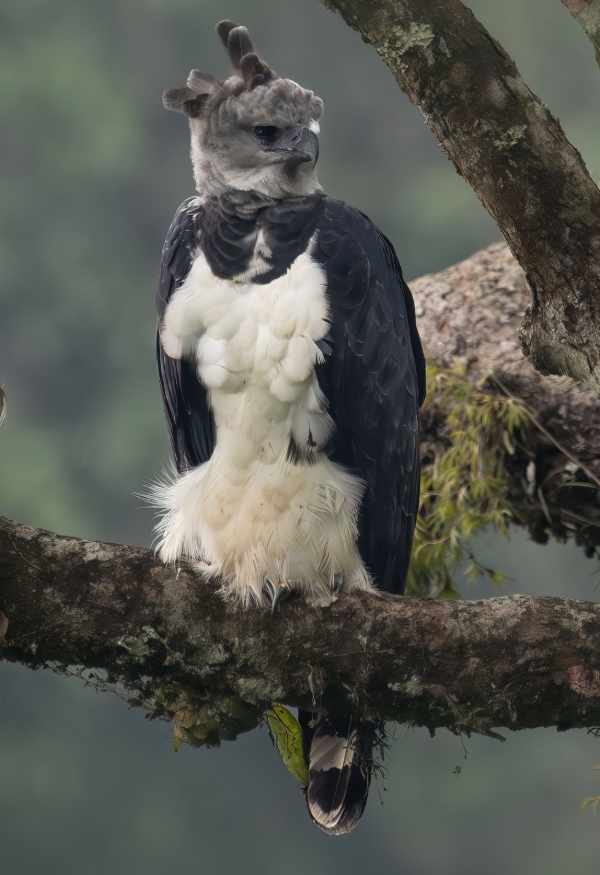
Before the trip, practice fitting the lens to each support system. Learn how to lock the gimbal, balance the lens, use image stabilization modes, and rotate from horizontal to vertical without looking. Those small movements become much harder when [a Harpy Eagle](https://www.retornophototours.com/a-photographers-guide-to-harpy-eagle-nests-distance-angles-timing-and-ethics) appears briefly through a gap in the canopy.
Plan for the Places You Will Photograph
Long-lens travel is never only about airport logistics. A 600mm setup suited to a hummingbird garden may need different accessories than one used for jaguars, macaws, or high-elevation birds.
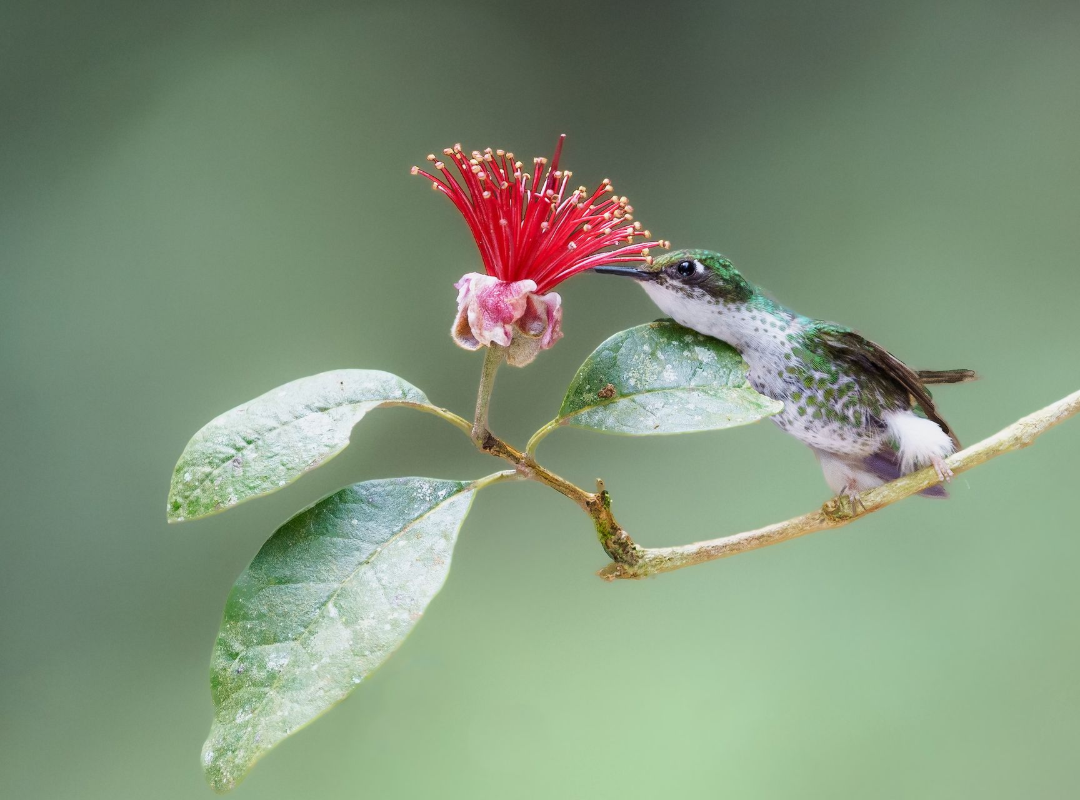
In the Andes, cool mornings, steep paths, and quick weather changes favor layers, waterproof protection, and a carrying system that leaves both hands free. At hummingbird feeders, a tripod and a flash setup may be useful if local conditions and photography ethics permit. For forest understory birds, patience, high ISO performance, and stable support often matter more than adding another teleconverter.
[In the Pantanal](https://www.retornophototours.com/7-best-pantanal-photo-lodges-for-wildlife), dust, heat, and vehicle-based shooting shape the day. A beanbag, lens cover, and cloth for cleaning exterior dust can be more useful than a large tripod. On Amazonian river journeys, dry bags and cautious boat handling become essential. Never leave a 600mm lens standing loose in a moving boat or vehicle, even for a moment.
Your guide should know the route, but you should communicate your equipment needs early. Let the team know whether you are traveling with a large prime, require tripod space, or need a secure place to store gear between sessions. Retorno Photo Tours plans photographic logistics around real field conditions, not a generic sightseeing schedule, and that coordination can preserve valuable shooting time.
Protect the Subject, Not Just the Gear
The reach of a 600mm lens is one of its greatest ethical advantages. It allows intimate images while giving wildlife space to feed, rest, display, or care for young without pressure. Use that reach well.
Keep to established paths and guides’ instructions, particularly around sensitive nesting areas, lek sites, and private reserves. Do not push closer because the frame is not full enough. A photograph that shows an animal behaving naturally is stronger than a tight image made by disrupting the moment.
Avoid [playing calls](https://www.retornophototours.com/10-mistakes-bird-photographers-make-on-their-first-photo-tour) to bring birds closer unless a local guide has determined it is appropriate, limited, and non-disruptive. Never move vegetation, alter a perch, or feed wildlife to improve a composition. The most meaningful images from Colombia’s forests, wetlands, and mountains carry the integrity of the encounter with them.
A Final Check Before You Leave Home
A week before departure, photograph with your full kit on a walk. Carry the bag, use the support, change cards, deploy the rain cover, and work the controls with gloves or wet hands if those conditions are likely. This is where you discover whether the bag rubs your shoulders, the lens plate is loose, or a small accessory is missing.
Then pack with a clear principle: bring the 600mm lens because it expands your photographic possibilities, not because it should become the center of the trip. The best field setup is the one that leaves you steady, present, and ready when an extraordinary wild moment unfolds.
Scheduled Tours
Western Amazon: Gateway to Chiribiquete.
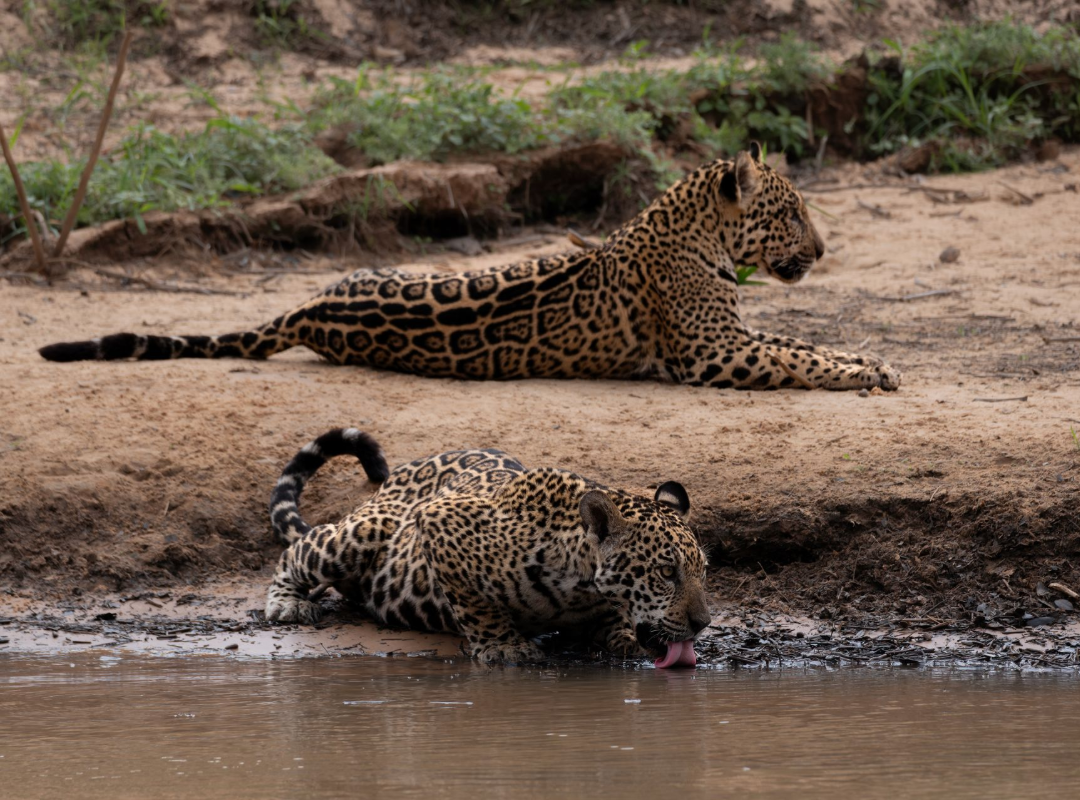
Jaguars of Pantanal
Amazon's Guiana Frontier - Mitu.
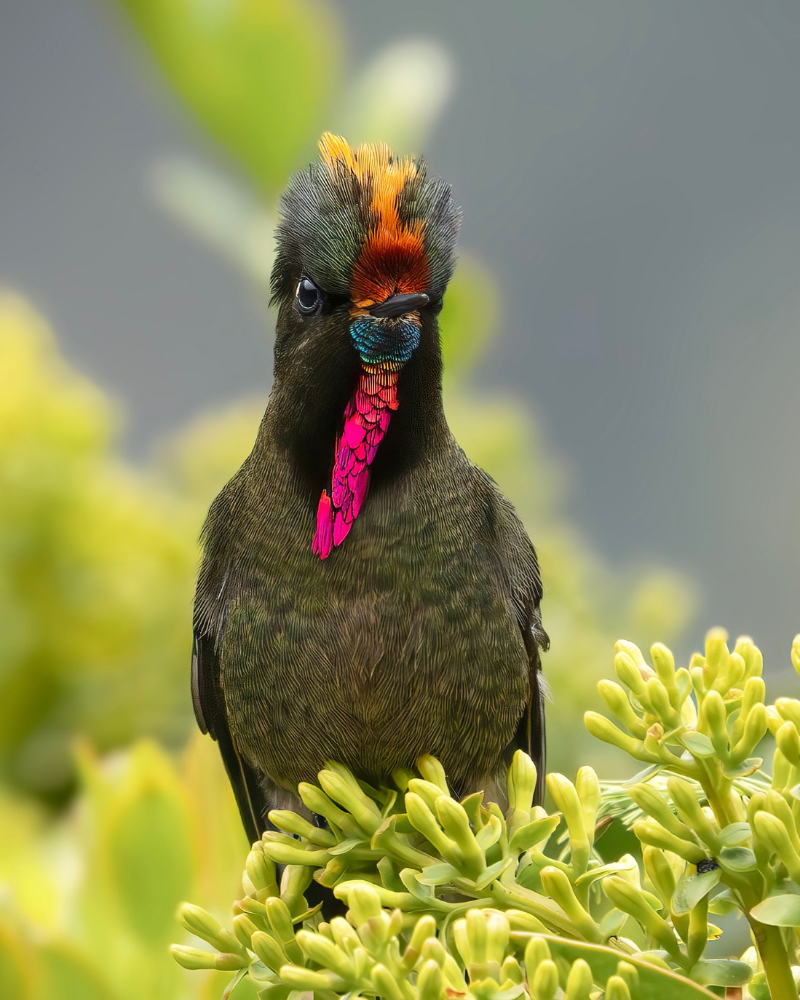
Emblematic Birds Photo Tour