
How to Photograph Hummingbirds in Rain Well
How to Plan a Wildlife Photography Trip in Colombia
Rain changes a hummingbird photograph before you press the shutter. It deepens the greens, softens a busy forest, and leaves bright beads of water suspended around a bird that is already moving at astonishing speed. To photograph hummingbirds in rain well, you need more than a fast shutter speed. You need a protected setup, a clear understanding of light, and the patience to let the weather become part of the image.
For bird photographers visiting the Andes, the rain is often not an interruption to the day. It is part of the habitat. At forest-edge feeders, cloud forest clearings, and flowering gardens, a passing shower can produce some of the most atmospheric frames of an expedition.
Why rain makes hummingbird images special
A bright, dry day can make hummingbird photography technically easier, but it can also create hard shadows, pale vegetation, and distracting backgrounds. Gentle rain often does the opposite. Moisture saturates foliage, overcast skies reduce contrast, and a darker background can make an iridescent throat or crown appear almost illuminated.
The trade-off is light. A stormy afternoon may force your ISO higher than you prefer, especially if you are trying to freeze wings. Rain can also confuse autofocus, create flare from droplets on the front element, and make it harder to work comfortably for long periods. The goal is not to fight these conditions. It is to build a method around them.
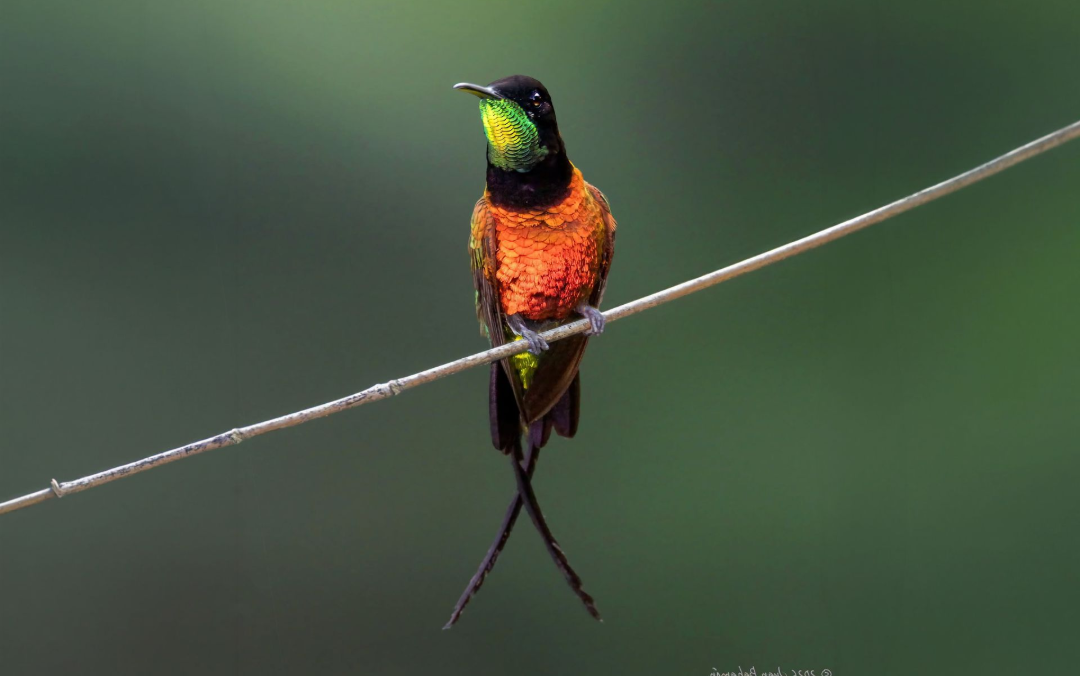
A rain image succeeds when the viewer feels the weather without losing the bird. Usually, that means a sharply rendered eye and head, purposeful wing motion, visible droplets, and a background calm enough to give the subject room.
Protect the camera without hiding from the scene
Start with the practical reality: keep yourself and your equipment dry enough to work deliberately. A weather-sealed camera and telephoto lens offer reassurance, but they are not a reason to leave gear exposed through a sustained downpour. Use a fitted rain cover or a simple protective sleeve that still lets you reach the focus and zoom rings. A lens hood is equally valuable, keeping drops off the front element and shielding it from stray light.
Place a clean microfiber cloth in an accessible pocket, not at the bottom of a backpack. Check the front element frequently. One large drop can soften an otherwise excellent frame, while repeated wiping with a soaked cloth simply moves water around. Carry several dry cloths in sealed bags.
Whenever possible, work from a covered veranda, hide, awning, or vehicle position with a clean view toward the feeder or flowering perch. This is not taking a shortcut. It gives you the stability to watch behavior, refine composition, and protect your camera while the birds continue feeding. Many productive hummingbird locations have thoughtfully positioned covered areas precisely because rain is a regular part of the landscape.
Do not place yourself where runoff will reach the tripod, where a slippery slope makes movement unsafe, or where you must step into vegetation to get closer. The best position is the one you can hold for an hour without disturbing the birds or compromising your footing.
Camera settings to photograph hummingbirds in rain
There is no single exposure recipe because rainfall, background distance, bird behavior, and available light vary constantly. Still, a useful starting point for flight photography is 1/2500 to 1/4000 second, continuous autofocus with subject detection enabled where reliable, and a burst mode that gives you several wing positions to choose from.
At 1/3200 second in a dim cloud forest, ISO 3200, 5000, or higher may be entirely reasonable. Modern cameras handle high ISO far better than they once did, and a sharp, well-timed file with some noise is much more valuable than a blurred frame at ISO 800. Expose carefully enough to preserve highlights on white feathers, but avoid underexposing so deeply that the bird becomes difficult to recover in processing.
For a hovering bird, an aperture around f/4 to f/5.6 can separate the subject from a distant background while retaining enough depth of field for the head and body. With a longer lens and a close bird, even f/5.6 can be unforgiving. If a hummingbird approaches from slightly different distances, f/6.3 or f/7.1 may give you a better keeper rate, provided the background remains clean.
If you want rain streaks rather than frozen droplets, deliberately slow the shutter speed to roughly 1/500 to 1/1000 second. The head may still be acceptably sharp during a brief hover, while wings and rain gain a sense of movement. This approach works best when you accept that many frames will fail. It is a creative choice, not a replacement for fast-action settings.
Focus on the eye, then hold your composition
Rain can pull autofocus toward drops between you and the bird. If your system repeatedly locks onto water or a nearby feeder edge, reduce the focus area, use a smaller tracking zone, or pre-focus on the typical hover position. Avoid chasing every incoming bird across the frame. Instead, observe where a particular species pauses before feeding, then compose around that space.
A slight angle toward the bird's face is usually stronger than a full side profile. Watch for the moment the bill, eye, and gorget catch the soft light. Hummingbirds often return to the same feeding lane several times, giving you more opportunity than their speed first suggests.
Make the rain visible, but not distracting
Rain only registers when the light and background allow it. Drops become most apparent against dark foliage or shadowed forest. A pale sky behind the bird may make the rain disappear, while a very cluttered background can turn every droplet into visual noise.
Try positioning so the hummingbird is lit by the open sky while the background sits farther back in shade. This creates separation without artificial drama. If the rain is light, look for a dark branch, a deep green hedge, or a forest opening behind the feeding area. If it is heavy, simplify even further and let the bird occupy a slightly larger portion of the frame.
Backlight can transform droplets into bright points, but it brings risk. You may lose detail in luminous feathers or see flare from water on the lens. Meter for the bird, use the lens hood, and review highlights regularly. A small change in your shooting angle can solve more than a dramatic exposure adjustment.
Work ethically around feeders and flowers
Rain can make hummingbirds look vulnerable, but healthy native species are adapted to the conditions in their home ranges. Your responsibility is to avoid adding stress. Stay quiet, do not block regular flight paths, and never move flowers, perches, or feeders while birds are actively using them.
At maintained feeders, respect the local protocols. Clean feeders, appropriate nectar preparation, and responsible placement matter for bird health. A photography setup should never pressure birds to approach a lens, a flash, or a crowded group of people. Natural behavior is better photography anyway: a bird arriving, hovering, feeding briefly, and departing on its own terms tells a more honest story.
Flash deserves particular care. In some controlled situations, experienced photographers use off-camera flash to freeze wings, but rain complicates both safety and aesthetics. Reflective droplets can become harsh white specks, and wet conditions demand careful protection of batteries, cables, and stands. Natural light is often the more fitting choice when your objective is to show a hummingbird in its weather-soaked environment.
Field habits that improve your keeper rate
The strongest rain sessions are planned before the first shower begins. Have batteries charged and accessible, a dry towel for your hands, and a camera already mounted before activity peaks. Rain delays often lead to dramatic feeding bursts, especially when flowers and feeders are active between heavier bands of weather.
Keep watching even when the birds seem absent. A brief lull can be followed by several species appearing at once, each using a different height and approach route. Photograph the expected action, but leave time for quieter opportunities too: a hummingbird shaking water from its feathers, resting beneath a leaf, or perching with droplets along its bill.
In Colombia, an experienced local guide can make the difference between waiting in the wrong patch of forest and working a productive sheltered location where birds remain active. Retorno Photo Tours plans field time around habitat, weather patterns, light, and target species, so photographers can spend less energy on logistics and more on the moment in front of the lens.
When the rain finally eases, do not pack up immediately. Water on leaves, softened light, and renewed hummingbird activity often create the most memorable conditions of the day. Stay ready, protect your gear, and let the weather give the image its story.
Scheduled Tours
Western Amazon: Gateway to Chiribiquete.
Jaguars of Pantanal
Amazon's Guiana Frontier - Mitu.
Emblematic Birds Photo Tour